
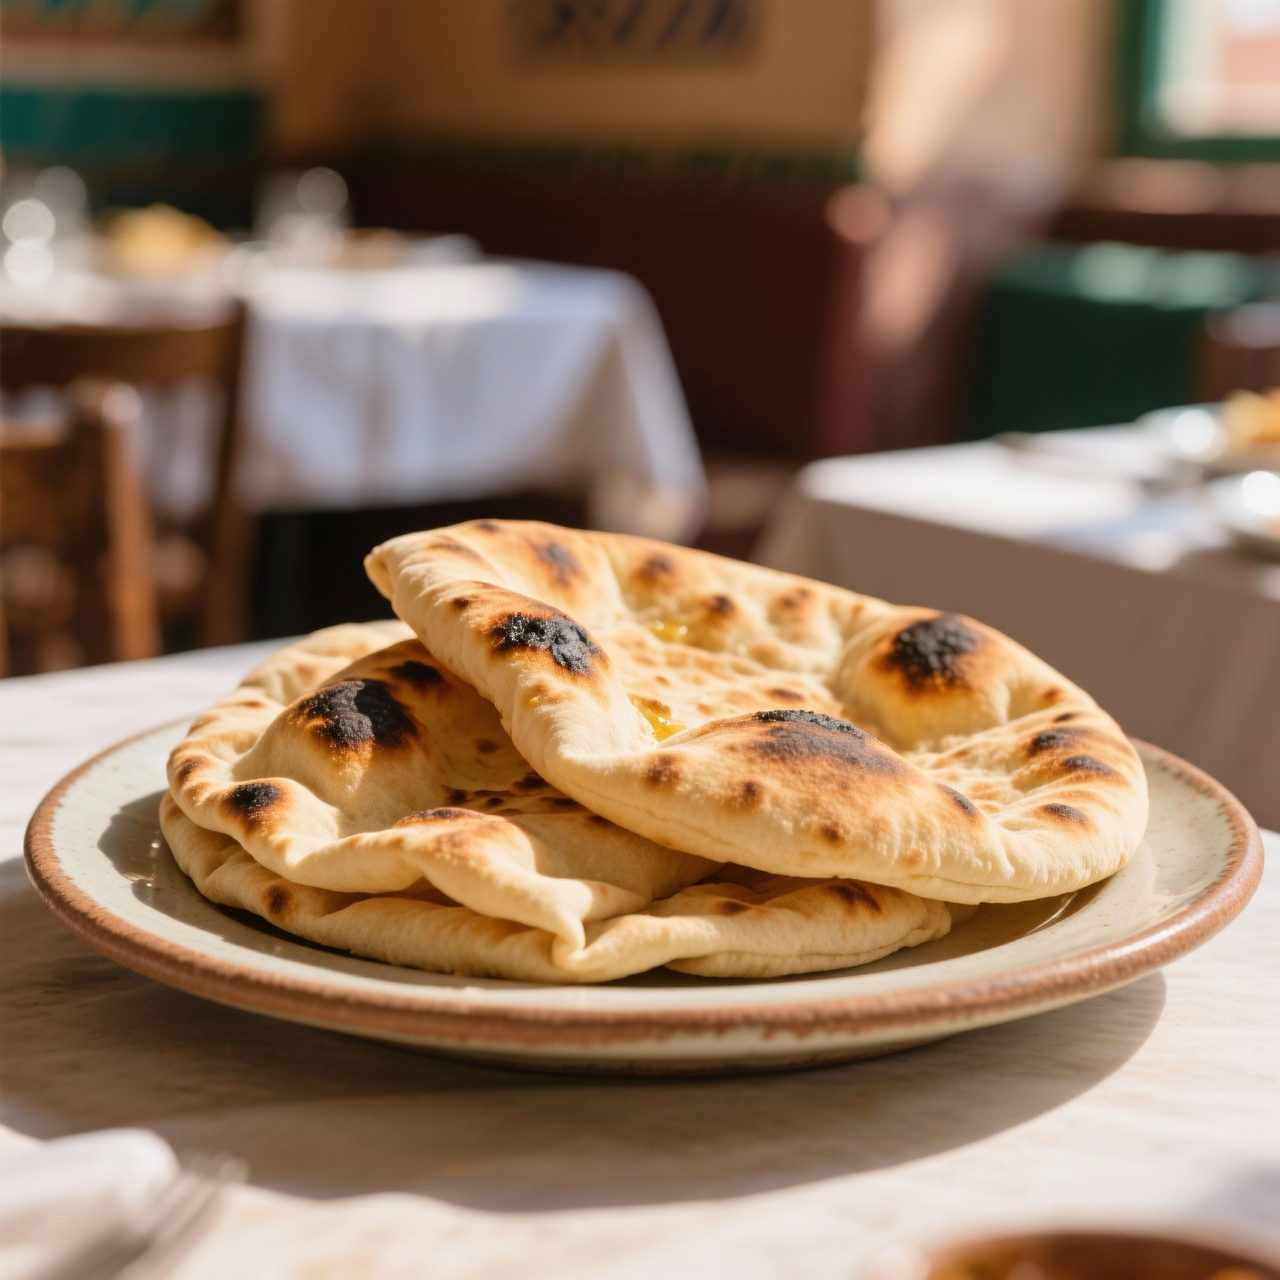
Aish baladi (Egyptian pita)
Aish baladi, which literally translates to bread of the homeland, is far more than a side dish in Egypt; it is the edible cornerstone of daily life, with roots stretching back millennia. I make it from scratch because the supermarket alternative, usually a pack of plastic-wrapped rounds for about two dollars, is fundamentally compromised. Those commercial versions rely on refined white flour, chemical dough conditioners, and preservatives that strip away the earthy, nutty complexity of properly milled whole wheat, leaving you with a bland, rubbery wrapper. My version demands only whole wheat flour, water, salt, and a touch of yeast, but it rewards that restraint with a deeply toasted crust, a tender interior, and that magical, steam-driven pocket that appears when the dough meets intense heat. The most common pitfall I see is rushing the fermentation; a slow, room-temperature rise allows the gluten to relax and the wild yeast to develop that signature tang. Rolling the dough too thick or skipping the crucial resting step before baking will also sabotage the puff, leaving you with dense discs rather than billowing bread. You must also respect the heat. Aish baladi needs a blistering surface, traditionally a clay oven, but a searing-hot cast-iron skillet works beautifully. When you flip it, watch closely. That first dramatic balloon is your signal to turn and finish it quickly, locking in the softness while charring the outside just enough to release its wholesome fragrance.
Nutrition
| Per serving | Calories | Protein | Carbs | Fat | Sat fat | Fibre | Sugar | Sodium |
|---|---|---|---|---|---|---|---|---|
| beginner | 260kcal | 9g | 48g | 3g | 0g | 7g | 1g | 280mg |
| intermediate | 160kcal | 6g | 31g | 2g | 0g | 5g | 0g | 190mg |
| expert | 235kcal | 9g | 46g | 2g | 0g | 6g | 0g | 340mg |
Per serving · Ava-estimated — a guide, not a clinical figure.
- 400 gwhole-wheat flour— Preferably finely milled or stone-ground for authentic texture
- 250 mlwarm water— Temperature around 35-40C is ideal for yeast activation
- 5 gactive dry yeast— Instant yeast may be substituted in equal measure
- 8 gfine sea salt
- 5 gsugar(optional)— Optional but recommended to jumpstart fermentation
Shop-bought flatbreads often cost nearly twice as much as homemade while relying on preservatives, added oils, and dough conditioners that leave them rubbery and bland. This beginner-friendly approach strips the process down to its essentials: a single, forgiving dough that comes together quickly and rests on the counter. You will skip complex folding or professional steam-injected ovens, instead relying on a simple hot skillet that reliably coaxes the signature pocket to form. The key difference here is patience over precision. You do not need a stand mixer or perfect symmetry; just press the dough gently with your hands, keep the surface lightly dusted, and watch for the tell-tale bubbles. Resist the urge to press down while they cook and let trapped steam do the work. Keep your heat steady and medium-high, flipping only once. If a few do not fully puff, they will still make excellent wraps or chips. The dough stays pliable for hours and freezes beautifully, making batch baking a practical weekend task. You will end up with warm, earthy, whole-grain breads that tear easily and carry fillings without splitting.
Equipment
- Large mixing bowl— room temperature works fine
- Heavy cast-iron skillet or griddle— non-stick is acceptable if heavy
- Clean kitchen towel— damp for covering dough
- Rolling pin or smooth bottle(optional)— for flattening dough evenly
Method
- 1
Whisk the whole-wheat flour, active dry yeast, and fine sea salt in a large bowl, then gradually stir in warm water and olive oil until a shaggy dough forms.
Water should be comfortably warm to the touch, not hot enough to kill the yeast.
mixing~ 3 min - 2
Turn the dough onto a lightly floured surface and knead by hand until smooth and elastic, about five minutes.
Add a teaspoon of flour only if it sticks aggressively to your hands.
kneading~ 5 min - 3
Place the dough in a clean bowl, cover with a damp towel, and let it rest in a warm spot until noticeably relaxed and slightly expanded.
No need for full doubling; just wait until it feels soft and pillowy.
proofing~ 30 min - 4
Divide the rested dough into equal pieces and gently roll or press each into a thin, even circle.
Keep the thickness uniform across the surface to prevent uneven puffing.
shaping~ 4 minTricky bit - 5
Heat a dry skillet over medium-high until thoroughly hot, then cook each round until large bubbles form and the bottom is lightly spotted.
Flip only once and never press down with a spatula or you will crush the pocket.
pan-frying~ 2 minTricky bit - 6
Transfer cooked breads to a wire rack or towel-lined plate and cover loosely to keep them pliable while the rest bake.
Stacking them hot traps residual steam and prevents drying.
resting~ 1 min
Cooking from frozen
Reheat directly from frozen in a dry skillet or oven until soft and lightly toasted.
Storage times are a guide — always use your judgement and store food safely.