
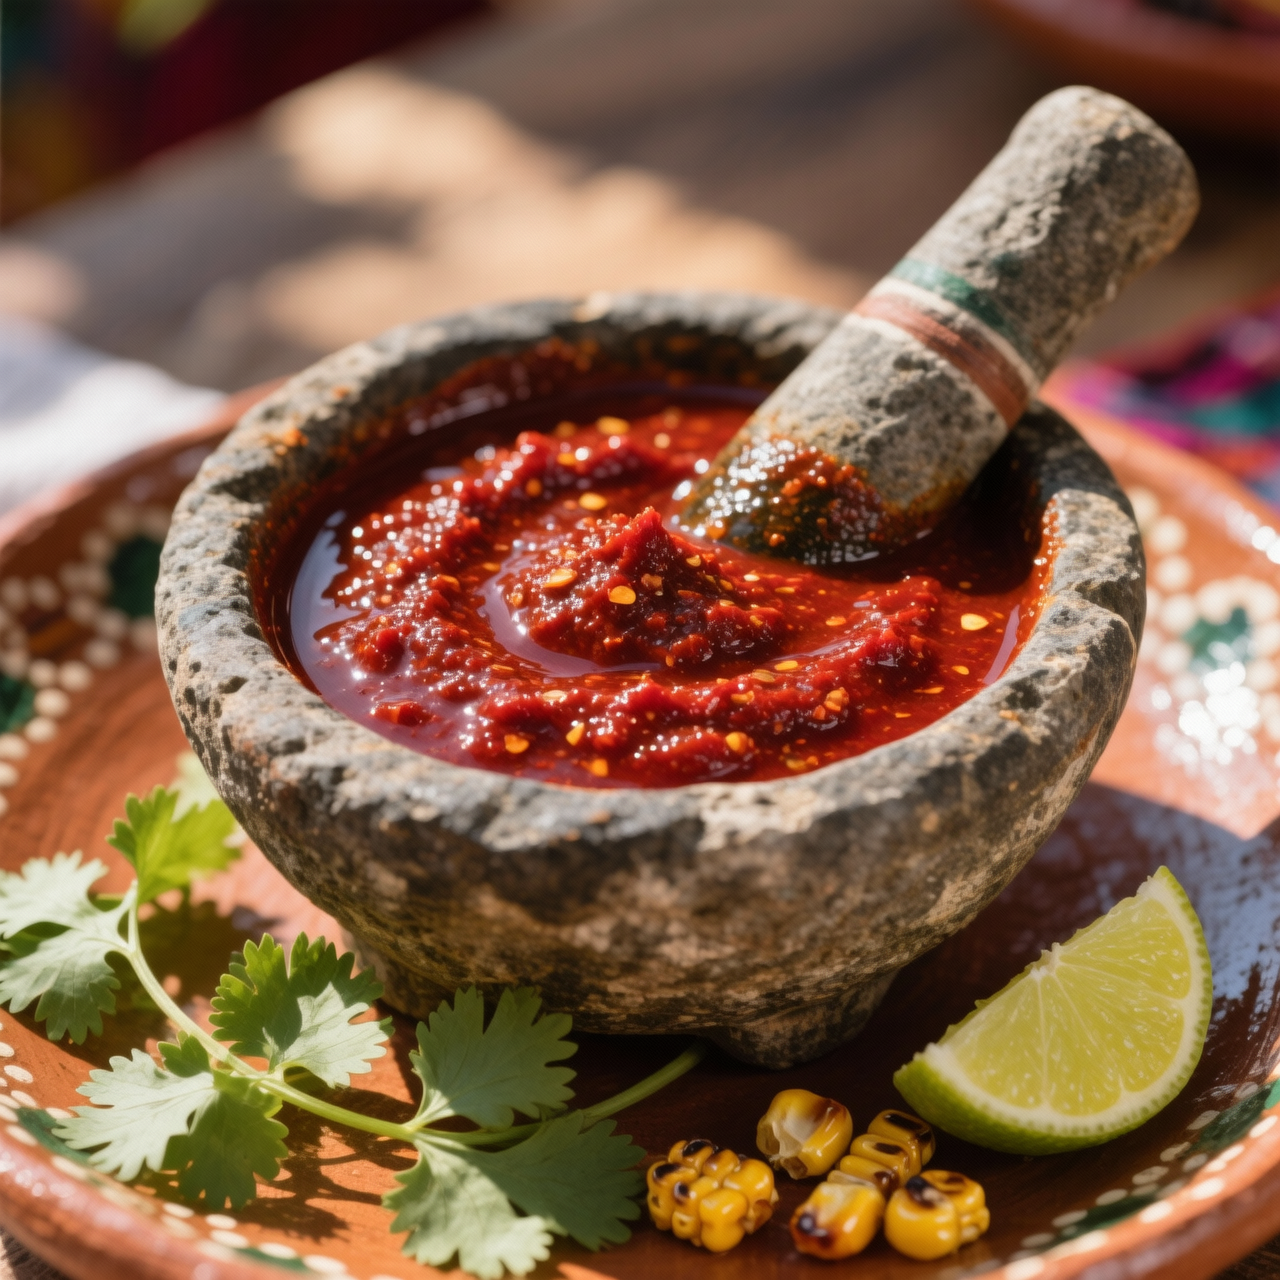
Ají Panca Paste
When I first traveled through the Andes and down to the coastal valleys of Peru, I quickly realized that ají panca is the undisputed backbone of the country's culinary soul. This large, dark red chili pepper, with its deep mahogany hue when dried, imparts a profoundly earthy, fruity, and subtly smoky flavor that defines so many classic dishes, from adobo to causa. Making a traditional ají panca paste from scratch is an act of devotion, a way to capture the very essence of Peruvian terroir in a jar. The process involves rehydrating the dried pods, toasting them lightly to awaken their oils, and blending them with a touch of oil and salt until you achieve a velvety, glossy consistency. The most common pitfall I see home cooks make is rushing the rehydration process or skipping the toasting step entirely. If you don't toast the chiles, you miss out on that crucial smoky depth; if you don't soak them long enough, your paste will be gritty and unpleasant. Another frequent mistake is adding too much liquid, which dilutes the intense, concentrated flavor and turns your beautiful paste into a watery sauce. Remember, this is a flavor bomb, not a soup. Once you master this technique, you'll find yourself keeping a jar in the fridge at all times. It is the ultimate batch hero, ready to elevate marinades, stews, and rice dishes with just a spoonful. Embrace the sticky fingers and the lingering aroma, because this paste will completely transform your everyday cooking.
Nutrition
| Per serving | Calories | Protein | Carbs | Fat | Sat fat | Fibre | Sugar | Sodium |
|---|---|---|---|---|---|---|---|---|
| beginner | 95kcal | 2g | 7g | 7g | 1g | 3g | 3g | 380mg |
| intermediate | 75kcal | 2g | 8g | 4g | 1g | 4g | 1g | 450mg |
| expert | 180kcal | 3g | 12g | 14g | 2g | 5g | 4g | 300mg |
Per serving · Ava-estimated — a guide, not a clinical figure.
- 100 gdried ají panca pepper— stems and seeds removed
- 500 mlwater— for rehydrating the peppers
- 60 mlneutral oil— such as canola or vegetable oil
- 5 gsalt— fine sea salt preferred
This version relies on the convenience of high-quality jarred ají panca paste, skipping the lengthy rehydration and deseeding process required for dried pods. It is designed for a confident first attempt, prioritizing accessibility without sacrificing the foundational smoky, earthy flavor profile essential to Peruvian cuisine. It is an excellent entry point for home cooks. Because you are starting with a pre-made base, the technique shifts from raw ingredient preparation to properly blooming and layering the paste. Watch closely when frying the paste in oil; it can splatter and burn quickly if the heat is too high. You want to cook it just until it darkens slightly and the oil separates, which unlocks its deep, complex aromas. This method is incredibly forgiving and yields a vibrant, versatile sauce that freezes beautifully. By mastering this simplified blooming technique, you build a reliable shortcut for weeknight cooking, ensuring you always have a batch of authentic-tasting ají panca paste ready to elevate stews, marinades, and rice dishes with minimal effort.
Equipment
- Small heavy-bottomed skillet— Essential for evenly blooming the paste without hot spots.
- Blender or food processor— A small personal blender works perfectly for this quantity.
- Silicone spatula— Useful for scraping down the sides of the blender.
Method
- 1
Heat neutral oil in a small skillet over medium-low heat until shimmering.
Medium-low is crucial to prevent the paste from scorching.
heating~ 2 min - 2
Add the jarred ají panca paste, minced garlic, and a pinch of salt to the warm oil.
Stand back slightly, as the paste may sputter when it hits the oil.
blooming~ 1 minTricky bit - 3
Stir continuously until the paste darkens slightly and the oil begins to separate from the solids.
This should take about 4 to 5 minutes; do not let it smoke.
frying~ 5 minTricky bit - 4
Transfer the bloomed paste mixture to a blender and add a splash of warm water to facilitate blending.
Use just enough water to help the blades catch, about 2 tablespoons.
blending~ 1 min - 5
Blend on high until a completely smooth, uniform paste forms, scraping down the sides as needed.
Pause to scrape down the sides to ensure no garlic chunks remain.
pureeing~ 2 min - 6
Portion the cooled paste into airtight containers or ice cube trays for immediate use or freezing.
Freezing in ice cube trays creates perfect single-serve portions for future recipes.
portioning~ 3 min
Cooking from frozen
Thaw overnight in the fridge or stir directly into hot dishes from frozen.
Storage times are a guide — always use your judgement and store food safely.