
Banana Ketchup
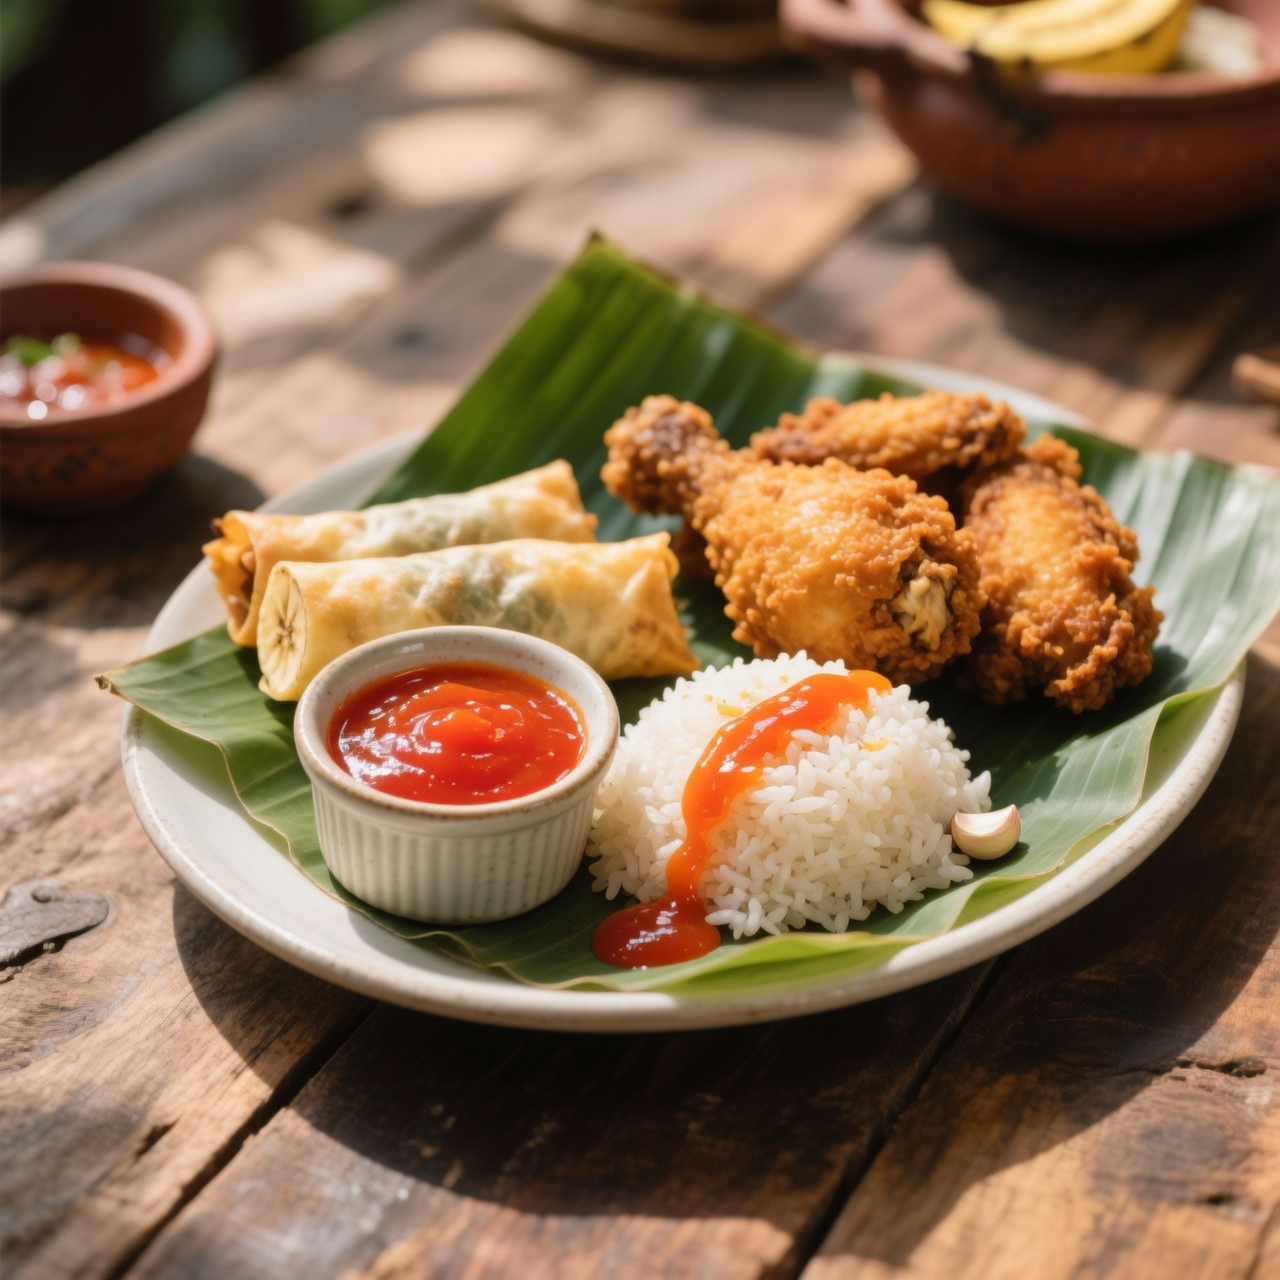
When I first encountered banana ketchup, it felt like a quiet rebellion against culinary expectations. Born in the Philippines during the Second World War, it emerged out of necessity when tomato shortages left shelves bare and local banana harvests heavy with surplus. Home cooks and early commercial producers transformed mashed saba bananas, vinegar, sugar, and warm spices into a glossy, ruby-red condiment that quickly became a staple on every Filipino table. I love it not just for its history, but for how it captures the Filipino palate’s beautiful embrace of sweet, tangy, and savory in a single pour. Making it at home strips away the artificial coloring and preservatives of mass-produced bottles, revealing a deeper, caramelized fruit complexity that pairs just as beautifully with hotdogs and fried chicken as it does with roasted vegetables or vegan burgers. But there’s a delicate balance to maintain. The biggest pitfall I see is rushing the simmer; banana ketchup needs a slow, patient reduction to develop that signature viscosity without turning into a sticky syrup. Overcompensating with sugar masks the natural tartness, while too little vinegar leaves it flat. Straining the puree thoroughly is non-negotiable if you want a silky finish, and a brief rest before bottling allows the flavors to marry properly. When scaled up, it bottles and freezes beautifully, making it the ultimate batch hero for meal prep or holiday spreads. Once you taste the difference between a rushed jar and a properly simmered batch, you’ll never look back at the store-bought version again.
Nutrition
| Per serving | Calories | Protein | Carbs | Fat | Sat fat | Fibre | Sugar | Sodium |
|---|---|---|---|---|---|---|---|---|
| beginner | 72kcal | 1g | 19g | 0g | 0g | 1g | 15g | 165mg |
| intermediate | 70kcal | 1g | 18g | 0g | 0g | 1g | 15g | 280mg |
| expert | 115kcal | 1g | 29g | 1g | 0g | 1g | 21g | 160mg |
Per serving · Ava-estimated — a guide, not a clinical figure.
- 500 gsaba banana— very ripe, peeled and roughly chopped
- 250 mlcane vinegar— or white distilled vinegar
- 300 gwhite sugar— granulated, adjust for desired sweetness
- 100 gyellow onion— finely diced
- 4 clovesgarlic— minced
- 300 mlwater— for simmering and consistency adjustment
- 15 gsalt— fine sea salt
- 2 gground black pepper— freshly ground
- 1 gground clove— for traditional warm spice note
- 1 tspred food coloring(optional)— liquid or gel, for iconic bright red appearance
This beginner-friendly approach to classic Filipino banana ketchup streamlines the traditional process by leveraging convenient shortcuts like pre-mashed banana puree and ready-made tomato paste, saving you from hours of simmering and straining. The goal here is confidence: you will quickly blend sweet, tangy, and savory notes into a glossy, shelf-stable condiment without mastering complex reduction techniques. As you cook, keep the heat strictly at a gentle simmer to prevent the natural sugars from scorching or the mixture from aggressively splattering. Stir consistently, especially as it thickens, because the high sugar content can easily burn to the bottom of the pan. You will notice the color deepening to a rich amber; if you want the iconic bright red hue found in commercial bottles, simply stir in a few drops of food coloring at the end. Once the sauce coats the back of a spoon, it is ready. Cool it completely before transferring to clean jars. This version prioritizes approachability and food safety, ensuring your first batch captures that nostalgic, sweet-tangy punch while remaining perfectly safe to store in your pantry for months.
Equipment
- Heavy-bottomed pan— essential for preventing scorching
- Small skillet— for blooming aromatics
- Silicone spatula— heat resistant
- Glass jars with tight lids— sterilize before filling
Method
- 1
Combine the banana puree, tomato paste, white vinegar, brown sugar, and water in a heavy-bottomed pan over medium heat.
Jarred banana puree saves significant prep time.
combining~ 5 min - 2
Heat the neutral oil in a separate small skillet, then add the minced garlic, grated onion, and ground spices until fragrant.
Do not let the garlic turn brown or it will taste bitter.
blooming~ 3 min - 3
Pour the fragrant oil mixture directly into the main pan and whisk vigorously until fully incorporated.
A quick whisk prevents oil separation and ensures even spice distribution.
emulsifying~ 1 min - 4
Reduce the heat to low and maintain a gentle simmer, stirring frequently until the sauce thickens and coats the back of a wooden spoon.
Watch closely for bubbling splatters as the natural sugars concentrate.
reducing~ 20 minTricky bit - 5
Remove the pan from the heat, stir in the soy sauce and optional red food coloring, then allow the mixture to cool completely before bottling.
Transfer to sterilized jars using a funnel to keep the rims clean for sealing.
bottling~ 10 min
Cooking from frozen
Thaw overnight in the refrigerator and whisk vigorously to re-emulsify any separated liquids before serving.
Storage times are a guide — always use your judgement and store food safely.