
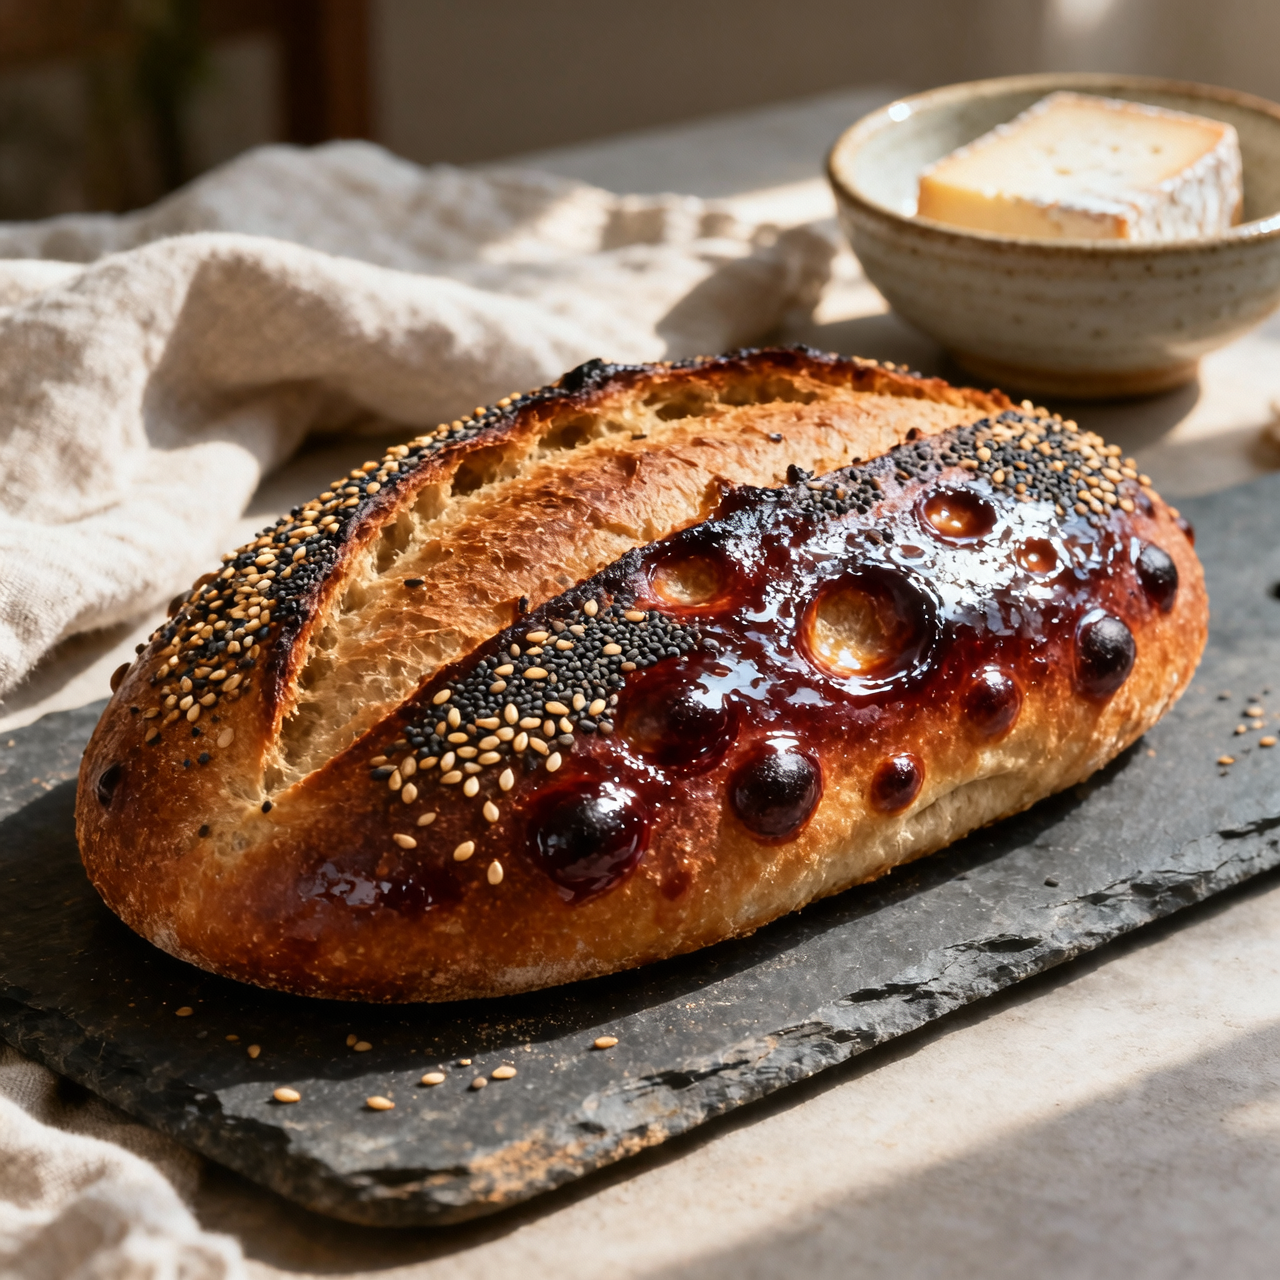
Barbari bread
Barbari is one of the great breads of Iran, born in the bakeries of Tabriz and perfected across Tehran’s morning queues. Historically baked in tandoor ovens, its defining character is a thick, blistered crust that cracks to reveal a cloud-soft, chewy interior. The bread earns its name from the Hazara people who originally shaped it, but today it is the undisputed king of the Persian breakfast table, torn apart to cradle feta, walnuts, and fresh herbs. A true Barbari relies on a proper long fermentation, a high-heat bake, and the signature alkaline glaze brushed over the surface before it hits the oven. This is what creates those iconic mahogany blisters and glossy finish. The most common pitfalls are under-proofing, which yields a dense brick, and a lukewarm oven that fails to spring the dough. I designed this recipe to replace the stale, overly sweetened supermarket loaves that pass for flatbread abroad. Those packaged alternatives often cost nearly four dollars a piece, rely on chemical preservatives to fake freshness, and deliver a gummy, flavorless crumb that collapses under a smear of cheese. Here, you work with only flour, water, yeast, and salt. The difference is immediate: a crackling crust, a faint sour tang from the yeast, and an aroma that fills your kitchen like a neighborhood bakery.
Nutrition
| Per serving | Calories | Protein | Carbs | Fat | Sat fat | Fibre | Sugar | Sodium |
|---|---|---|---|---|---|---|---|---|
| beginner | 520kcal | 14g | 95g | 9g | 1g | 3g | 4g | 580mg |
| intermediate | 520kcal | 14g | 95g | 9g | 1g | 3g | 4g | 580mg |
| expert | 520kcal | 14g | 95g | 9g | 1g | 3g | 4g | 580mg |
Per serving · Ava-estimated — a guide, not a clinical figure.
- 500 gbread flour— high-protein for structure
- 320 mlwarm water— around 40°C
- 7 gactive dry yeast— one standard sachet
- 10 gfine sea salt— divided for dough and glaze
- 15 ggranulated sugar— feeds the yeast
- 30 mlextra-virgin olive oil— keeps crumb tender
- 5 gbaking soda— activates the traditional glaze
- 20 gtoasted sesame seeds— for topping
- 10 gnigella seeds(optional)— optional but traditional
This version prioritizes confidence and clarity over speed, stripping away intimidating bakery jargon while keeping every ingredient entirely from scratch. You will work with a standard home oven and a basic baking sheet, avoiding the need for specialty stones or steam injection systems. The dough is formulated to be slightly less hydrated, making it far more forgiving to handle and shape without sticking to your hands. Proofing is guided by simple visual cues rather than strict timers, so you learn to recognize when the loaf has truly doubled in volume. The traditional alkaline wash is simplified into a quick, foolproof paste that guarantees the signature glossy finish without risking a bitter taste. Dimpling is done gently with your fingertips, creating just enough surface tension for a reliable oven spring. Watch closely during the final bake; the crust should turn a deep amber, and the loaf will sound hollow when tapped. This approach guarantees a tender, well-risen crumb on your very first attempt. Trust the process, keep your workspace lightly floured, and let the dough rest fully between steps.
Equipment
- large mixing bowl— glass or ceramic works best
- baking sheet— line with parchment
- pastry brush— silicone or natural bristle
- digital kitchen scale(optional)— highly recommended for accuracy
Method
- 1
Dissolve the sugar and yeast in the warm water and let it sit until foamy.
Water should feel comfortably warm on the wrist.
blooming~ 10 min - 2
Combine the flour, salt, oil, and yeast mixture in a large bowl and mix until a shaggy dough forms.
Use a wooden spoon or your hands to bring it together.
mixing~ 5 min - 3
Turn the dough onto a lightly floured surface and knead for eight minutes until smooth.
Add flour only if it sticks excessively.
kneading~ 8 min - 4
Place the dough in a lightly oiled bowl, cover it, and let it rise until doubled.
Look for a visible increase in volume, not just a specific time.
proofing~ 60 min - 5
Gently press the risen dough into a large oval on a parchment-lined baking sheet.
Keep the center slightly thicker than the edges.
shaping~ 3 min - 6
Mix baking soda with a small amount of warm water until smooth, then brush it evenly over the dough.
The mixture should coat without pooling.
glazing~ 2 min - 7
Use your fingertips to press deep, evenly spaced dimples across the surface and sprinkle with seeds.
Do not press all the way through the dough.
dimpling~ 2 min - 8
Bake in the preheated oven until the crust is deeply golden and sounds hollow when tapped.
Rotate the pan halfway through for even color.
baking~ 25 minTricky bit
Cooking from frozen
Wrap tightly in foil and thaw at room temperature for two hours, then reheat in a hot oven for five minutes to restore crust crispness.
Storage times are a guide — always use your judgement and store food safely.