
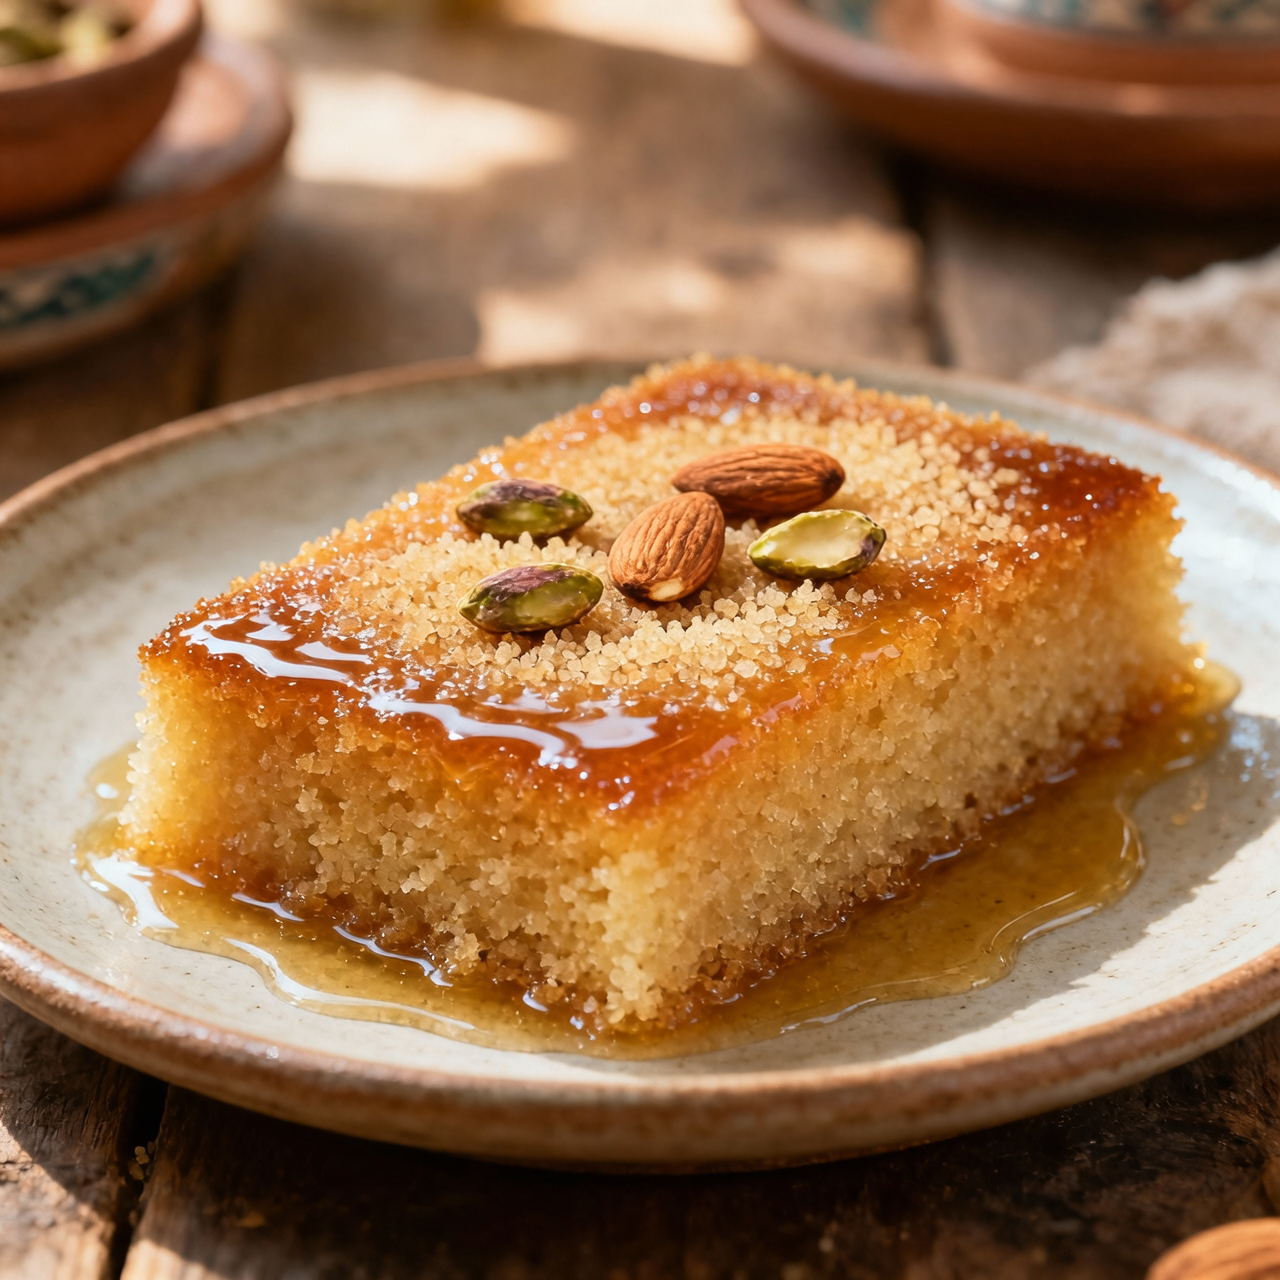
Basbousa (semolina cake)
I still remember the first time I tasted a truly authentic basbousa in a bustling Cairo bakery, where golden squares sat glistening under heavy glass domes, waiting to be soaked in rose-scented syrup. Today, however, most people reach for the plastic-wrapped, mass-produced versions lining supermarket shelves, which typically cost around three dollars for a small pack. Those factory-made substitutes are fundamentally flawed: they rely on stale semolina blends, artificial flavorings, and cloying glucose syrups that leave a waxy aftertaste and completely miss the delicate, sandy crumb that defines the real cake. Making basbousa from scratch isn’t just a culinary exercise; it’s a quiet rebellion against the homogenization of our sweets. The dish traces its roots to Ottoman and Egyptian kitchens, where coarse semolina was toasted gently in butter before being bound with yogurt, baked until crisp, and drowned in a light, fragrant sugar syrup. When you control the process, you avoid the common pitfalls that ruin homemade attempts. The biggest mistake is mismatching the syrup and cake temperatures; pouring hot syrup over a cold cake creates a soggy bottom, while cold syrup on a hot cake prevents proper absorption. Another frequent error is overmixing, which develops unwanted toughness in the semolina and turns a tender bite into something dense. You also must resist skipping the resting step after baking, as letting the cake sit briefly before pouring the cool syrup ensures even saturation without structural collapse. By using nothing but real butter, plain yogurt, coarse semolina, and a simple syrup infused with real orange blossom, you reclaim the soul of a centuries-old treat. It’s cheaper, cleaner, and infinitely more satisfying than anything shrink-wrapped.
Nutrition
| Per serving | Calories | Protein | Carbs | Fat | Sat fat | Fibre | Sugar | Sodium |
|---|---|---|---|---|---|---|---|---|
| beginner | 485kcal | 6g | 68g | 20g | 11g | 2g | 48g | 215mg |
| intermediate | 380kcal | 5g | 58g | 14g | 8g | 2g | 36g | 15mg |
| expert | 390kcal | 5g | 56g | 16g | 9g | 2g | 40g | 140mg |
Per serving · Ava-estimated — a guide, not a clinical figure.
- 250 gCoarse semolina— Use medium to fine grain for traditional texture
- 100 gGranulated sugar— For the cake batter
- 60 gUnsalted butter— Melted and cooled slightly
- 120 mlPlain yogurt— Full-fat recommended for moisture and tenderness
- 8 gBaking powder— Ensure freshness for proper rise
- 2 gFine salt
- 5 mlVanilla extract
- 40 gSliced almond(optional)— For garnish
- 30 gUnsweetened coconut(optional)— Shredded or flaked for garnish
- 120 mlWater— For the soaking syrup
- 150 gGranulated sugar— For the soaking syrup
- 5 mlLemon juice— Freshly squeezed to prevent syrup crystallization
- 5 mlRose water(optional)— Traditional floral flavoring
This beginner-friendly version strips away the intimidating precision of traditional basbousa without compromising on its authentic, from-scratch character. Store-bought semolina cakes typically run $6–$8 for a small plastic-wrapped slab, loaded with artificial flavorings, preservatives, and a cloying, one-note sweetness that masks the nutty aroma of properly toasted semolina. Here, we bypass the traditional soaking-and-draining syrup technique in favor of a straightforward, pour-and-bake method that guarantees a tender, uniformly moist crumb every time. The key difference at this level is a forgiving batter ratio and a simplified syrup simmered alongside the cake, eliminating the need for precise temperature checks or overnight resting. Watch closely during the final minutes of baking: the edges should pull slightly away from the pan and turn a deep golden brown, signaling the semolina has fully hydrated and caramelized. Avoid overmixing once the wet and dry ingredients meet; a few gentle folds are enough to prevent toughness. Score the cake into diamonds before it enters the oven so the syrup seeps cleanly into the cuts. With minimal equipment and clear visual cues, you will achieve that signature melt-in-your-mouth texture without the stress.
Equipment
- 9x9-inch baking pan— metal or ceramic works best
- Small saucepan— for simmering the simple syrup
Method
- 1
Preheat your oven to 350°F and lightly grease a 9x9-inch baking pan with butter.
Line the bottom with parchment if your pan tends to stick.
pan preparation~ 2 min - 2
Whisk the semolina, baking powder, baking soda, and salt together in a large mixing bowl until fully uniform.
Lumps in the leavening agents will cause uneven rising and bitter spots.
dry mixing~ 1 min - 3
Melt the butter in the microwave, then whisk it with the plain yogurt, granulated sugar, and egg until smooth.
Room temperature yogurt incorporates much faster and prevents curdling.
emulsifying~ 3 minTricky bit - 4
Pour the wet mixture into the dry ingredients and gently fold until just combined, then spread it evenly into the pan.
Use the flat side of a spatula to smooth the surface without compacting the batter.
folding~ 2 min - 5
Score the batter into two-inch diamond shapes using a sharp knife before sliding the pan into the oven.
Scoring while raw ensures clean cuts that guide the syrup later.
pre-scoring~ 1 min - 6
Bake the cake for twenty-five to thirty minutes until the top is deeply golden and springs back when lightly pressed.
Rotate the pan halfway through if your oven has known hot spots.
baking~ 30 min - 7
Simmer granulated sugar, water, and a squeeze of lemon juice in a small saucepan for five minutes until slightly thickened.
Do not stir once it boils to prevent unwanted crystallization.
syrup reduction~ 5 minTricky bit - 8
Pour the warm syrup evenly over the hot cake and let it rest uncovered for twenty minutes before slicing.
The temperature contrast between hot cake and warm syrup drives rapid absorption.
steeping~ 20 min
Cooking from frozen
Thaw wrapped in the refrigerator overnight, then rest at room temperature for an hour to allow the syrup to fully soften the crumb before serving.
Storage times are a guide — always use your judgement and store food safely.