
Breadcrumbs
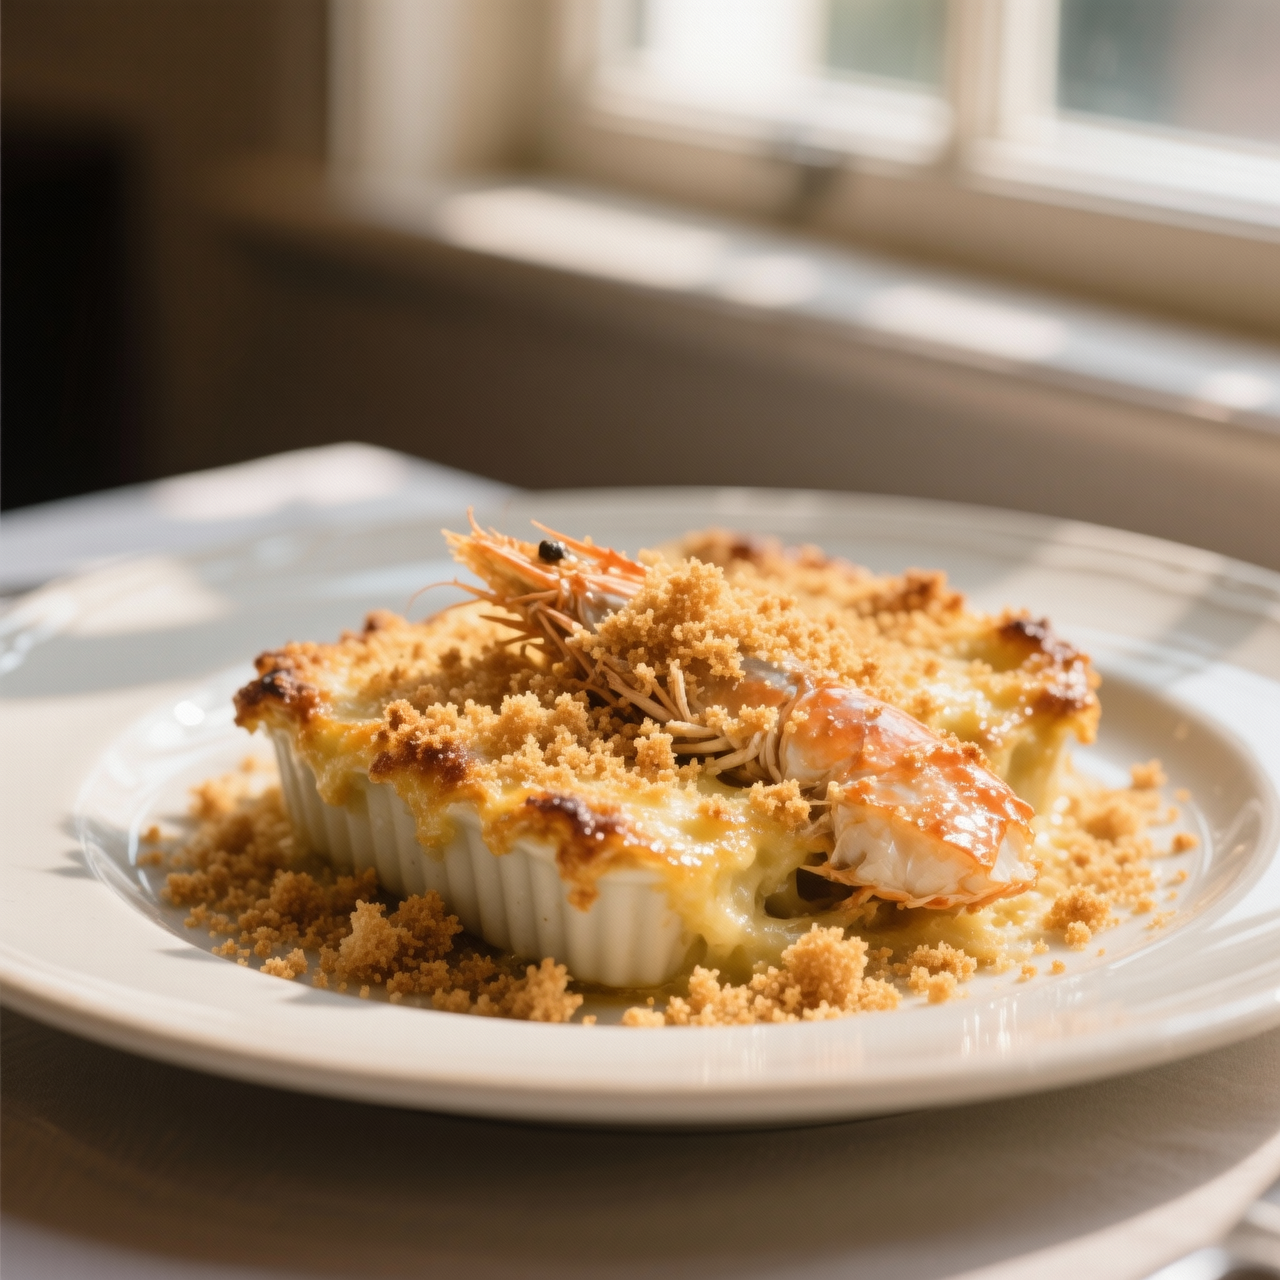
I’ve always found it absurd that we pay good money for little plastic bags of dried breadcrumbs when they are essentially free to make at home. The shop-bought versions are a tragic compromise: they cost around three dollars for a tiny box, often contain unnecessary preservatives or added sodium, and inevitably taste like stale cardboard rather than toasted bread. When you make them yourself, you are reclaiming one of the oldest culinary traditions of stretching food. Long before modern supermarkets, thrifty cooks across Europe and the Mediterranean knew that no scrap of bread should go to waste. The pitfalls of homemade breadcrumbs usually stem from impatience; if your bread isn't completely desiccated before you blitz it, you'll end up with a gummy paste rather than a crisp crumb. The secret is to let your leftover crusts and heels dry out thoroughly, either in a low oven or simply left on the counter, before pulsing them in a food processor. You can use any bread—sourdough, rye, ciabatta, or even gluten-free loaves—each imparting its own unique character to the final texture. Once processed, these golden crumbs become an infinitely versatile pantry staple. They add a crucial textural contrast to pastas, bind vegan patties, or simply crisp up in a pan with a little olive oil and garlic to finish a dish. By freezing your surplus in airtight containers, you ensure you always have this foundational ingredient on hand, transforming what was once destined for the compost bin into a brilliant, zero-waste culinary asset that far outshines anything you could buy.
Nutrition
| Per serving | Calories | Protein | Carbs | Fat | Sat fat | Fibre | Sugar | Sodium |
|---|---|---|---|---|---|---|---|---|
| beginner | 155kcal | 5g | 29g | 2g | 0g | 1g | 2g | 290mg |
| intermediate | 110kcal | 3g | 14g | 4g | 1g | 1g | 2g | 140mg |
| expert | 110kcal | 4g | 20g | 2g | 0g | 1g | 2g | 180mg |
Per serving · Ava-estimated — a guide, not a clinical figure.
- 500 gbread— Leftover or stale bread works best; alternatively, freeze fresh bread before processing
Shop-bought breadcrumbs cost about $3 for a tiny plastic tub of stale, preservative-laden dust with excessive sodium and poor flavor. This from-scratch version is practically free, utilizing leftover bread to create a fresher, vastly superior pantry staple. As a beginner, your goal is simply to dry the bread out thoroughly without burning it, then grind it into uniform crumbs. We use a low-and-slow oven method which is highly forgiving and requires minimal active attention. Watch closely during the final few minutes of toasting; the moisture content of your bread varies, and you want them dry and pale gold, not brown and bitter. Once cooled, a quick pulse in a food processor yields perfect crumbs. This simple technique builds confidence in transforming kitchen scraps into a foundational ingredient, proving that the best pantry staples are always made, not bought.
Equipment
- Rimmed baking sheet— A flat tray with raised edges to keep the bread contained.
- Food processor— A blender or box grater can be used in a pinch.
Method
- 1
Preheat the oven to 150°C (300°F).
Low heat prevents the bread from burning.
preheating~ 1 min - 2
Tear 6 slices of day-old bread into rough 2cm chunks and spread them in a single layer on a rimmed baking sheet.
Ensure they do not overlap for even drying.
preparing~ 2 min - 3
Bake for 20 to 30 minutes, tossing halfway through, until the bread is completely dry, crisp, and pale gold.
The pieces should snap, not bend, when cooled slightly.
drying~ 25 minTricky bit - 4
Transfer the dried bread to a food processor and pulse until you reach your desired crumb size.
Pulse briefly for coarse crumbs, process longer for fine.
pulsing~ 1 min - 5
Let the breadcrumbs cool completely before transferring to an airtight container for the freezer.
Any residual heat will create condensation and spoil them.
cooling~ 10 min
Cooking from frozen
Thaw at room temperature in a sealed container to prevent condensation, or use directly from frozen in hot dishes.
Storage times are a guide — always use your judgement and store food safely.