
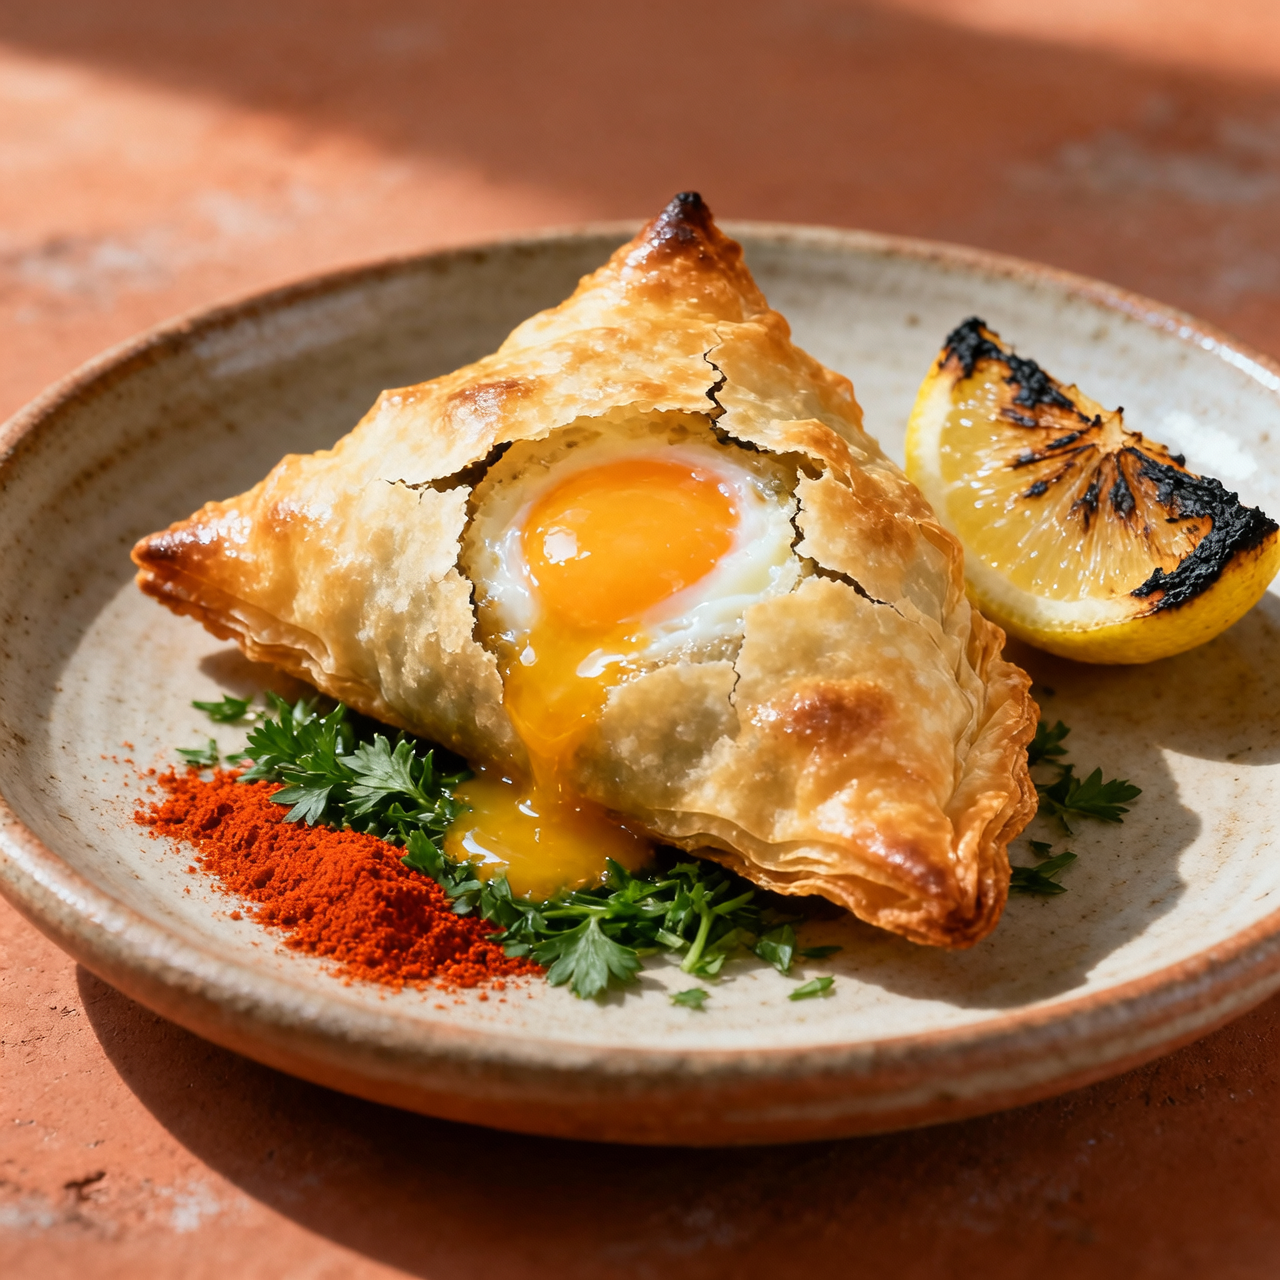
Brik a l'Oeuf
When I first learned to fold a brik à l’œuf, I quickly realized that true mastery lies in restraint rather than complexity. Though this golden, paper-thin parcel is most famously claimed by Tunisia, it has woven itself seamlessly into the coastal kitchens of Morocco, where I first tasted it sizzling in neighborhood stalls. At its heart, the brik is a celebration of frugality and precision: a delicate malsouka sheet, a single egg, a whisper of parsley, and a careful plunge into hot oil. What matters most is how it transforms humble ingredients into something almost architectural. For me, it represents the quiet magic of North African street food—unpretentious yet deeply technical. The pitfalls are everywhere, waiting to trip up the impatient. Too much filling tears the fragile dough, sending yolk straight into the fryer. Oil that’s too cool makes the pastry soggy, while oil that’s too violent shatters the seal before the white can set. Many cooks rush the fold, forgetting that a gentle half-moon press is the only guarantee of structural integrity. I’ve learned to treat the egg like a fragile guest, cracking it directly onto the warmed pastry and letting it rest for just thirty seconds before folding. When done right, the shell audibly crackles, the yolk stays luxuriously runny, and every bite carries the bright, herbal warmth of the Maghreb. It’s a snack that demands presence, rewarding those who respect its delicate balance with a perfect, fleeting crunch.
Nutrition
| Per serving | Calories | Protein | Carbs | Fat | Sat fat | Fibre | Sugar | Sodium |
|---|---|---|---|---|---|---|---|---|
| beginner | 378kcal | 9g | 16g | 31g | 5g | 2g | 2g | 760mg |
| intermediate | 378kcal | 9g | 16g | 31g | 5g | 2g | 2g | 760mg |
| expert | 378kcal | 9g | 16g | 31g | 5g | 2g | 2g | 760mg |
Per serving · Ava-estimated — a guide, not a clinical figure.
- 4 sheetsMalsouka pastry sheet— thawed if frozen, kept covered
- 4 wholeLarge egg— room temperature for easier handling
- 40 gFresh flat-leaf parsley— finely chopped, stems removed
- 100 gYellow onion— finely minced
- 30 gPreserved lemon— rind only, thoroughly rinsed and minced
- 15 gHarissa paste— adjust heat to preference
- 100 mlExtra virgin olive oil— for frying and binding
- 3 gFine sea salt— divided for filling and seasoning
- 1 gBlack pepper— freshly cracked
This version prioritizes confidence and consistency over traditional prep. The filling components are treated as ready-to-use elements, and the harissa is assumed to be a smooth, jarred paste that requires no further blending. The folding technique relies on a simplified triangular method that minimizes the risk of tearing or leaking. You will focus primarily on oil temperature control, as the pre-assembled wrapper is unforgiving of erratic heat. Keep a digital thermometer nearby to maintain a steady 175°C, and work in small batches to avoid crowding the pan. The goal here is a crisp, uniformly golden exterior that cleanly gives way to a soft, intact yolk. Watch for bubbles forming too rapidly along the edges, which indicates the oil is too hot and will scorch the pastry before the egg sets slightly. If the wrapper feels dry or brittle before frying, brush it lightly with a few drops of olive oil to restore pliability. This approach removes the guesswork from assembly, allowing you to master the frying rhythm first. Once you can consistently achieve a shatter-crisp shell with a perfectly runny center, you will have the foundation to explore more traditional techniques.
Equipment
- Deep skillet— non-stick or stainless steel works well
- Digital thermometer— crucial for consistent heat
- Slotted spatula— for safe flipping and removal
Method
- 1
Combine the minced onion, chopped parsley, rinsed preserved lemon, and jarred harissa in a small bowl.
Stir until evenly distributed.
mixing~ 1 min - 2
Lay one pastry sheet flat on a clean surface and lightly brush the edges with olive oil.
Prevents tearing during folding.
lubricating~ 1 min - 3
Spoon the herb mixture onto one half of the sheet and create a shallow well in the center.
Keep the mound low to avoid bursting.
shaping~ 1 min - 4
Carefully crack one room-temperature egg directly into the prepared well.
Room temp eggs slide more easily.
cracking~ 0 minTricky bit - 5
Fold the empty half of the sheet over the filling and press firmly along the edges to seal.
Crimp with a fork if needed.
folding~ 1 minTricky bit - 6
Heat oil to 175°C in a skillet and gently lower the parcel seam-side down until golden.
Do not crowd the pan.
frying~ 2 minTricky bit - 7
Remove with a slotted spatula and drain on paper towels before serving immediately.
Eat within minutes for best texture.
draining~ 0 min