
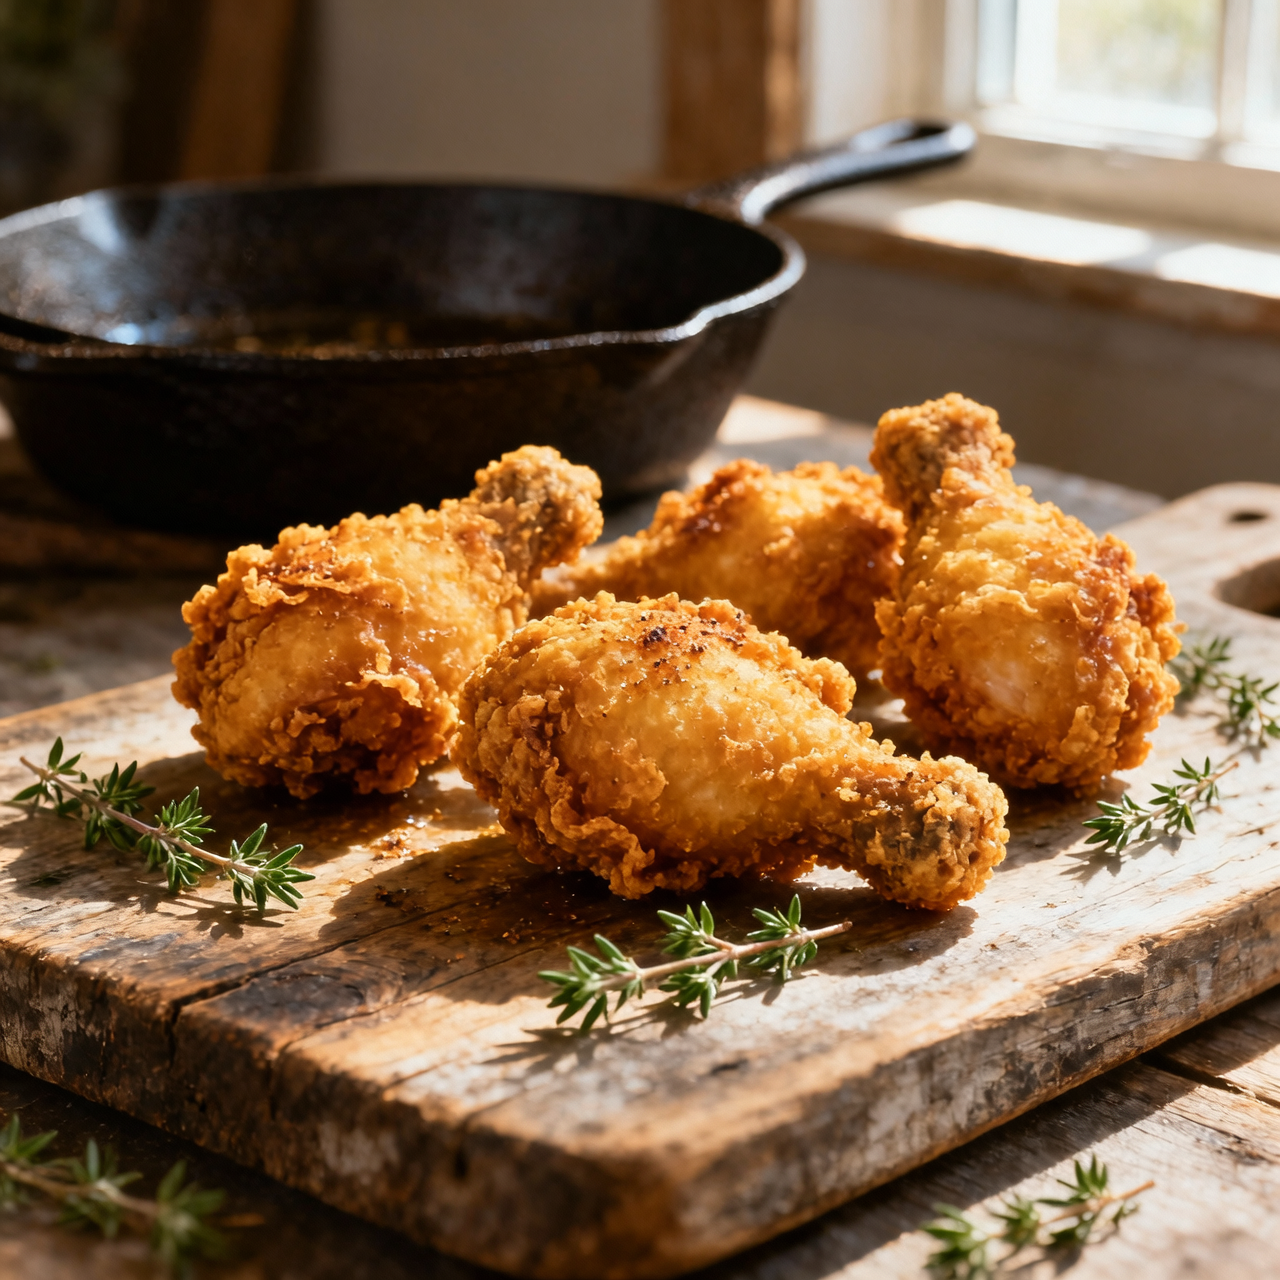
Buttermilk Fried Chicken
I’ve spent years chasing the perfect crunch, the exact moment when the crust shatters just before yielding to impossibly tender meat. Buttermilk fried chicken isn’t just a Southern staple; it’s a quiet testament to generations of cooks who turned scarcity into abundance. Enslaved African cooks first adapted European frying techniques to available ingredients, and over time, the acid-rich buttermilk emerged as both a tenderizer and a flavor carrier. That’s why this dish matters—it’s a living archive of resilience, community, and culinary ingenuity passed down through cast-iron skillets and Sunday gatherings. When I make it, I’m not just following a recipe; I’m honoring a lineage that taught us how to coax magic from simple, humble ingredients. Yet, so many stumble before they even reach the stove. The most common pitfall is skipping the overnight soak. Buttermilk needs time to break down proteins and infuse the meat; a quick thirty-minute dunk simply won’t do. Others rush the fry, cranking the oil too hot and ending up with a charred crust and raw center. Temperature control is everything, as is the patience to let the dredge dry into a shaggy, clumpy coating that fries up into those iconic craggy peaks. You also can’t crowd the pan. Drop too many pieces in at once, and the oil temperature plummets, leaving you with greasy, heavy chicken instead of something light, golden, and deeply savory. Get those fundamentals right, and you’ll understand why this recipe has endured—not as a trend, but as a standard.
Nutrition
| Per serving | Calories | Protein | Carbs | Fat | Sat fat | Fibre | Sugar | Sodium |
|---|---|---|---|---|---|---|---|---|
| beginner | 1040kcal | 60g | 64g | 56g | 13g | 4g | 3g | 1950mg |
| intermediate | 1040kcal | 60g | 64g | 56g | 13g | 4g | 3g | 1950mg |
| expert | 1040kcal | 60g | 64g | 56g | 13g | 4g | 3g | 1950mg |
Per serving · Ava-estimated — a guide, not a clinical figure.
- 1200 gchicken— bone-in, skin-on thighs and drumsticks
- 480 mlbuttermilk— full-fat, cultured
- 300 gall-purpose flour— sifted
- 20 gkosher salt— divided for brine and dredge
- 8 gblack pepper— freshly cracked
- 10 gsmoked paprika— sweet or hot variety
- 5 ggarlic powder— finely ground
- 5 gonion powder— finely ground
- 2 gcayenne pepper— adjust to heat preference
- 1000 mlvegetable oil— high smoke point, for deep frying
This pathway removes the intimidation factor from your first fry by prioritizing clear milestones and forgiving techniques. You will rely on straightforward dredging and a reliable instant-read thermometer to eliminate guesswork around oil temperature. The marinade is kept simple, and the coating process is designed for maximum adhesion without fuss. Watch closely for the oil to shimmer and ripple before adding the chicken, as this visual cue prevents the coating from absorbing excess grease. Do not overcrowd the pan, and resist the urge to move the pieces until they naturally release from the bottom. The goal is not perfection on the first try, but rather a consistent, golden result that proves you can handle the heat. Keep your station tidy, have paper towels ready for draining, and trust the timing cues provided here. By focusing on steady heat and patience, you will build the muscle memory needed to progress to more refined methods.
Equipment
- Heavy-bottomed skillet— non-stick or enameled works well for beginners
- Instant-read thermometer— digital probe preferred
- Shallow mixing bowls— two large bowls needed
Method
- 1
Combine the buttermilk and half of the kosher salt in a large bowl.
Stir until the salt dissolves completely.
marinating~ 2 min - 2
Submerge the chicken pieces in the buttermilk mixture and refrigerate.
Cover tightly to prevent odor transfer.
brining~ 60 min - 3
Whisk the flour, black pepper, smoked paprika, garlic powder, onion powder, cayenne, and remaining salt in a wide dish.
Ensure spices are evenly distributed.
dredging~ 3 min - 4
Lift each piece from the buttermilk and coat thoroughly in the seasoned flour.
Press gently to adhere, but do not shake off excess.
coating~ 10 minTricky bit - 5
Heat the vegetable oil in the skillet to exactly 350°F.
Oil should ripple when a wooden spoon handle is dipped in.
temperature_control~ 7 minTricky bit - 6
Fry the coated chicken in batches until the internal temperature reaches 165°F.
Flip halfway through for even browning.
frying~ 20 minTricky bit