
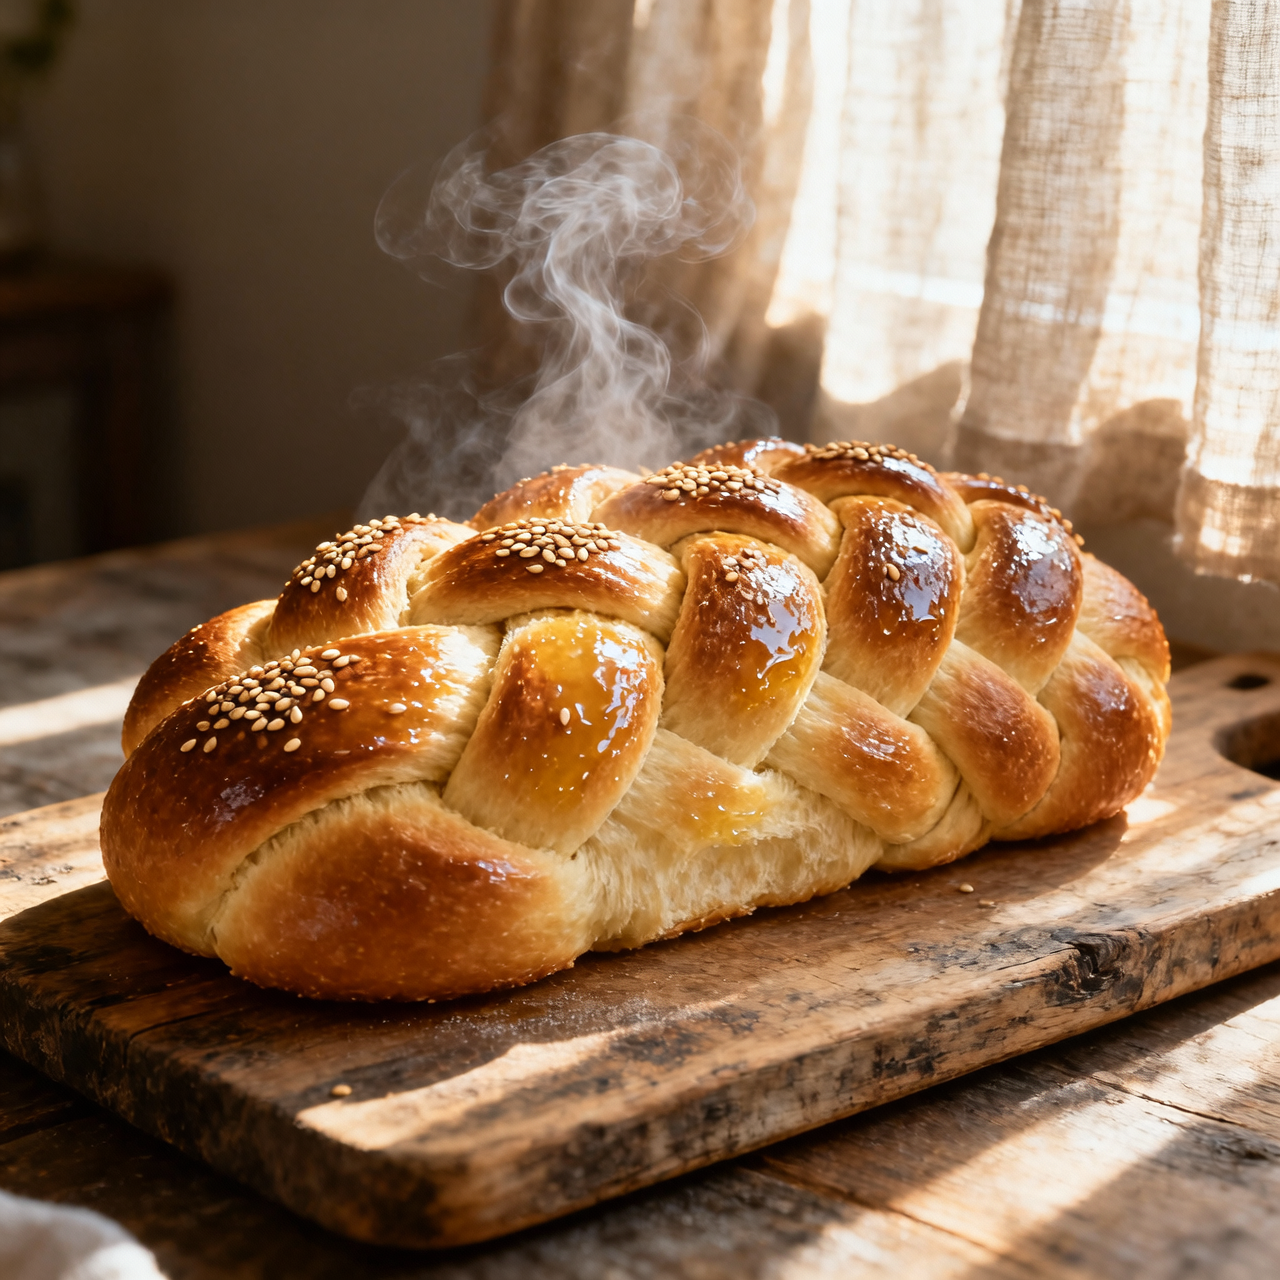
Challah
Challah traces back to ancient Israelite temple offerings, evolving through diaspora communities into the braided Sabbath bread we know today. In Israeli kitchens, it’s more than breakfast—it’s a weekly anchor of rest, memory, and shared grace. I’ve spent years perfecting this dough, learning that its magic lies in patience, not precision. The most common mistake? Rushing the fermentation. Cold kitchens, overworked gluten, or adding too much flour during shaping will turn what should be pillowy into something dense and forgettable. I always tell beginners to trust their hands over timers; the dough should feel like a soft earlobe, springy but yielding. Another pitfall is skipping the egg wash or brushing it on too aggressively, which weighs down those delicate braids instead of gilding them. And please, don’t slice it warm. I know the temptation is real, but cutting into fresh challah collapses the crumb and steals the steam that makes it tender. Let it rest. Let it cool completely on a wire rack so air circulates. When you finally tear into it, you’ll taste centuries of Sabbath mornings, immigrant kitchens, and quiet devotion. In Israel, where bakeries start mixing before dawn, this bread carries a rhythm that ties generations together. Making it at home isn’t about replicating a recipe—it’s about joining a lineage. Every braid is a small act of reverence, every golden crust a promise of comfort. If you give it time, respect its ingredients, and listen to what the dough tells you, it will reward you with something far greater than breakfast. It will give you stillness.
Nutrition
| Per serving | Calories | Protein | Carbs | Fat | Sat fat | Fibre | Sugar | Sodium |
|---|---|---|---|---|---|---|---|---|
| beginner | 720kcal | 20g | 115g | 22g | 4g | 4g | 24g | 850mg |
| intermediate | 720kcal | 20g | 115g | 22g | 4g | 4g | 24g | 850mg |
| expert | 720kcal | 20g | 115g | 22g | 4g | 4g | 24g | 850mg |
Per serving · Ava-estimated — a guide, not a clinical figure.
- 500 gBread flour— high-protein, preferably unbleached
- 240 gWarm water— around 105°F
- 10 gActive dry yeast— two standard packets
- 60 gGranulated sugar
- 60 gVegetable oil— neutral flavor like canola or sunflower
- 3 wholeLarge egg— room temperature
- 8 gFine sea salt
- 30 gHoney— for glazing
- 15 gSesame seeds(optional)
This version strips away the intimidation factor while keeping the soul of the loaf intact. You will mix everything in a single bowl and let the dough do the heavy lifting, avoiding complex kneading routines. I rely on a simple three-strand braid that guarantees a uniform bake without requiring advanced shaping skills. The key here is trusting the hydration; the dough will feel sticky at first, but resist the urge to dump in extra flour. Instead, lightly oil your hands and work the dough gently. Watch the proofing window closely. Your oven’s ambient heat will dictate the pace, so look for a doubled volume rather than a rigid timer. The shortcut lies in combining the yeast directly with the dry ingredients and using a stand mixer or a sturdy spoon for initial incorporation. You will still achieve a tender, golden crust and a soft pull-apart interior. Focus on even tension in your braid and a steady oven temperature. This approach guarantees a confident first attempt without sacrificing the comforting, celebratory essence that makes challah so special.
Equipment
- Large mixing bowl— glass or stainless steel preferred
- Parchment paper— prevents sticking and ensures easy transfer
- Pastry brush— silicone or natural bristle
Method
- 1
Combine flour, sugar, salt, and yeast in a large bowl.
Whisk thoroughly to distribute leavening evenly.
mixing~ 1 min - 2
Pour in warm water, oil, and eggs, stirring until a shaggy dough forms.
Resist adding extra flour at this stage.
incorporating~ 2 min - 3
Knead on a lightly oiled surface for five minutes until smooth and slightly tacky.
Use a bench scraper to manage stickiness.
kneading~ 5 min - 4
Cover with a damp towel and let rest until visibly puffy.
Look for volume doubling rather than a set time.
proofing~ 60 min - 5
Divide dough into three equal ropes and braid loosely, tucking ends underneath.
Keep strands uniform for even baking.
shaping~ 5 minTricky bit - 6
Place on a parchment-lined sheet, brush with honey and water, and sprinkle with seeds.
Thin the honey with a teaspoon of water for easier spreading.
glazing~ 1 min - 7
Bake at 350°F until deeply golden and hollow-sounding when tapped.
Rotate halfway through for consistent browning.
baking~ 30 min