
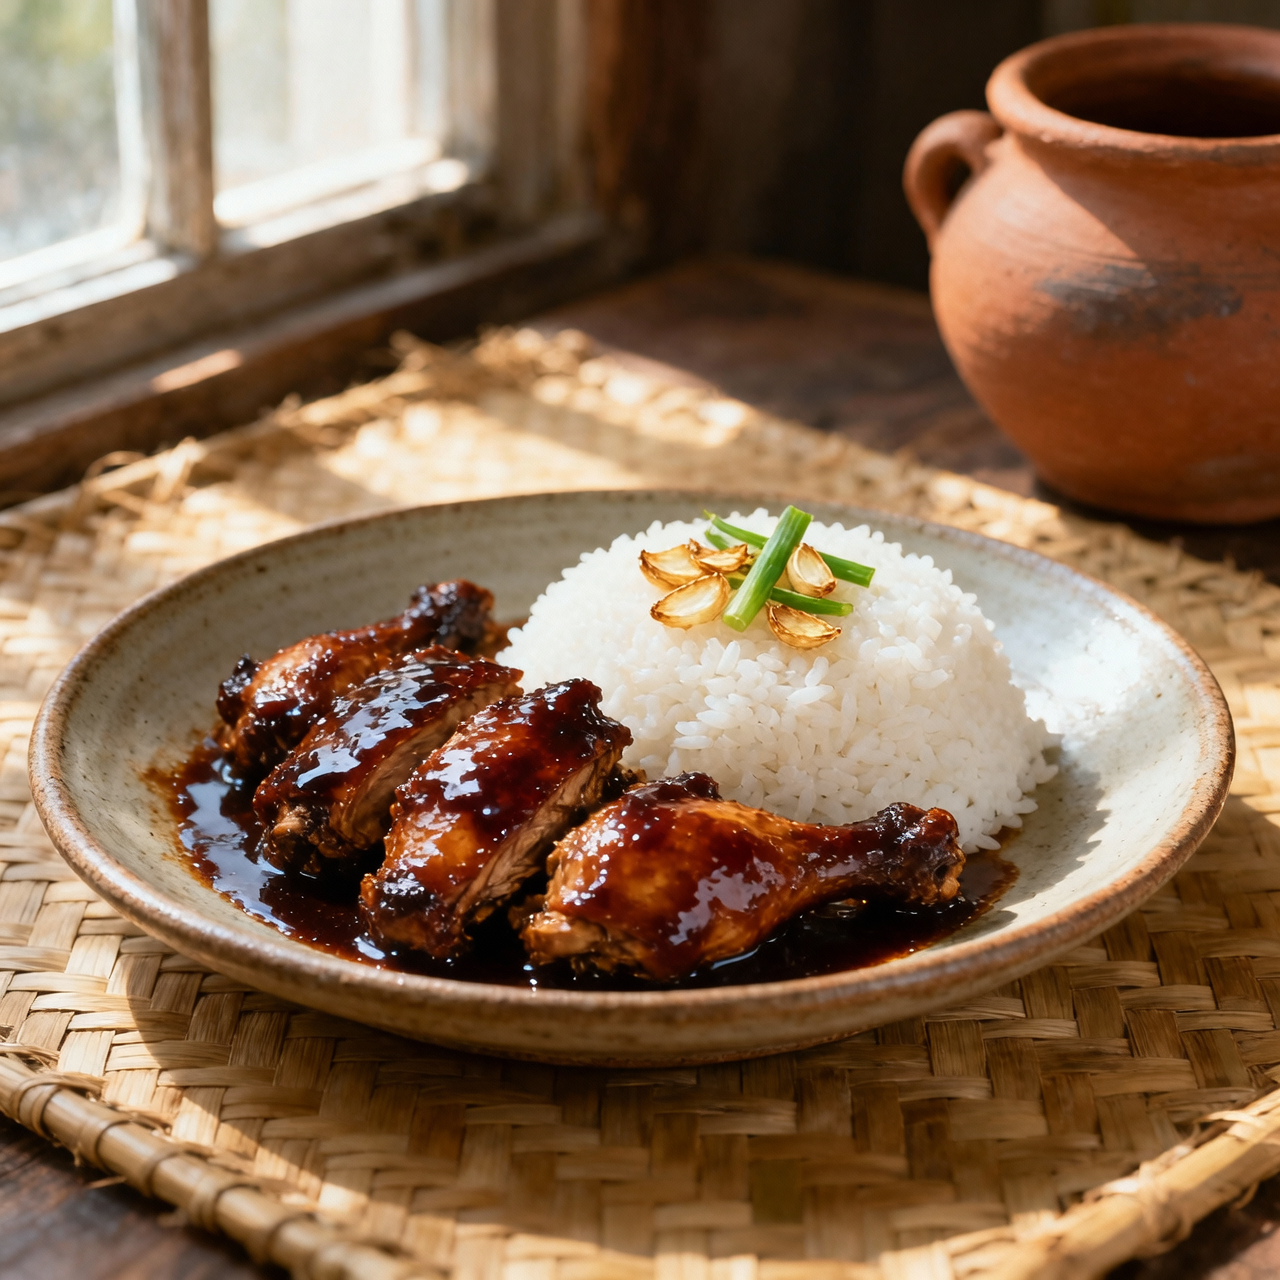
Chicken Adobo
I’ve always believed that chicken adobo isn’t just a dish; it’s a living archive of Filipino resilience and resourcefulness. Long before Spanish colonizers arrived, our ancestors were already preserving meat using vinegar and salt, a technique born out of necessity in our tropical climate. When the Spanish introduced soy sauce and named it adobo from the Spanish verb adobar, the dish didn’t replace our traditions. It absorbed them, creating something entirely ours. That’s why I care so deeply about getting it right. Adobo is the heartbeat of Filipino kitchens, the first thing many of us learn to cook, and the dish that greets us when we come home. Yet, for all its apparent simplicity, it’s incredibly easy to misstep. The most common pitfall I see is rushing the braise, which leaves the chicken tough and the sauce thin, or worse, boiling the vinegar vigorously at the start. That strips away its bright acidity and leaves a harsh, metallic tang. Another frequent mistake is overcrowding the pot, which steams the meat instead of letting it sear properly before the slow simmer. True adobo demands patience. Let the vinegar simmer untouched for those first crucial minutes, brown the chicken thoroughly to build fond, and reduce the sauce slowly until it clings to the meat like a second skin. When done with care, it’s not just a meal. It’s a quiet conversation between history and hunger, a reminder that the best flavors are never rushed.
Nutrition
| Per serving | Calories | Protein | Carbs | Fat | Sat fat | Fibre | Sugar | Sodium |
|---|---|---|---|---|---|---|---|---|
| beginner | 510kcal | 36g | 10g | 32g | 9g | 1g | 4g | 1650mg |
| intermediate | 510kcal | 36g | 10g | 32g | 9g | 1g | 4g | 1650mg |
| expert | 510kcal | 36g | 10g | 32g | 9g | 1g | 4g | 1650mg |
Per serving · Ava-estimated — a guide, not a clinical figure.
- 800 gchicken thigh— bone-in, skin-on
- 120 mlsoy sauce— regular Filipino or Japanese style
- 100 mlcane vinegar— unaged
- 40 ggarlic— peeled and lightly crushed
- 10 gwhole black peppercorn— cracked or whole
- 4 leavesdried bay leaf— whole
- 30 mlneutral cooking oil— for searing
- 15 gbrown sugar— for balance
- 200 mlwater— for braising liquid
This version prioritizes confidence over strict tradition, guiding you through a forgiving, streamlined process that guarantees a delicious result on your first try. Instead of worrying about precise simmering windows or complex layering, you will focus on building flavor in a single pan with steady, manageable heat. The recipe embraces convenient shortcuts like using a pre-mixed adobo paste that mirrors our ingredient list, or simply combining everything at once and letting time do the heavy lifting. Watch closely for the moment the liquid reduces to a thick glaze, which is your signal to pull the heat. The main pitfall at this stage is rushing the braise; low and slow is non-negotiable, even when using shortcuts. I’ve designed the steps to eliminate guesswork, giving you clear visual cues for doneness so you never overcook the meat. By the end, you’ll have a deeply savory, tangy dish that tastes exactly like what you’d find at a family table. Trust the process, keep your pan covered, and let the aromas guide you toward a reliable, comforting meal.
Equipment
- heavy-bottomed pan— non-stick or enameled cast iron works best
- tongs— for safe turning
Method
- 1
Combine chicken, soy sauce, vinegar, garlic, peppercorns, bay leaves, sugar, and oil in a large heavy-bottomed pan.
Cover and let sit at room temperature for ten minutes.
marinating~ 10 min - 2
Place the pan over medium heat and bring the mixture to a gentle simmer.
Do not stir until the liquid bubbles steadily.
simmering~ 5 min - 3
Cover the pan and reduce heat to low, cooking until the chicken is fully cooked through.
Pierce the thickest piece; juices should run clear.
braising~ 20 min - 4
Uncover and increase heat to medium-high, stirring occasionally until the sauce thickens into a glaze.
Watch closely to prevent burning as it reduces.
reducing~ 8 minTricky bit - 5
Remove from heat and let the chicken rest in the sauce for five minutes before serving.
Resting allows flavors to penetrate the meat fully.
resting~ 5 min