
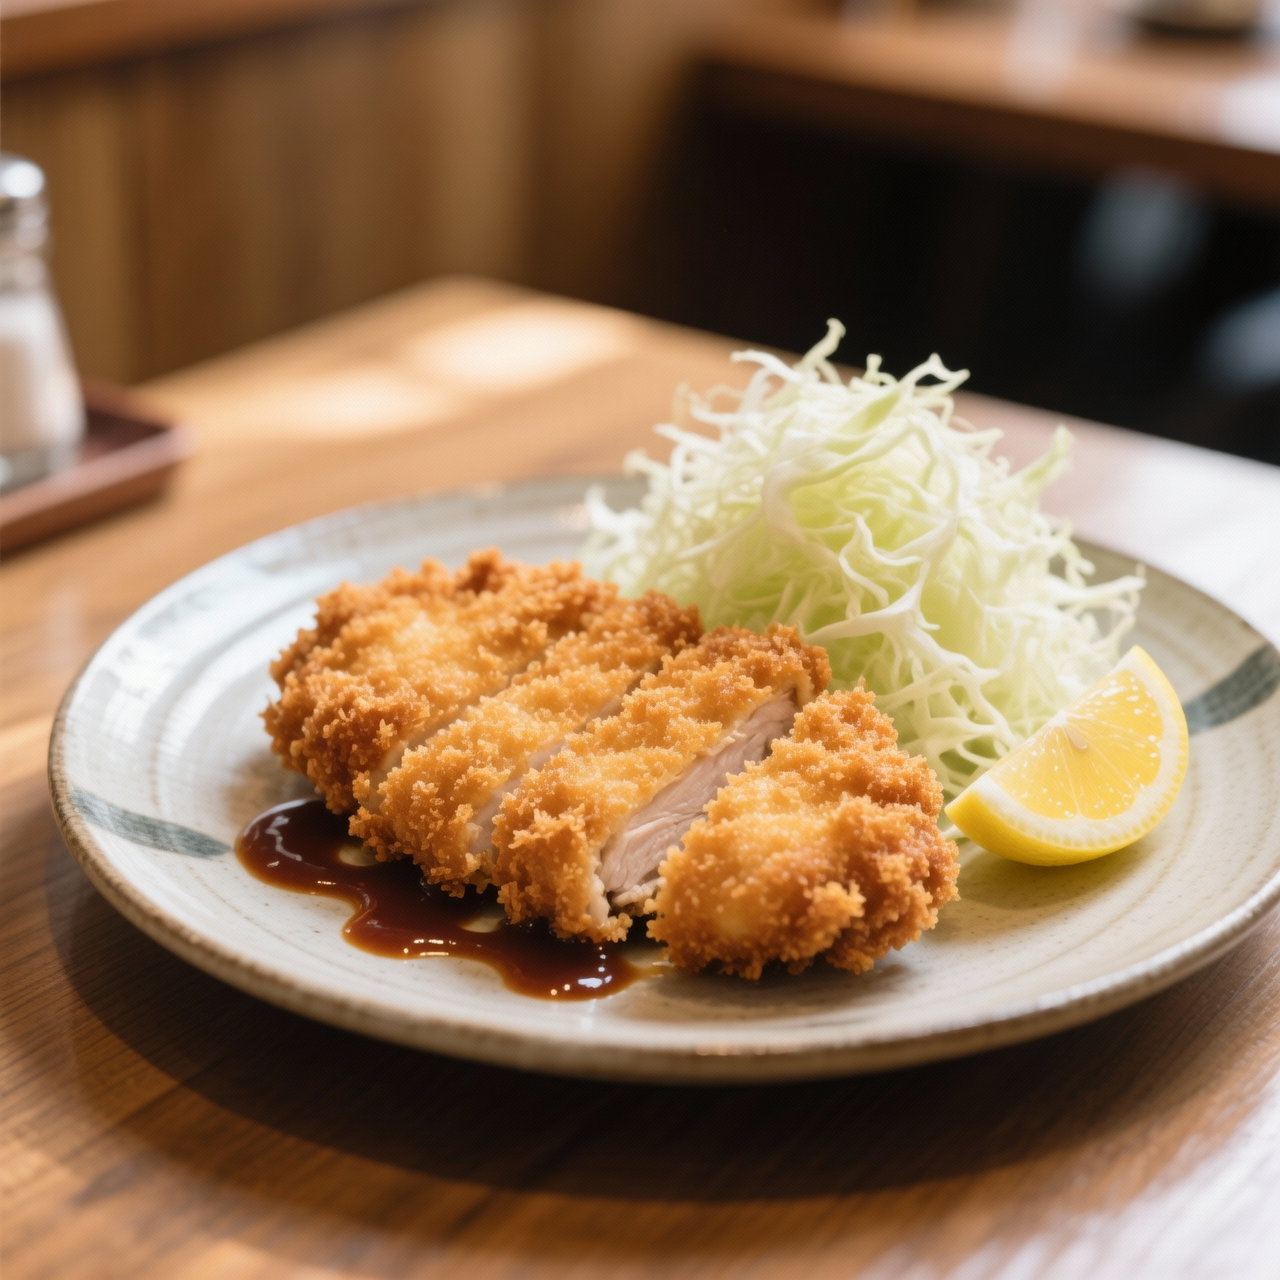
Chicken Katsu
When I first encountered katsu, it was as a pale, factory-stamped cutlet pulled straight from the supermarket freezer aisle, usually costing around four dollars a pack. Those convenience discs promised a quick dinner, but delivered a dry, chalky interior masked by a greasy, pre-mixed breadcrumb shell that shattered into dust. I knew there had to be a better way, which is why I returned to the original Japanese method. Chicken katsu emerged in the late nineteenth century during Japan’s Meiji era, born from a fascination with Western-style breaded meats that was quickly refined into something distinctly local and deeply satisfying. Making it from scratch isn’t just about nostalgia; it’s about texture, control, and respect for the ingredient. The true magic lies in the triple-coating technique—flour, egg, and proper panko—followed by a carefully monitored fry that yields a glassy, golden crust while keeping the meat impossibly tender. Home cooks often stumble by skipping the pounding step, using stale or fine breadcrumbs instead of airy panko, or dropping the oil temperature too low, which guarantees a soggy, oil-logged result. By starting with fresh chicken thighs, toasting your own panko from simple crusts, and maintaining a steady 340-degree fry, you bypass every industrial compromise. The cost difference is negligible when you consider the yield, but the payoff is a restaurant-quality cutlet that actually tastes of chicken, toasted wheat, and clean heat. This is how we reclaim our weeknight meals from the freezer section.
Nutrition
| Per serving | Calories | Protein | Carbs | Fat | Sat fat | Fibre | Sugar | Sodium |
|---|---|---|---|---|---|---|---|---|
| beginner | 510kcal | 34g | 36g | 21g | 4g | 2g | 10g | 690mg |
| intermediate | 485kcal | 33g | 36g | 19g | 4g | 2g | 8g | 640mg |
| expert | 510kcal | 35g | 40g | 19g | 3g | 2g | 7g | 640mg |
Per serving · Ava-estimated — a guide, not a clinical figure.
- 400 gchicken breast— boneless and skinless, pounded to even thickness
- 60 gall-purpose flour— for initial dredging
- 1 largeegg— lightly beaten
- 120 gpanko— Japanese-style breadcrumbs
- 5 gsalt— or to taste
- 2 gblack pepper— freshly ground
- 500 mlvegetable oil— neutral oil with high smoke point for frying
- 60 mltonkatsu sauce(optional)— store-bought or homemade
- 200 ggreen cabbage(optional)— finely shredded, for serving
This beginner-friendly approach strips away the intimidation of restaurant breading stations while delivering a reliably golden, shatteringly crisp result that easily outperforms supermarket freezer packs. Those pre-breaded packs typically cost £6–8 for four and rely on heavy stabilizers, recycled oils, and muted seasoning that masks the chicken entirely. Making your own is cheaper, healthier, and guarantees fresh, recognizable ingredients. The technique here simplifies the classic three-step coating by using a single shallow dish for the dry crumbs and keeping the wet and dry zones strictly separated to avoid clumping. A shallow pan-fry replaces deep-frying for easier oil management and safer splatter control. Watch the oil temperature carefully; if it bubbles too aggressively, the crust will scorch before the meat cooks through. A gentle press with tongs ensures full contact for even browning. Resting the fried cutlets on a wire rack preserves the crunch, while slicing against the grain at a slight angle keeps every bite tender.
Equipment
- Heavy-bottomed skillet— cast iron or stainless steel retains steady heat
- Wire cooling rack— elevates cutlets to prevent soggy bottoms
- Shallow baking dishes— three identical trays keep the breading line tidy
- Digital instant-read thermometer(optional)— verifies safe 75°C internal temperature
Method
- 1
Pound chicken breasts or thighs between two sheets of parchment paper to a uniform 1 cm thickness.
Even thickness prevents dry edges and guarantees uniform cooking times.
pounding~ 2 min - 2
Season both sides of each cutlet generously with fine sea salt and freshly ground white pepper.
Direct seasoning builds a flavor foundation the crust alone cannot carry.
seasoning~ 1 min - 3
Pulse day-old crustless white bread in a food processor until coarse, dry crumbs form.
Fresh homemade crumbs crisp faster and completely avoid commercial preservatives.
processing~ 1 min - 4
Arrange three shallow trays in a row and fill them with plain flour, lightly beaten eggs, and your fresh crumbs.
Keep one hand strictly dry and one hand strictly wet to prevent messy clumping.
station_setup~ 2 min - 5
Dredge each cutlet in flour, dip completely into the egg wash, then press firmly into the crumbs to coat.
A firm press locks the coating to the meat before it hits the oil.
dredging~ 4 minTricky bit - 6
Heat 1 cm of neutral oil in a heavy skillet to 175°C and fry cutlets until deep golden, flipping once halfway.
Maintain steady medium heat to seal the crust without absorbing excess grease.
shallow_frying~ 6 minTricky bit - 7
Simmer tomato paste, soy sauce, rice vinegar, grated fresh ginger, and brown sugar in a small pot until slightly thickened.
Stir constantly over medium-low heat to prevent natural sugars from scorching.
reducing~ 4 min - 8
Transfer fried cutlets to a wire rack, rest for three minutes, slice diagonally, and serve with the warm sauce.
Resting redistributes juices and keeps the crust shattering crisp.
resting~ 3 min
Cooking from frozen
Thaw overnight in the fridge, then crisp in a 375°F oven or air fryer to restore crunch.
Storage times are a guide — always use your judgement and store food safely.