
Chilaquiles
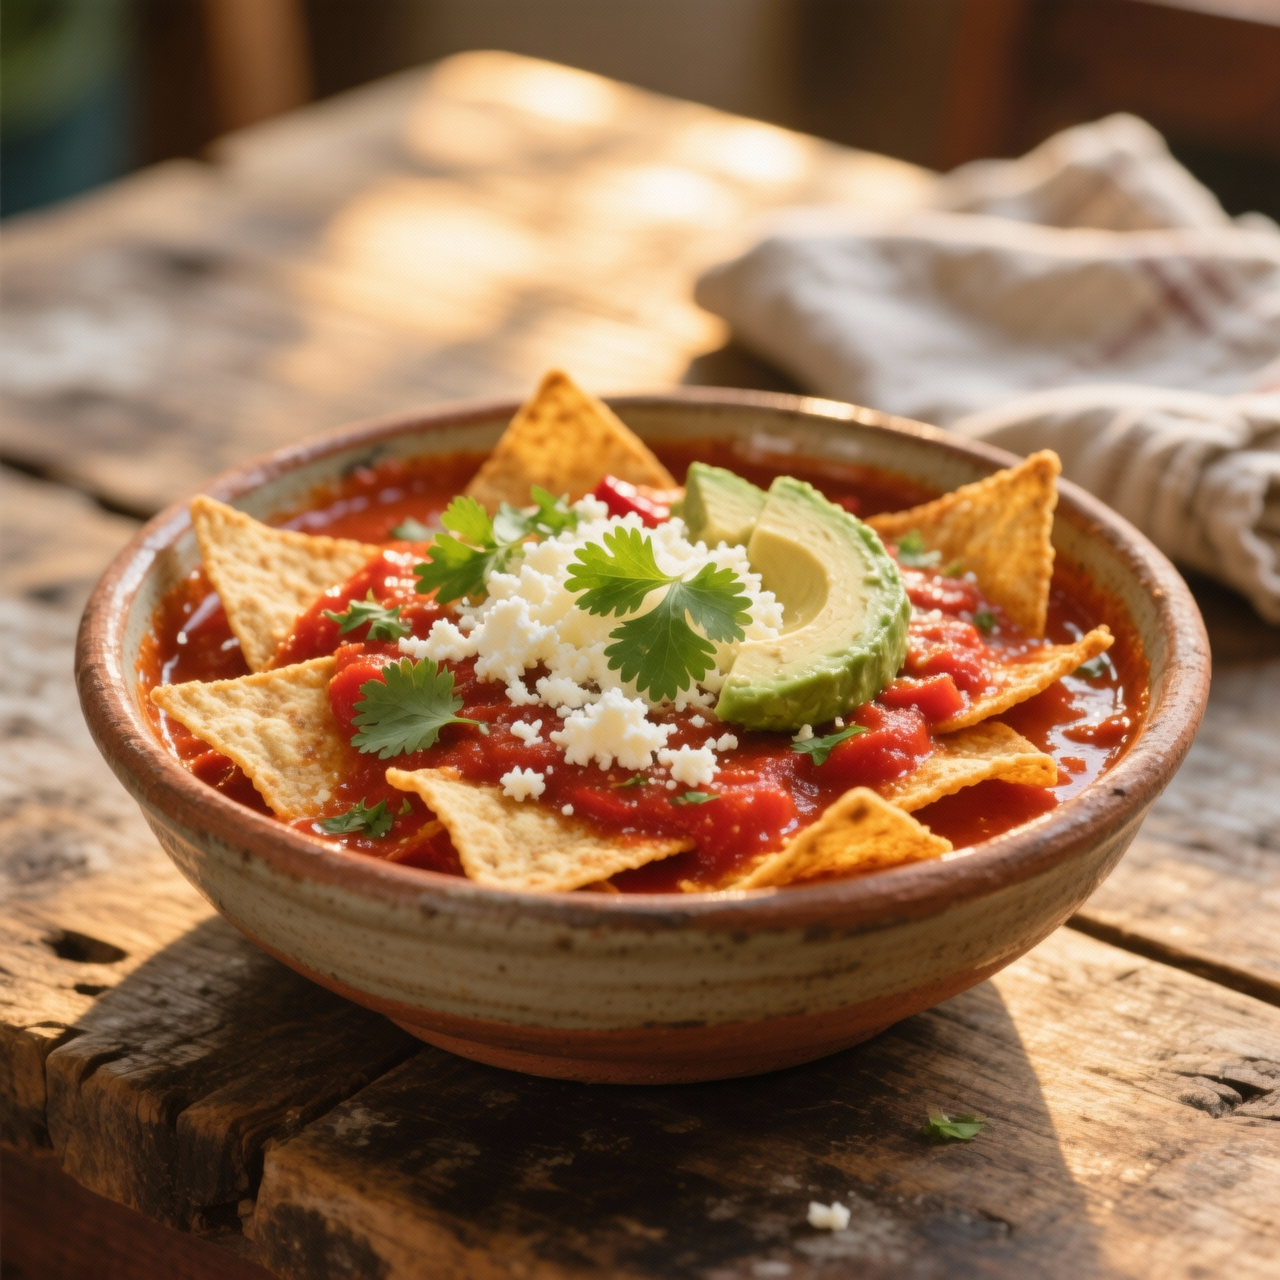
I still remember the first time I watched my abuela rescue yesterday stale tortillas by simmering them in a vibrant salsa, transforming kitchen scraps into a steaming breakfast masterpiece. That is where chilaquiles were born, long before food blogs or brunch menus, in the practical, resourceful kitchens of central Mexico where nothing edible was ever wasted. To me, this dish represents the beautiful intersection of humility and celebration, proving that simplicity does not require sacrifice. What makes chilaquiles so profoundly meaningful is how it bridges generations, adapting effortlessly to regional tastes while keeping its soul intact. The real magic happens in the balance: crisp tortilla triangles meeting rich, deeply toasted salsa, softened just enough to hold their shape without dissolving into mush. Yet, so many home cooks stumble at this exact moment. The most common pitfall I see is overcooking the tortillas until they become a heavy, porridge-like mess. Another frequent mistake is skipping the proper frying step, which leaves the chips soggy before they even touch the sauce. You must fry or bake them until they are truly rigid, then fold them into a hot, well-seasoned salsa for only a minute or two. Serve them immediately with a generous scattering of queso fresco, crema, and sliced radish, and you will understand why this humble morning staple has captured hearts worldwide. It is not just breakfast; it is a lesson in patience, respect for ingredients, and the quiet joy of turning leftovers into love.
Nutrition
| Per serving | Calories | Protein | Carbs | Fat | Sat fat | Fibre | Sugar | Sodium |
|---|---|---|---|---|---|---|---|---|
| beginner | 680kcal | 11g | 53g | 50g | 8g | 10g | 6g | 660mg |
| intermediate | 680kcal | 11g | 53g | 50g | 8g | 10g | 6g | 660mg |
| expert | 680kcal | 11g | 53g | 50g | 8g | 10g | 6g | 660mg |
Per serving · Ava-estimated — a guide, not a clinical figure.
- 12 piecescorn tortillas— 100% corn masa, preferably day-old or slightly stale
- 500 groma tomatoes— ripe, cored and halved
- 150 gwhite onion— peeled and quartered
- 40 gserrano chiles— fresh, stems removed
- 15 ggarlic— about 4 medium cloves, peeled
- 150 mlneutral vegetable oil— divided for frying and sautéing
- 150 gavocado— ripe, halved and pitted
- 60 gcotija cheese(optional)— aged and crumbled
- 10 gfresh cilantro— leaves and tender stems, roughly chopped
- 5 gkosher salt— to taste
This pathway embraces modern convenience without sacrificing the soul of the dish. You will bypass the time-intensive salsa preparation by relying on a high-quality, store-bought chile paste or jarred sauce, which allows you to focus entirely on the crucial textural transformation of the chips. The primary goal here is building confidence through controlled timing and visual cues. Watch closely as the sauce simmers; it should coat the back of a spoon before you introduce the chips. Overcrowding the pan is the most common beginner mistake, so work in batches if your cookware is shallow. When folding the chips into the simmering liquid, move with purpose but avoid aggressive stirring that could shatter the masa. You are looking for that precise moment where the sharp edges soften and the surface becomes glossy, yet the center still offers a gentle resistance. Keep your garnishes prepped and within arm’s reach because the dish will continue to absorb moisture off the heat. This version prioritizes speed and accessibility, proving that a deeply comforting breakfast does not require a full weekend commitment. Trust the jarred base, respect the simmer, and serve immediately for the best results.
Equipment
- heavy-bottomed skillet— non-stick surface recommended for beginners
- wide spatula— silicone or heat-resistant nylon
- measuring cups— for precise water and sauce ratios
Method
- 1
Warm 30ml of neutral oil in a heavy-bottomed skillet over medium heat.
Oil should shimmer but not smoke.
heating~ 1 min - 2
Pour your chosen jarred chile sauce and 100ml of water directly into the warm pan.
Stir to combine immediately.
diluting~ 1 min - 3
Simmer the mixture gently until it coats the back of a spoon.
Watch for small bubbles breaking the surface.
simmering~ 4 minTricky bit - 4
Fold the corn tortilla chips into the bubbling sauce using a wide spatula.
Toss gently to prevent shattering.
incorporating~ 2 min - 5
Remove the pan from the stove and immediately arrange your garnishes over the top.
Serve within two minutes for optimal texture.
plating~ 1 min