
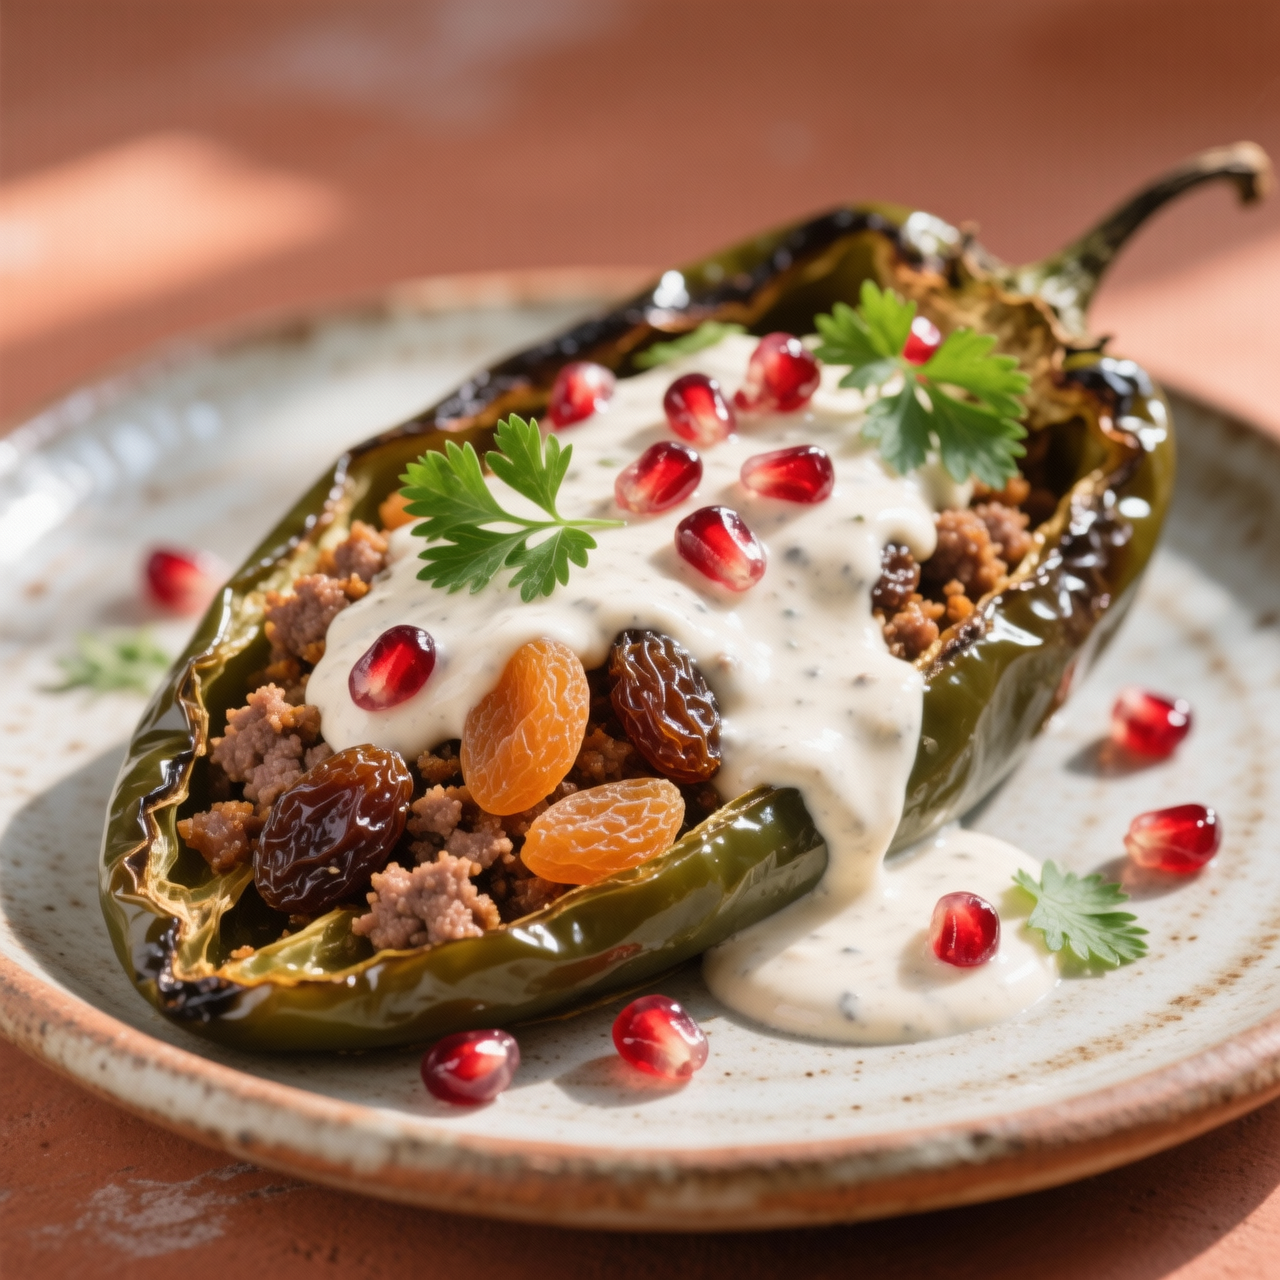
Chiles en Nogada
I have spent years perfecting my chiles en nogada, a dish that feels less like a recipe and more like an edible manifesto. Born in the kitchens of Puebla during the early nineteenth century, it was crafted by Augustinian nuns to honor Agustín de Iturbide and the newly forged Mexican independence. The vibrant red, white, and green of the poblano pepper, walnut cream, and pomegranate seeds mirror the national flag, turning every plate into a quiet celebration of sovereignty and cultural fusion. What makes this dish so profoundly meaningful to me is how it demands patience and reverence; it refuses to be rushed. The picadillo must be slowly simmered with fruits like plantain, apple, and pear until the sweet and savory elements surrender to one another. The nogada itself is a delicate emulsion that will break if you treat it carelessly. I have seen countless home cooks skip the step of peeling and roasting the poblanos properly, leaving behind a bitter, stubborn skin that ruins the tender bite. Others drown the walnut sauce in sugar, forgetting that true nogada relies on the subtle tannins of fresh walnuts and a whisper of sherry to balance the richness. Temperature control matters too. Serve it too warm and the sauce splits; serve it too cold and the filling loses its soul. When you finally assemble it, you are not just plating food. You are honoring centuries of history, faith, and culinary artistry. Get it right, and every forkful tastes like a quiet revolution.
Nutrition
| Per serving | Calories | Protein | Carbs | Fat | Sat fat | Fibre | Sugar | Sodium |
|---|---|---|---|---|---|---|---|---|
| beginner | 1240kcal | 33g | 66g | 94g | 28g | 9g | 26g | 1150mg |
| intermediate | 1240kcal | 33g | 66g | 94g | 28g | 9g | 26g | 1150mg |
| expert | 1240kcal | 33g | 66g | 94g | 28g | 9g | 26g | 1150mg |
Per serving · Ava-estimated — a guide, not a clinical figure.
- 4 largePoblano chile— fresh, firm, and deeply green
- 150 gGround pork— 80/20 fat ratio preferred
- 150 gGround beef— lean cut
- 150 gYellow onion— finely diced
- 3 largeGarlic clove— minced
- 250 gRoma tomato— diced and seeded
- 150 gApple— peeled and diced
- 100 gPear— peeled and diced
- 80 gBanana— firm, sliced
- 30 gRaisin— dark, plump
- 20 gAlmond— blanched and toasted
- 20 gPine nut— lightly toasted
- 150 gWalnut— halves, for sauce and filling
- 240 mlHeavy cream— cold, full fat
- 100 gGoat cheese— fresh, soft curd
- 120 mlWhole milk— cold
- 60 mlSherry— dry or fino
- 1 wholeCinnamon stick— Mexican variety preferred
- 1 gGround clove— freshly ground
- 2 gGround cumin— toasted
- 10 gSalt— fine sea salt
- 2 gBlack pepper— freshly cracked
- 100 gAll-purpose flour— sifted
- 3 largeEgg— cold, separated
- 100 gPomegranate aril— fresh, seedless
- 30 gFlat-leaf parsley— finely chopped
- 30 mlOlive oil— extra virgin
- 500 mlVegetable oil— neutral, high smoke point
- 15 gSugar— white granulated
This version prioritizes confidence and assembly over labor-intensive prep. You will rely on jarred roasted poblanos, a pre-mixed picadillo seasoning base, and a ready-made walnut cream blend to bypass the most time-consuming steps. The focus shifts entirely to temperature control and gentle folding. Watch closely when warming the pre-cooked filling; it only needs to be heated through, and aggressive simmering will turn the fruit mushy and dry out the meat. When blending the shortcut nogada, keep everything cold to prevent the sauce from breaking. The trickiest moment is the initial assembly: handle the jarred chiles with care, as their pre-softened skins tear easily. Pat them completely dry before stuffing to avoid a watery final dish. Do not skip the brief rest after plating. Letting the dish sit for five minutes allows the shortcut sauce to properly cling to the chile walls instead of pooling at the bottom. This approach guarantees a recognizable, flavorful result on your first attempt without demanding hours of prep.
Equipment
- Non-stick skillet— medium size
- Countertop blender— standard pitcher
- Paper towels— for draining
Method
- 1
Warm the jarred roasted chiles in a microwave until pliable.
Do not overheat or they will tear.
tempering~ 1 min - 2
Sauté the pre-mixed picadillo base with a splash of water until fragrant.
Keep heat medium-low to avoid scorching.
rehydrating~ 5 min - 3
Drain the warmed chiles thoroughly on paper towels.
Excess moisture prevents sauce adhesion.
drying~ 2 min - 4
Fill each chile gently with the heated picadillo mixture.
Do not overstuff to maintain structural integrity.
stuffing~ 3 min - 5
Blend the shortcut walnut sauce until completely smooth and cold.
Keep ingredients chilled to prevent breaking.
emulsifying~ 1 minTricky bit - 6
Plate the stuffed chiles, drape with sauce, and garnish.
Serve immediately at room temperature.
plating~ 2 min