
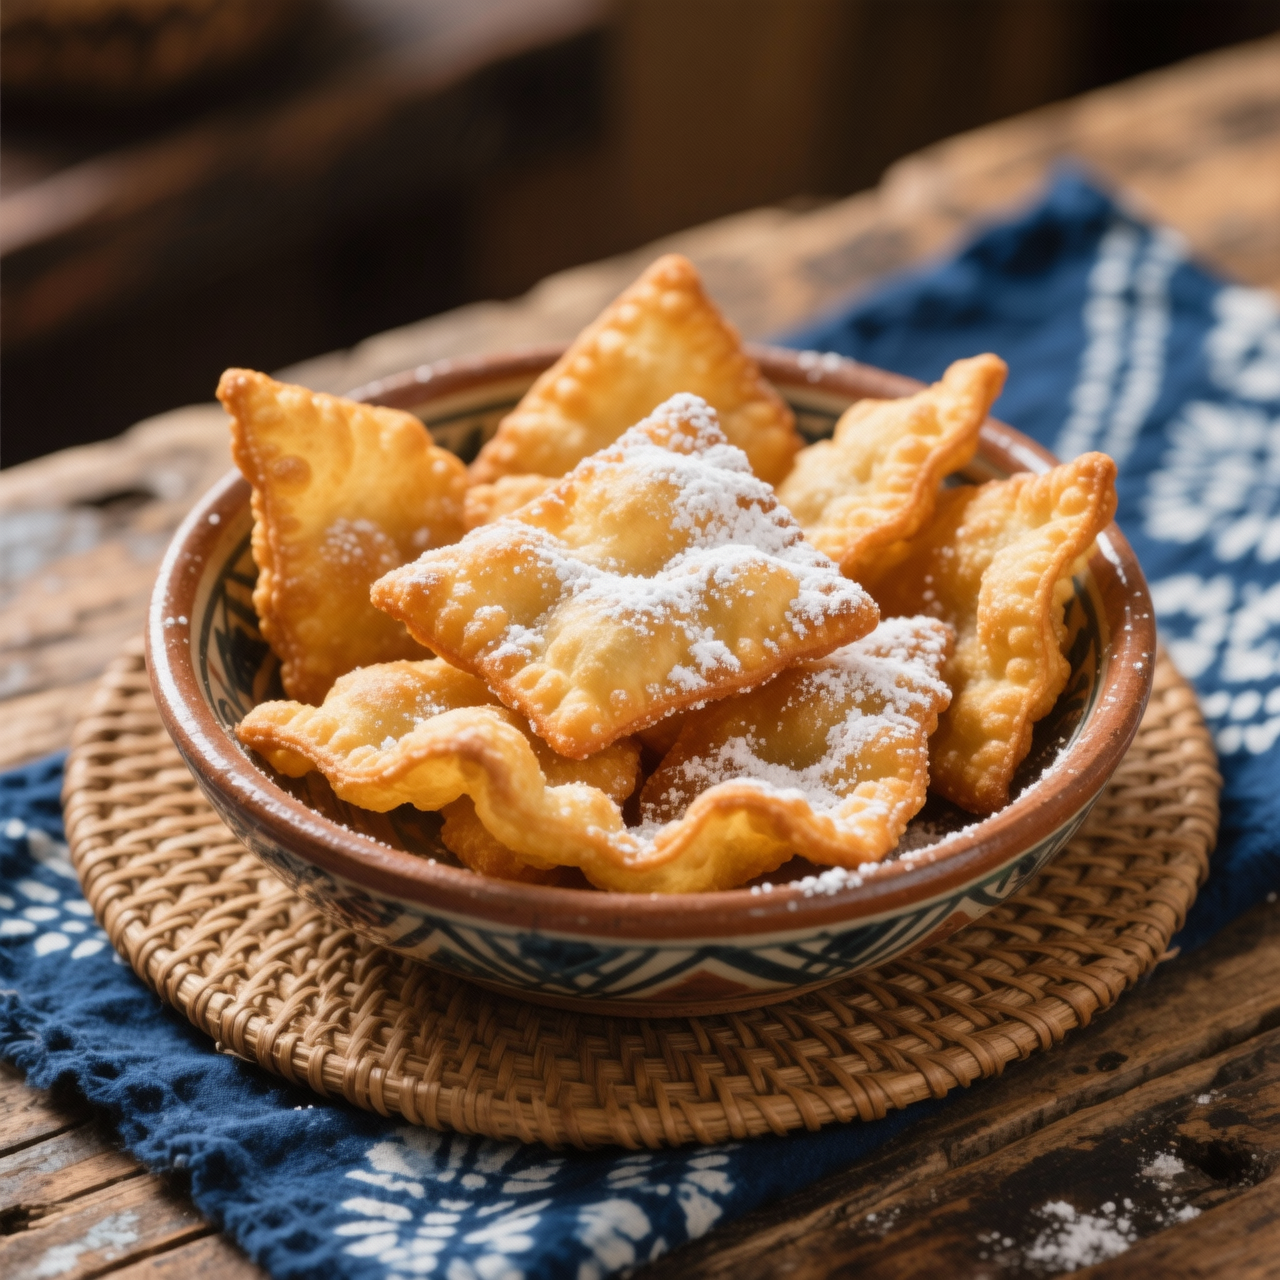
Chin chin (fried dough bites)
I’ve always believed that the best pantry snacks aren’t found in glossy cellophane wrappers, but born from flour, butter, and patience. Chin chin, those irresistible little fried dough cubes that crackle between your teeth, have traveled through generations of West African kitchens, especially in Nigeria, where they’re baked for celebrations, packed for road trips, and shared with neighbors as a quiet gesture of goodwill. You can certainly buy the shop-bought kind—usually hovering around three to four dollars for a tin that promises crunch but delivers a stale, overly sweetened crumb with a waxy aftertaste from cheap palm oil and preservatives. Making them yourself strips away that artificial compromise. When you mix your own dough, roll it out by hand, and fry it slowly until each cube turns a deep, honeyed gold, you’re not just saving money; you’re reclaiming a ritual. The magic lies in the balance: a touch of nutmeg and a whisper of vanilla should perfume the dough, while the frying temperature dictates whether you get airy, melt-in-your-mouth bites or jaw-aching bricks. The most common pitfall? Rushing the heat. If your oil screams when the dough hits it, the outside seals too fast and the inside stays raw, leaving you with hollow, greasy pockets. Cut your pieces uniformly, test the oil with a single cube first, and maintain a gentle, steady bubble. Once cooled completely, they’ll snap cleanly when bitten and store beautifully in a sealed tin for weeks, outlasting any supermarket alternative while tasting infinitely more alive. This isn’t just a snack; it’s edible memory, and doing it by hand is the only way to honor it.
Nutrition
| Per serving | Calories | Protein | Carbs | Fat | Sat fat | Fibre | Sugar | Sodium |
|---|---|---|---|---|---|---|---|---|
| beginner | 460kcal | 9g | 68g | 15g | 6g | 2g | 15g | 280mg |
| intermediate | 385kcal | 6g | 48g | 18g | 6g | 1g | 16g | 180mg |
| expert | 390kcal | 7g | 44g | 21g | 9g | 2g | 16g | 140mg |
Per serving · Ava-estimated — a guide, not a clinical figure.
- 500 gall-purpose flour— sifted
- 150 ggranulated sugar
- 100 gunsalted butter— cold and cubed
- 1 pieceegg— lightly beaten
- 120 mlwhole milk— room temperature
- 5 gbaking powder
- 5 gground nutmeg— essential for authentic flavor
- 3 gfine salt
- 1000 mlvegetable oil— for deep frying
Store-bought chin chin is cheap and shelf-stable, but it often tastes like cardboard, relies on stale palm oil, and is packed with preservatives and artificial hardening agents to mimic that signature crunch. This beginner-friendly from-scratch version strips away the intimidation factor while keeping the process entirely unprocessed. You will work with a simple, forgiving dough that comes together in one bowl and requires no complex kneading or proofing. The key difference here is a relaxed resting period that hydrates the flour naturally, making the dough easier to roll and cut into uniform cubes. Watch the oil temperature closely; hovering around 160°C ensures the bites cook through without absorbing excess grease or burning before they crisp. Fry in small batches to maintain steady heat, and drain immediately on a wire rack so steam escapes rather than softening your crust. Once fully cooled, the chin chin will snap satisfyingly and store beautifully in an airtight tin for weeks. This method prioritizes consistent sizing and gentle frying over advanced pastry techniques, guaranteeing a golden, lightly sweet result that tastes fresh, clean, and authentically West African.
Equipment
- Heavy-bottomed pot— deep sides prevent dangerous oil splatter
- Rolling pin— smooth wooden or silicone works best
- Wire cooling rack— elevates bites so steam escapes underneath
- Kitchen thermometer(optional)— critical for maintaining steady frying heat
Method
- 1
Whisk the flour, sugar, baking powder, salt, and nutmeg in a large bowl, then rub in cold diced butter until the texture resembles coarse breadcrumbs.
Cold butter prevents toughness and ensures a tender interior.
rubbing_in~ 3 min - 2
Pour in the milk and egg, then gather the mixture with your hands until it forms a cohesive, non-sticky dough ball.
Stop mixing the moment the dough holds together to avoid gluten overdevelopment.
binding~ 2 min - 3
Wrap the dough tightly in cling film and let it rest on the counter to hydrate and relax.
Hydration makes rolling effortless and prevents surface cracking.
resting~ 20 min - 4
Divide the dough in half, roll each piece into a quarter-inch rectangle on a floured surface, and cut it into uniform half-inch cubes.
Consistent sizing guarantees even cooking and identical crunch.
dicing~ 5 minTricky bit - 5
Heat neutral oil in a heavy-bottomed pot to exactly 160°C, monitoring closely with a thermometer to prevent overheating.
Too hot burns the exterior; too low creates a greasy, soggy bite.
temperature_control~ 7 minTricky bit - 6
Fry the dough cubes in small, uncrowded batches, stirring occasionally, until they achieve a uniform golden-brown color and crisp exterior.
Overcrowding drops oil temperature and causes uneven frying.
deep_frying~ 4 minTricky bit - 7
Transfer the fried bites to a wire rack using a slotted spoon, allowing them to drain and cool completely before storing.
Trapped steam softens the crust, so airflow is essential.
draining~ 5 min
Cooking from frozen
Thaw at room temperature, then refresh in a 150°C oven for 5 minutes to restore crunch.
Storage times are a guide — always use your judgement and store food safely.