
Coxinha
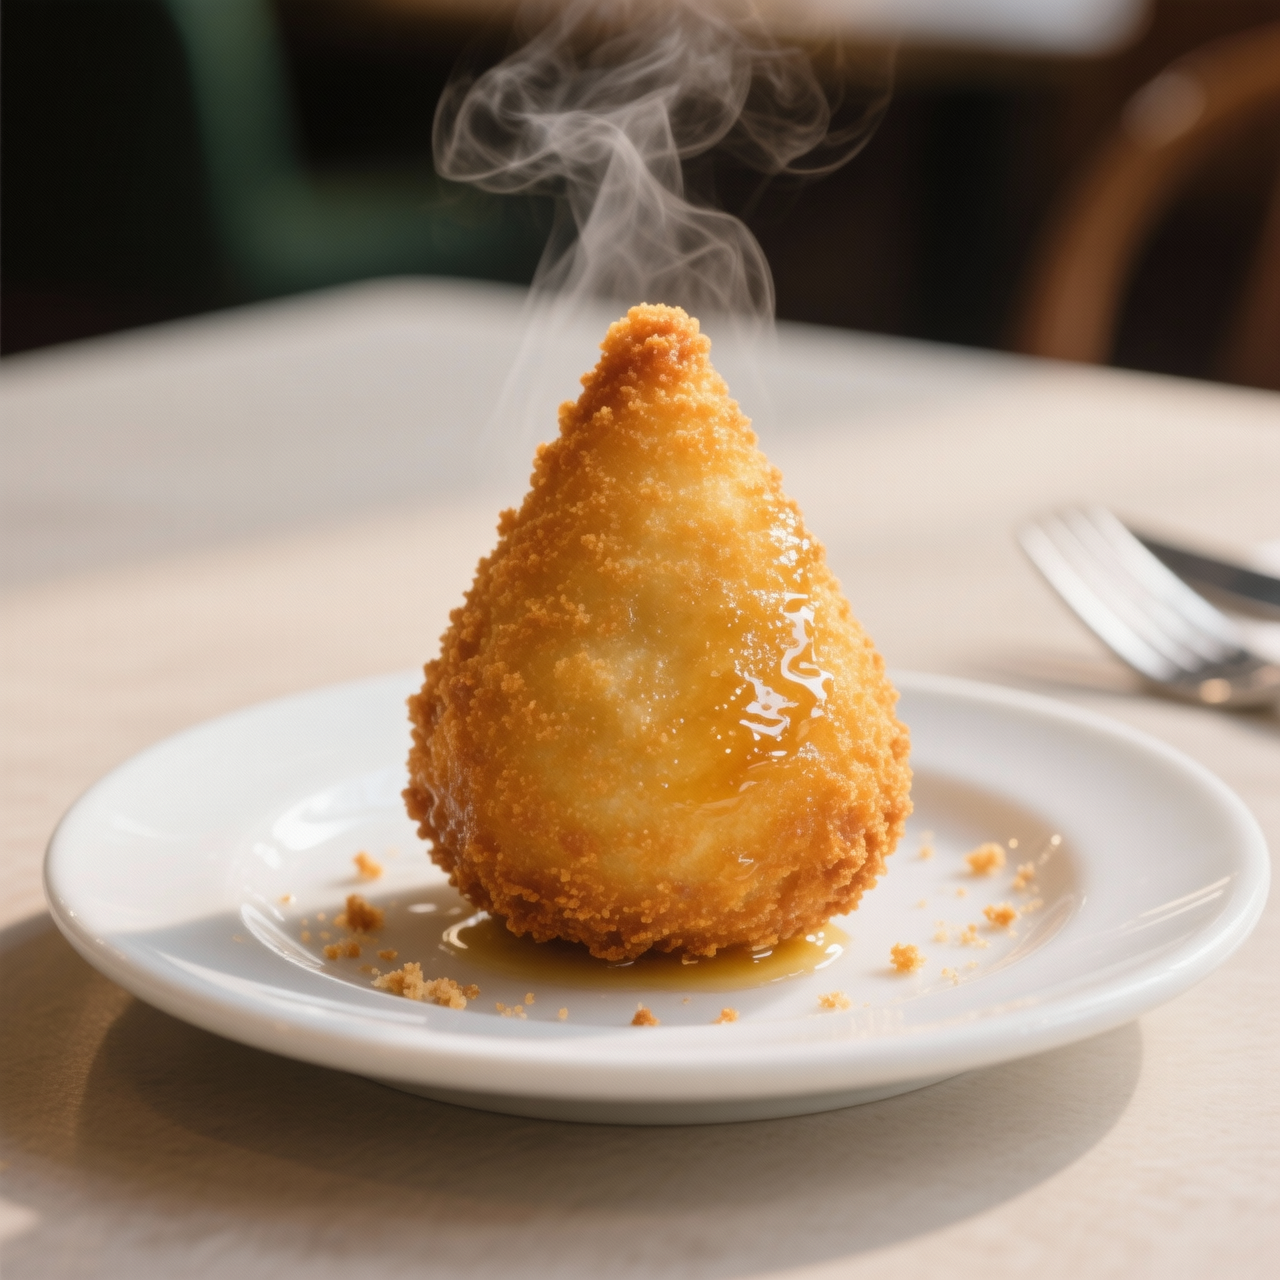
When I think of Brazilian street food, the iconic tear-drop shaped coxinha immediately comes to mind. Legend says it was created for a prince who only ate chicken thighs, but today, it’s the ultimate comfort snack. Making them from scratch is a labor of love, but it is the only way to achieve that perfect contrast between a shatteringly crisp crust and a creamy, deeply savory filling. Let’s be honest about the alternatives. Shop-bought frozen coxinhas or those from supermarket deli counters are a massive disappointment. They cost anywhere from two to three dollars each at a café, or fifteen dollars for a box of ten frozen ones, yet they are packed with mechanically separated chicken, artificial flavorings, and dough made with cheap, preservative-laden fats. The texture is always greasy and dense. By making them yourself, you control the quality. You’ll poach real chicken and shred it by hand, enriching the dough with genuine butter and fresh broth, completely avoiding the industrial shortcuts. The biggest pitfall beginners face is the dough-to-filling ratio; if you overstuff them, they burst in the oil, and if the dough is too wet, they absorb too much fat. Since this is a true batch hero, I always shape and freeze my coxinhas raw before frying. This not only prevents them from splitting in the hot oil but also means you can fry a few whenever a craving strikes, giving you a premium, authentic snack that vastly outshines any processed imitation.
Nutrition
| Per serving | Calories | Protein | Carbs | Fat | Sat fat | Fibre | Sugar | Sodium |
|---|---|---|---|---|---|---|---|---|
| beginner | 650kcal | 31g | 61g | 22g | 8g | 4g | 4g | 820mg |
| intermediate | 650kcal | 28g | 55g | 32g | 12g | 3g | 6g | 750mg |
| expert | 850kcal | 35g | 75g | 45g | 14g | 3g | 5g | 950mg |
Per serving · Ava-estimated — a guide, not a clinical figure.
- 500 gchicken breast— boneless and skinless
- 500 mlwater— for boiling the chicken
- 500 mlchicken broth— reserved from boiling the chicken or store-bought
- 250 mlmilk— whole milk
- 30 gbutter— unsalted
- 500 gall-purpose flour— plus extra for dusting
- 10 gsalt— adjust to taste
- 150 gonion— finely diced
- 10 ggarlic— minced
- 30 gtomato paste
- 100 gcream cheese— softened, or Brazilian Catupiry
- 10 gfresh parsley— finely chopped
- 2 gblack pepper— freshly ground
- 300 gbreadcrumb— fine dry or panko
- 1000 mlvegetable oil— for deep frying
Shop-bought frozen coxinhas are an expensive disappointment, often costing a premium while hiding low-quality, mechanically separated meat fillings and dough made with cheap fats and artificial flavorings. This beginner-friendly from-scratch version bypasses the industrial shortcuts without sacrificing the authentic, creamy texture or rich flavor. While traditional recipes might involve complex broth reductions and intricate dough kneading, this streamlined approach uses a simple, forgiving dough method and straightforward filling techniques perfect for a confident first attempt. You will learn to build the foundational flavors using whole ingredients—real shredded chicken, fresh aromatics, and a basic roux-based dough—ensuring every single bite is wholesome and deeply satisfying. The technique focuses on gentle cooking to prevent the dough from scorching and easy shaping methods that don't require expert-level dexterity. By mastering this simplified process, you easily avoid the hidden preservatives and inflated costs of store-bought snacks, creating a superior, freezer-friendly batch hero that tastes authentically Brazilian and far exceeds any commercial alternative.
Equipment
- Heavy-bottomed pan— for cooking the filling and dough
- Food processor— to pulse fresh bread into homemade crumbs
- Deep pot or fryer— for safe, even frying
Method
- 1
Sauté diced onion and minced garlic in a heavy-bottomed pan until soft, then stir in shredded chicken, diced tomatoes, and a splash of homemade chicken broth, cooking until the liquid fully evaporates.
The filling must be completely dry before cooling to prevent soggy dough.
sautéing~ 10 min - 2
Bring homemade chicken broth and butter to a boil in a clean pan, remove from heat, and vigorously stir in all-purpose flour until the mixture pulls away from the sides and forms a smooth dough ball.
Work quickly while the dough is still warm and pliable.
mixing~ 7 min - 3
Pinch off a small portion of the warm dough, flatten it in your palm, place a spoonful of the cooled chicken filling in the center, and gently fold the edges up to seal it into a classic teardrop shape.
Keep a small bowl of water nearby to wet your fingers if the dough sticks.
shaping~ 15 minTricky bit - 4
Pulse slices of fresh crustless bread in a food processor to create coarse crumbs, then roll each shaped coxinha in plain flour, dip in beaten egg, and finally coat evenly in the fresh breadcrumbs.
Fresh breadcrumbs yield a much lighter, crispier crust than dried store-bought versions.
breading~ 8 min - 5
Heat neutral oil in a deep pot to 175°C (350°F) and carefully fry the breaded coxinhas in small batches for 4 to 5 minutes, turning occasionally, until they are uniformly golden brown and crispy.
Do not overcrowd the pot, or the oil temperature will drop and make them greasy.
frying~ 5 min
Cooking from frozen
Fry directly from frozen in medium-hot oil until golden and heated through.
Storage times are a guide — always use your judgement and store food safely.