
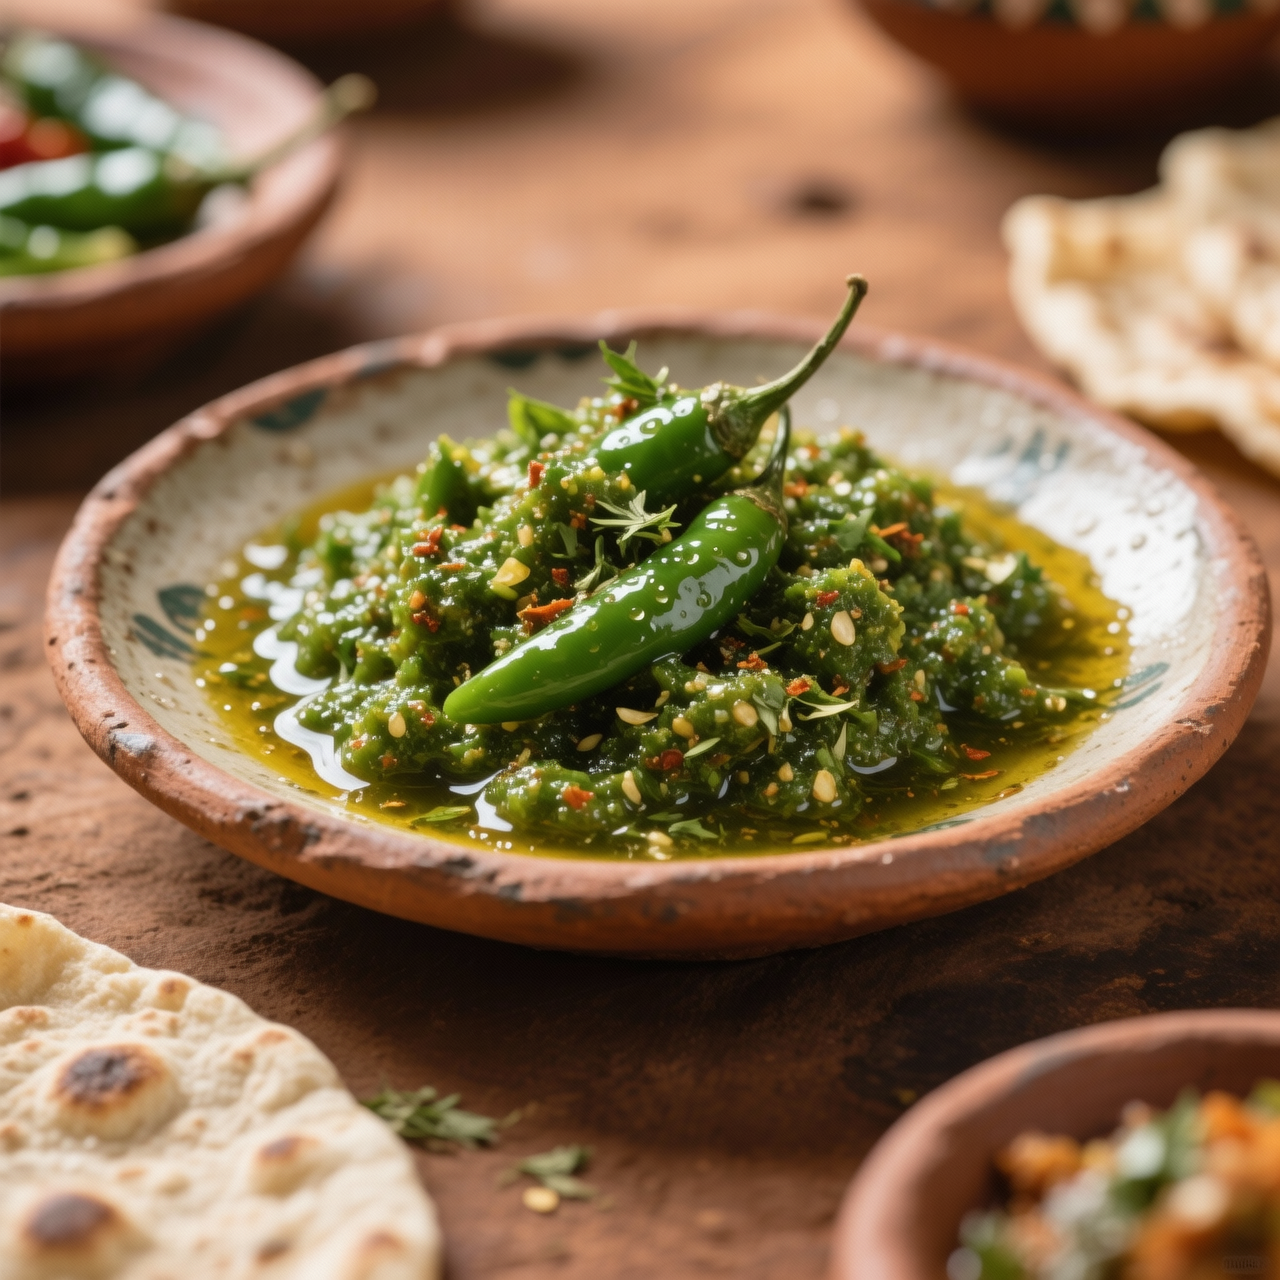
Datta (green chilli relish)
When I first pounded datta in a heavy wooden mortar, I realized this relish was less about heat and more about balance. Born in Ethiopian home kitchens, where fresh green chilies meet fragrant garlic, cilantro, and a sharp squeeze of lemon or vinegar, datta has always been the quiet workhorse on the table. It is not meant to dominate a meal but to wake up the palate, cutting through the deep, earthy richness of slow-simmered wats and the dense, sour comfort of injera. What matters most to me is how it captures the Ethiopian philosophy of freshness; unlike many preserved condiments, datta thrives on immediacy. The chilies should be crushed just enough to release their oils while retaining a coarse, vibrant texture that still offers resistance to the tooth. Yet, I have seen it ruined more times than I can count by rushing the process or ignoring the balance of its components. The most common pitfall is overworking the ingredients into a homogenous, watery slurry, which strips away the textural joy and concentrates the harsh capsaicin. Another frequent misstep is using chilies that have begun to soften or dry out, as they lose their grassy brightness and turn bitter when bruised. I always remind myself to taste before the final pound, adjusting the garlic and acid incrementally, because once the mortar has done its work, there is no taking it back. When done correctly, datta is a living, breathing condiment that bridges the gap between rustic tradition and everyday nourishment, proving that sometimes the simplest preparations hold the most profound impact on a meal.
Nutrition
| Per serving | Calories | Protein | Carbs | Fat | Sat fat | Fibre | Sugar | Sodium |
|---|---|---|---|---|---|---|---|---|
| beginner | 45kcal | 1g | 6g | 3g | 0g | 1g | 2g | 310mg |
| intermediate | 45kcal | 1g | 3g | 4g | 0g | 1g | 1g | 280mg |
| expert | 22kcal | 1g | 4g | 1g | 0g | 2g | 2g | 310mg |
Per serving · Ava-estimated — a guide, not a clinical figure.
- 150 gGreen chilli— Fresh, stems removed, roughly chopped
- 30 gGarlic— Peeled cloves
- 20 gFresh coriander— Leaves and tender stems only
- 5 gSalt— Fine sea salt
- 30 mlNeutral oil(optional)— For moisture and preservation
This beginner-friendly approach to Datta prioritizes accessibility and confidence over traditional mortar-and-pestle labor. Instead of hand-pounding fresh ingredients, we leverage a food processor or high-speed blender alongside convenient shortcuts like pre-peeled garlic cloves and pre-washed green chilies. The goal is to achieve that signature coarse, vibrant texture without turning the mixture into a watery purée. Watch closely during the pulsing stage; you want distinct flecks of herb and chili to remain visible, as over-processing will release too much water and dilute the punchy flavor profile. Always wear food-safe gloves when handling the chilies to protect your skin and eyes from capsaicin. Once combined, a brief fifteen-minute rest in the refrigerator is essential—it allows the salt to draw out moisture, the garlic to mellow, and the lemon to brighten the entire blend. This method guarantees a reliable, restaurant-quality condiment on your first try. Store in a clean glass jar, and simply stir before serving alongside injera or stews. You will quickly learn how the balance of heat, acidity, and herbal freshness transforms simple pantry staples into an addictive relish.
Equipment
- Food processor— A mini chopper works well for small batches
- Disposable nitrile gloves— Essential for safely handling raw green chilies
- Glass storage jar— Ensure it is thoroughly sanitized before use
Method
- 1
Trim the stems from the green chilies, slice them lengthwise, and remove the seeds if you prefer a milder heat.
Wear disposable gloves to prevent skin irritation from capsaicin.
prepping~ 5 min - 2
Add the sliced chilies, peeled garlic, fresh cilantro, olive oil, lemon juice, and salt to a food processor bowl.
Keep the lid securely fastened before starting.
combining~ 1 min - 3
Pulse the mixture in short, controlled bursts until it reaches a coarse, chunky paste.
Stop and scrape down the sides with a silicone spatula halfway through.
pulsing~ 2 minTricky bit - 4
Transfer the relish to a clean container and refrigerate for fifteen minutes before serving.
This resting period allows the flavors to meld and the texture to firm up.
resting~ 15 min - 5
Taste a small spoonful and adjust the salt or lemon juice to balance the heat and acidity.
Serve immediately or store in an airtight jar for up to two weeks.
seasoning~ 1 min
Cooking from frozen
Defrost overnight in the refrigerator, then stir thoroughly to restore emulsion and serve cold.
Storage times are a guide — always use your judgement and store food safely.