
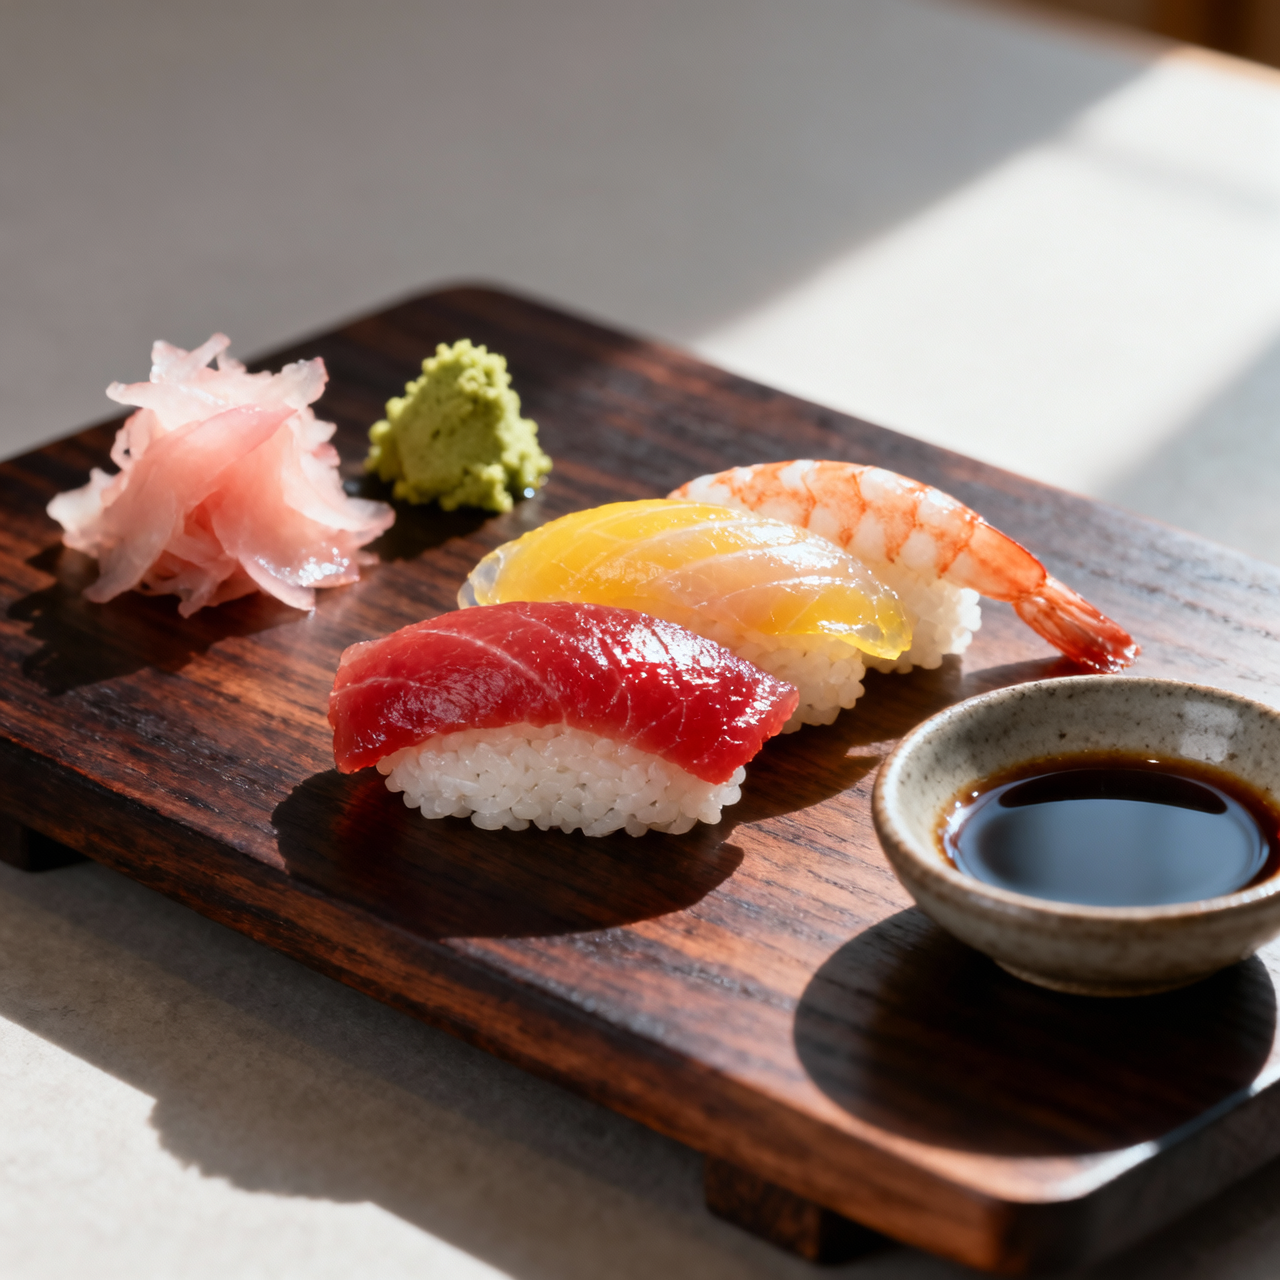
Edomae Nigiri Set
When I first stepped into a Tokyo counter to watch an itamae shape nigiri, I did not just see food; I witnessed a centuries-old dialogue between rice, sea, and hand. Edomae nigiri was born in early nineteenth-century Edo, a bustling port city where vendors needed quick, portable meals for laborers. They cured, simmered, or marinated local catches in soy, mirin, or vinegar, then pressed them onto warm, vinegared rice. That pragmatic street food evolved into the disciplined art form we revere today. To me, this dish matters because it strips sushi down to its honest core: perfect shari meeting pristine neta, united by a whisper of wasabi and the gentle pressure of two fingers. It teaches patience, respect for ingredient, and the quiet confidence of restraint. Yet, I have watched countless enthusiasts stumble over the same pitfalls. They treat sushi rice like a salad, drowning it in vinegar or leaving it too cold, which kills its natural sweetness and clumping ability. They press too tightly, compacting the rice into dense, gummy bricks, or slice fish against the grain, tearing delicate fibers instead of coaxing out their buttery yield. Many drown the finished piece in soy sauce, masking the subtle umami they worked so hard to highlight. When I approach Edomae nigiri, I remind myself that mastery lives in the margins: the temperature of the rice at body heat, the angle of the knife, the almost invisible touch of the palm. Get those right, and you are not just making dinner; you are continuing a living lineage.
Nutrition
| Per serving | Calories | Protein | Carbs | Fat | Sat fat | Fibre | Sugar | Sodium |
|---|---|---|---|---|---|---|---|---|
| beginner | 600kcal | 39g | 91g | 7g | 2g | 2g | 10g | 3000mg |
| intermediate | 600kcal | 39g | 91g | 7g | 2g | 2g | 10g | 3000mg |
| expert | 600kcal | 39g | 91g | 7g | 2g | 2g | 10g | 3000mg |
Per serving · Ava-estimated — a guide, not a clinical figure.
- 400 gshort-grain japanese rice— rinsed and drained
- 10 gkombu— dried kelp
- 60 mlrice vinegar— unseasoned
- 30 ggranulated sugar— fine grain
- 8 gfine sea salt— to taste
- 200 gyellowtail fillet— sushi-grade, skinless
- 200 gbluefin tuna loin— sushi-grade, center cut
- 150 glarge shrimp— sushi-grade, peeled and deveined
- 30 gwasabi— fresh root or powder
- 120 mlsoy sauce— for dipping and brushing
- 100 gpickled ginger— thinly sliced
- 4 sheetsnori sheets— roasted, cut into thin strips for tying
This version prioritizes confidence over tradition, giving you reliable guardrails to master the fundamentals without the pressure of perfect technique. We simplify the most intimidating elements by leaning on trusted shortcuts: a rice cooker guarantees perfectly cooked grains, while pre-mixed sushi vinegar saves you from balancing acids and sugars by taste. The fish is sliced with a forgiving rocking motion rather than a single draw cut, and you will shape the rice using a damp paper towel to prevent sticking. Watch closely for rice temperature; serving it slightly warm is essential, but overheating will turn the delicate topping into mush. Keep a bowl of cool water nearby to rinse your hands between pieces, and resist the urge to press the rice tightly. The goal here is not architectural perfection but a gentle, cohesive bite that holds together just long enough to reach your mouth. By focusing on moisture control and relaxed hands, you will quickly develop the tactile intuition that makes this dish so rewarding. Once you can form four consistent pieces, you will have conquered the hardest part.
Equipment
- rice cooker— standard model works fine
- chef's knife— 8-inch blade preferred
- damp kitchen towel— keeps workspace clean
- wide mixing bowl— glass or ceramic
Method
- 1
Add the rice and kombu to the rice cooker with water and press start.
Water level should sit just below the top grain.
absorption~ 20 min - 2
Combine the rice vinegar, granulated sugar, and fine sea salt in a small bowl and whisk until clear.
No visible crystals should remain.
dissolving~ 1 min - 3
Transfer the hot rice to a wide bowl and gently fold in the vinegar mixture with a flat spatula.
Use a cutting motion, never stirring.
folding~ 3 minTricky bit - 4
Cut the yellowtail, tuna, and shrimp against the grain into uniform slices using a rocking motion.
Keep the blade angled slightly forward.
slicing~ 5 minTricky bit - 5
Wet your hands with cool water and lightly compress a portion of rice into a rounded rectangle.
Fingers should glide, not drag.
mounding~ 0 min - 6
Place a pea-sized amount of wasabi on the rice, lay the fish slice on top, and press lightly to adhere.
Pressure should be just enough to stick.
assembling~ 0 min