
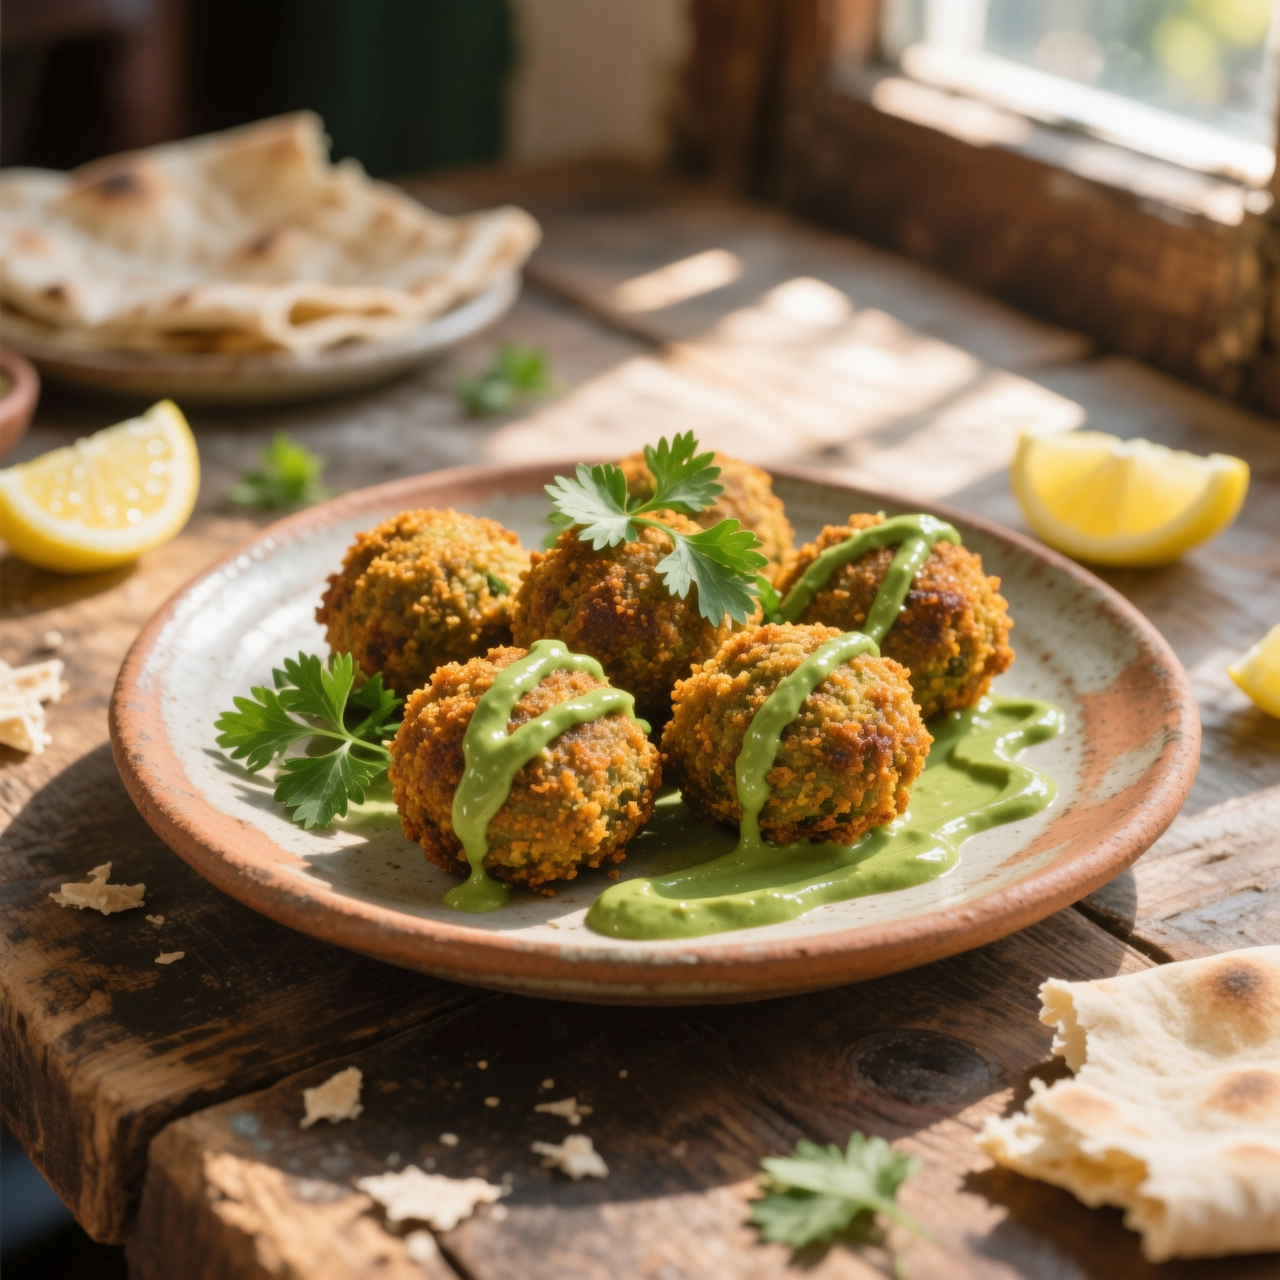
Falafel
I’ve always believed that falafel is less a recipe and more a quiet act of devotion to the land. Born in the Levant long before modern borders were drawn, these crisp, herb-flecked spheres emerged from necessity and ingenuity. Lebanese cooks transformed humble dried chickpeas into something golden and deeply fragrant, turning a pantry staple into a celebration of community. To me, falafel represents the beautiful tension between patience and immediacy: it demands hours of soaking, careful grinding, and gentle resting, yet it’s meant to be devoured hot, straight from the oil, wrapped in warm bread. Getting it right means honoring that balance. The most common mistake I see is rushing the soak or, worse, using canned chickpeas. The canning process gelatinizes the starches, guaranteeing a heavy, dense interior that falls apart before it ever crisps. Another frequent misstep is skipping the rest period after blending; without it, the mixture lacks cohesion and absorbs far too much oil. And please, never skip the fresh parsley and cilantro. They aren’t just color—they’re the bright, earthy heartbeat of the fritter. When you grind the beans coarsely, season generously with cumin, coriander, and a whisper of garlic, and fry at a steady, moderate heat, you’re not just making a snack. You’re carrying forward centuries of street-side wisdom. Each bite should shatter delicately, revealing a tender, vividly green center that tastes unmistakably of sun, soil, and shared tables. That’s the falafel I return to, again and again.
Nutrition
| Per serving | Calories | Protein | Carbs | Fat | Sat fat | Fibre | Sugar | Sodium |
|---|---|---|---|---|---|---|---|---|
| beginner | 555kcal | 20g | 68g | 24g | 3g | 19g | 13g | 1150mg |
| intermediate | 555kcal | 20g | 68g | 24g | 3g | 19g | 13g | 1150mg |
| expert | 555kcal | 20g | 68g | 24g | 3g | 19g | 13g | 1150mg |
Per serving · Ava-estimated — a guide, not a clinical figure.
- 400 gDried chickpea— soaked overnight in cold water, uncooked
- 30 gFresh flat-leaf parsley— leaves and tender stems only
- 20 gFresh cilantro— roughly chopped before weighing
- 150 gYellow onion— peeled and quartered
- 15 gGarlic clove— peeled
- 8 gGround cumin— freshly ground preferred
- 5 gGround coriander— toasted lightly
- 5 gBaking powder— aluminum-free
- 10 gFine sea salt— adjust to taste
- 1000 mlNeutral vegetable oil— for deep frying
This pathway prioritizes accessibility and confidence, stripping away the intimidation of traditional legume preparation while preserving the essential flavor profile. You will rely on a standard food processor to quickly transform your soaked ingredients into a cohesive mixture, skipping the overnight rest in favor of a brief fifteen-minute chill. The oil temperature is managed visually and with simple kitchen tools rather than precision thermometers, focusing on steady, medium-high heat that yields reliable browning without burning. Watch for moisture balance closely; if the mixture feels too wet, a light dusting of chickpea flour will rescue it before shaping. Do not over-process the batch into a smooth purée, as that guarantees a dense, gummy center. Keep your hands lightly oiled to prevent sticking, and shape uniform spheres that cook evenly. Crowding the pan is the primary enemy here, so fry in small batches to maintain oil temperature. The goal is a crisp exterior and tender interior on the first try, proving that restaurant-quality texture is achievable without specialized equipment or advanced timing. Trust the sizzle, drain thoroughly, and serve immediately.
Equipment
- Food processor— standard home model
- Heavy-bottomed skillet— high sides for safety
- Slotted spoon— metal or heat-safe silicone
Method
- 1
Drain the soaked chickpeas thoroughly and pat them dry with clean paper towels.
Excess moisture causes splattering.
draining~ 2 min - 2
Combine the chickpeas, onion, garlic, herbs, and spices in a food processor bowl.
Work in two batches if necessary.
loading~ 1 min - 3
Pulse the mixture repeatedly until it forms a coarse, uniform paste.
Stop before it turns smooth.
pulsing~ 3 minTricky bit - 4
Transfer the paste to a bowl and refrigerate until firm to the touch.
Fifteen minutes is sufficient here.
chilling~ 15 min - 5
Heat the oil in a heavy-bottomed pan to medium-high heat until it shimmers.
Test with a small piece of mixture; it should bubble immediately.
preheating~ 5 minTricky bit - 6
Shape the chilled mixture into uniform balls and gently lower them into the hot oil.
Keep hands lightly oiled to prevent sticking.
frying~ 6 minTricky bit - 7
Turn the falafel halfway through cooking to ensure even browning.
Aim for a deep golden crust on all sides.
turning~ 5 min - 8
Remove the finished falafel with a slotted spoon and drain on a wire rack.
Serve immediately while hot and crisp.
resting~ 1 min