
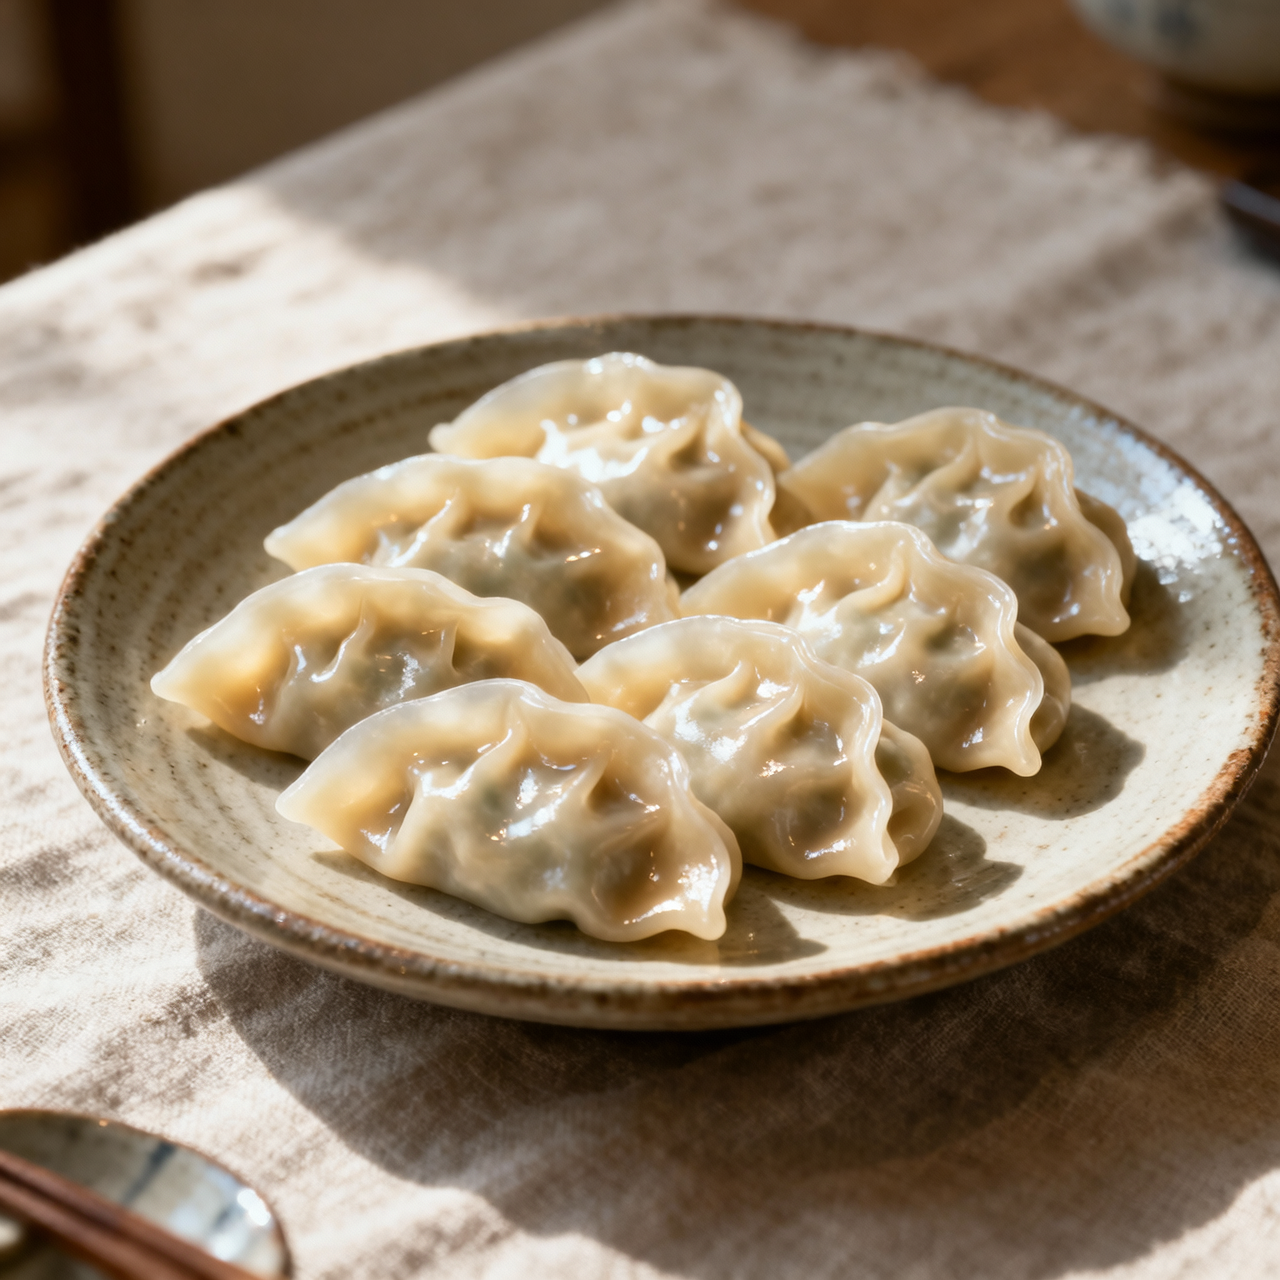
Gyoza Wrappers
I still remember the first time I peeled open a plastic pack of supermarket gyoza skins and felt that familiar disappointment. They cost around three pounds for a dozen, yet arrive stiff, chemically preserved, and frustratingly thick, tearing the moment you try to pleat them. Making your own wrappers changes everything, returning a humble pantry staple to its Japanese roots as a delicate, hand-rolled vessel that actually respects the filling inside. The tradition is simple: just wheat flour, water, a pinch of salt, and patience. Why bother? Because store-bought rounds rely on preservatives and anti-caking agents that dull the flavour and sabotage the texture, leaving you with a gummy, rubbery bite that fights the delicate vegan fillings you’ve carefully crafted. When you mix the dough yourself, you gain control over the hydration, achieving that perfect translucent stretch that crisps beautifully in the pan. The biggest pitfall I see home cooks face is overworking the gluten or rolling uneven circles. Let the rested dough relax properly before dividing it, and always keep your covered rounds under a damp cloth to prevent that disastrous dry-out. Dust lightly with cornflour rather than wheat flour when stacking, and you’ll have a reliable batch that won’t weld itself into a single brick in the freezer. I always roll out a double batch, stack them between sheets of parchment, and freeze them flat. Once solid, they store beautifully, ready to be dropped straight into a hot skillet or bamboo steamer without defrosting. This isn’t just a wrapper; it’s the difference between a rushed weeknight compromise and a crafted, deeply satisfying bite that actually tastes like the kitchens of Tokyo.
Nutrition
| Per serving | Calories | Protein | Carbs | Fat | Sat fat | Fibre | Sugar | Sodium |
|---|---|---|---|---|---|---|---|---|
| beginner | 185kcal | 5g | 37g | 1g | 0g | 2g | 0g | 290mg |
| intermediate | 185kcal | 5g | 38g | 1g | 0g | 1g | 0g | 290mg |
| expert | 340kcal | 10g | 72g | 1g | 0g | 3g | 0g | 290mg |
Per serving · Ava-estimated — a guide, not a clinical figure.
- 300 gall-purpose flour— Sifted before measuring for consistent dough hydration
- 150 mlwater— Heated to approximately 80C before mixing
- 3 gsalt— Dissolved completely in the water prior to combining
- 40 gcornstarch— Reserved for heavy dusting between cut wrappers to prevent sticking during freezing
Store-bought gyoza wrappers cost four to six dollars for a flimsy pack of thirty, yet they rely on modified starches and preservatives that make them gummy or prone to tearing. Making them from scratch costs pennies, yielding a pliable, wheat-forward dough that seals flawlessly and freezes beautifully. This beginner method skips long resting phases, using a simple hot-water dough that comes together quickly and stays forgiving. Mix just flour, salt, and near-boiling water until a shaggy mass forms, then knead by hand for five minutes until smooth. The hot water partially gelatinizes the starch, giving immediate elasticity without waiting. Roll the rested ball into thin sheets and stamp circles with a glass or cutter. Keep your surface lightly dusted and wrap finished stacks tightly before freezing. Watch hydration closely; if the dough cracks, dampen your fingertips and work in a teaspoon of water. If it sticks, add a pinch of flour. The goal is a soft, tacky-free dough that stretches thin without snapping. Batch a full recipe, cut, and freeze dusted stacks for effortless weeknight dumplings.
Equipment
- Large mixing bowl— Glass or ceramic retains heat well
- Rolling pin— A smooth wooden pin glides best
- Bench scraper(optional)— Helps lift sticky dough cleanly
- 3-inch round cutter(optional)— A drinking glass rim works perfectly
Method
- 1
Combine all-purpose flour and fine salt in a large mixing bowl.
Use a kitchen scale if available for precise hydration.
mixing~ 1 min - 2
Pour in near-boiling water and stir vigorously until a shaggy mass forms.
Water should be just off the boil to properly activate starch gelatinization.
gelatinization~ 2 minTricky bit - 3
Turn the dough onto a lightly floured surface and knead until smooth.
The dough will feel warm and pliable; add a teaspoon of water if cracks appear.
kneading~ 5 min - 4
Shape the dough into a tight ball, cover with plastic wrap, and rest.
Do not skip this short rest; it relaxes the gluten for easier rolling.
resting~ 10 min - 5
Roll the dough out into a thin, even sheet on a generously floured counter.
Rotate the dough a quarter turn after each pass to maintain a round shape.
sheeting~ 3 minTricky bit - 6
Cut out uniform rounds and gather the scraps for one final re-roll.
Overworking scraps makes the dough tough, so limit to a single pass.
stamping~ 2 min - 7
Dust each round lightly with cornstarch and stack them in portions of six.
Starch prevents the raw wrappers from fusing together during freezing.
dusting~ 3 min - 8
Seal the stacks in airtight freezer bags and label for batch storage.
Freeze flat on a baking sheet first if your bags are too small to lay flat.
portioning~ 1 min
Cooking from frozen
Pan-fry or steam directly from frozen; do not thaw or the layers will fuse together.
Storage times are a guide — always use your judgement and store food safely.