
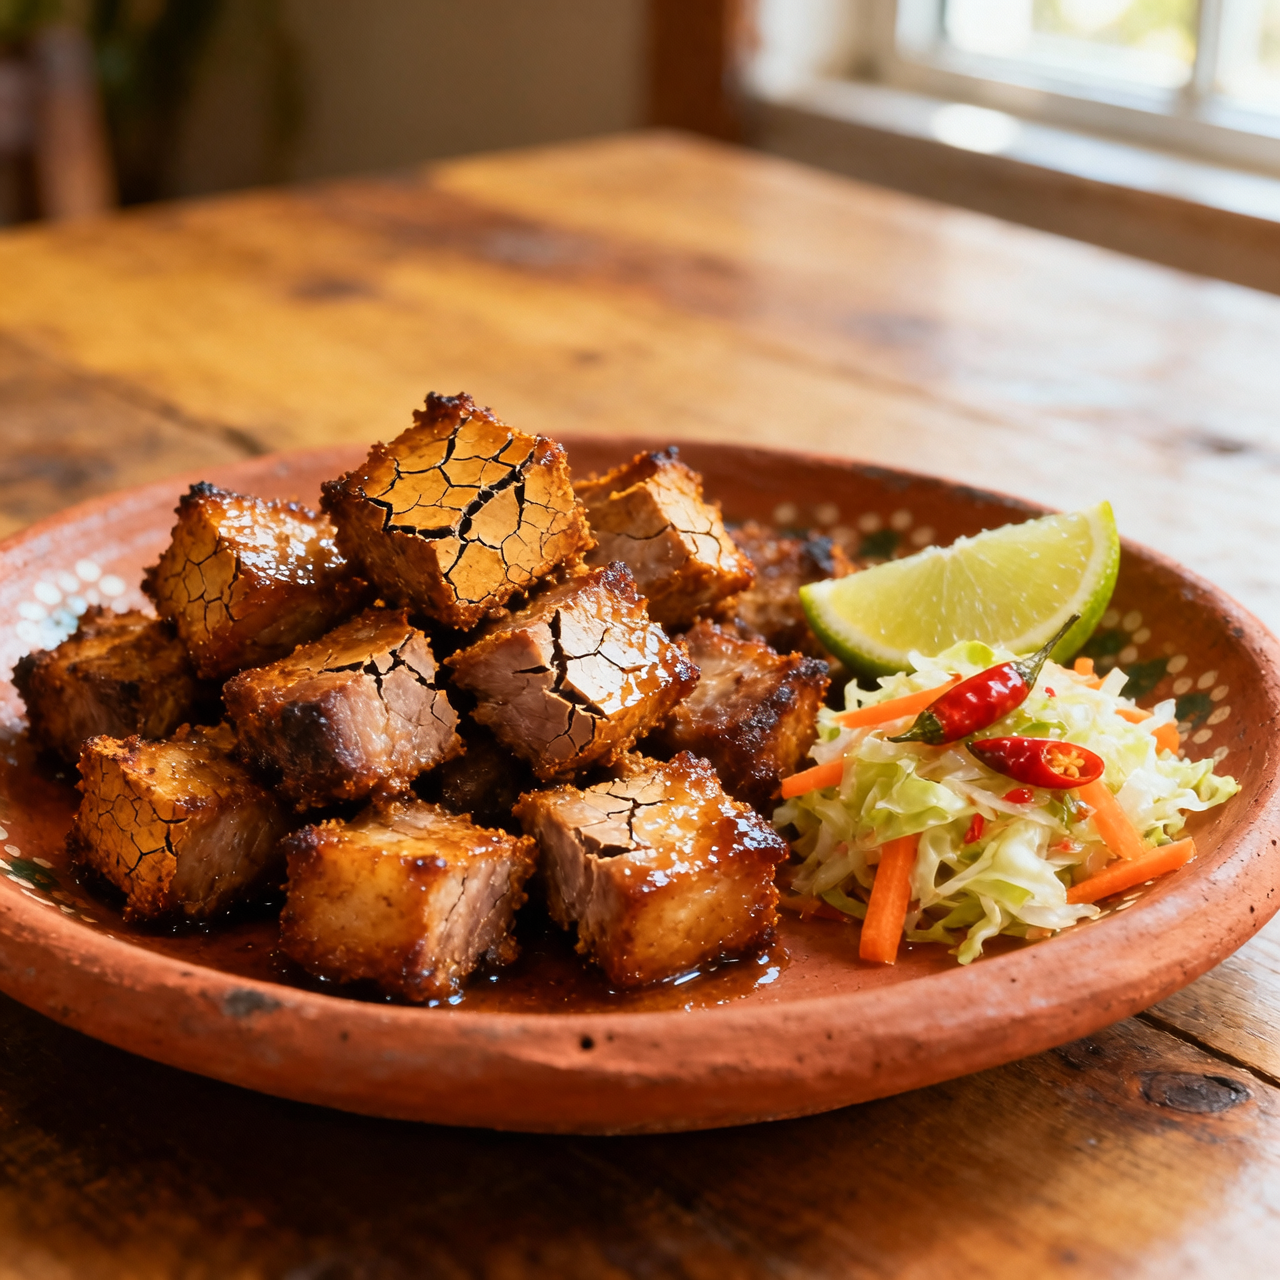
Haitian Griot
When I first learned to make griot, I quickly understood why it sits at the very heart of Haitian identity. The dish traces its roots to the island’s complex colonial history, born from the necessity of preserving and transforming tough cuts of pork into something deeply nourishing and celebratory. Traditionally, enslaved Africans adapted European frying techniques to local ingredients, slow-braising shoulder or belly in a bright, acidic marinade before crisping it in hot oil. That alchemy is exactly why griot matters so much today: it is edible resilience. Every bite carries the rhythm of communal gatherings, the echo of drum circles, and the stubborn joy of a people who turned scarcity into abundance. Yet, for all its cultural weight, griot is notoriously unforgiving to the impatient cook. The most common pitfall is rushing the boil. If you skip the long, gentle simmer with sour orange, garlic, thyme, and scotch bonnet, the meat will never achieve that fall-apart tenderness beneath the crackling crust. Another mistake is overcrowding the frying pan, which drops the oil temperature and leaves the pork greasy rather than golden. Temperature control and patience are nonnegotiable. When done right, griot is a study in contrasts: deeply savory yet bright, impossibly crisp on the outside while melting within. It demands respect, but it rewards you with a flavor that feels like coming home.
Nutrition
| Per serving | Calories | Protein | Carbs | Fat | Sat fat | Fibre | Sugar | Sodium |
|---|---|---|---|---|---|---|---|---|
| beginner | 920kcal | 47g | 11g | 76g | 19g | 1g | 5g | 1600mg |
| intermediate | 920kcal | 47g | 11g | 76g | 19g | 1g | 5g | 1600mg |
| expert | 920kcal | 47g | 11g | 76g | 19g | 1g | 5g | 1600mg |
Per serving · Ava-estimated — a guide, not a clinical figure.
- 1000 gpork shoulder— boneless, cut into 1.5-inch cubes
- 250 mlsour orange juice— freshly squeezed or high-quality bottled
- 60 mlwhite vinegar— distilled, 5% acidity
- 40 ggarlic— peeled cloves
- 15 gscotch bonnet pepper— whole, do not pierce during simmering
- 30 gscallions— trimmed and roughly chopped
- 10 gfresh thyme— tender sprigs only
- 15 gfine sea salt— kosher or fine grain
- 5 gblack pepper— freshly cracked
- 1500 mlneutral frying oil— peanut or canola for deep frying
This version embraces modern kitchen conveniences to deliver reliable, comforting griot without demanding hours of active labor. You will rely on a quick-blend marinade and a pre-mixed seasoning shortcut that already balances the traditional sour orange and garlic profile, saving you prep time and guesswork. Watch your pan temperature carefully; beginners often crowd the meat during the frying stage, which drops the oil heat and steams the pork instead of crisping it. I have designed this method to walk you through the crucial drying phase with clear visual cues, so you know exactly when the surface is ready for the oil. Keep the scotch bonnet whole throughout the simmer to control the heat, and remove it before frying to prevent accidental bursts. The goal here is confidence, not perfection. By following the timed simmer and using a simple thermometer to maintain steady oil heat, you will achieve a tender interior and a satisfying crunch on your very first attempt. Trust the process, drain the fried cubes on a wire rack, and serve immediately while the crust is still singing.
Equipment
- blender or food processor— for quick marinade blending
- heavy-bottomed pot— 3-quart minimum
- slotted spoon— for safe handling
- deep skillet— non-stick works well here
Method
- 1
Combine the pork, sour orange juice, vinegar, and pre-mixed seasoning paste in a large bowl and stir until evenly coated.
Cover and refrigerate for 30 minutes.
marinating~ 3 min - 2
Transfer the marinated pork and all liquid to a heavy-bottomed pot and bring to a steady simmer over medium heat.
Keep the scotch bonnet whole.
simmering~ 20 min - 3
Continue cooking until the liquid fully evaporates and the pork begins to sizzle in its own fat.
Lower heat to medium-low to prevent burning.
reducing~ 15 minTricky bit - 4
Heat the neutral oil in a deep skillet until it reaches 350°F and carefully add the dried pork cubes.
Fry in two batches to maintain temperature.
deep_frying~ 10 minTricky bit - 5
Drain the fried griot on a wire rack and season lightly with extra salt before serving.
Serve immediately while the crust is crisp.
resting~ 2 min