
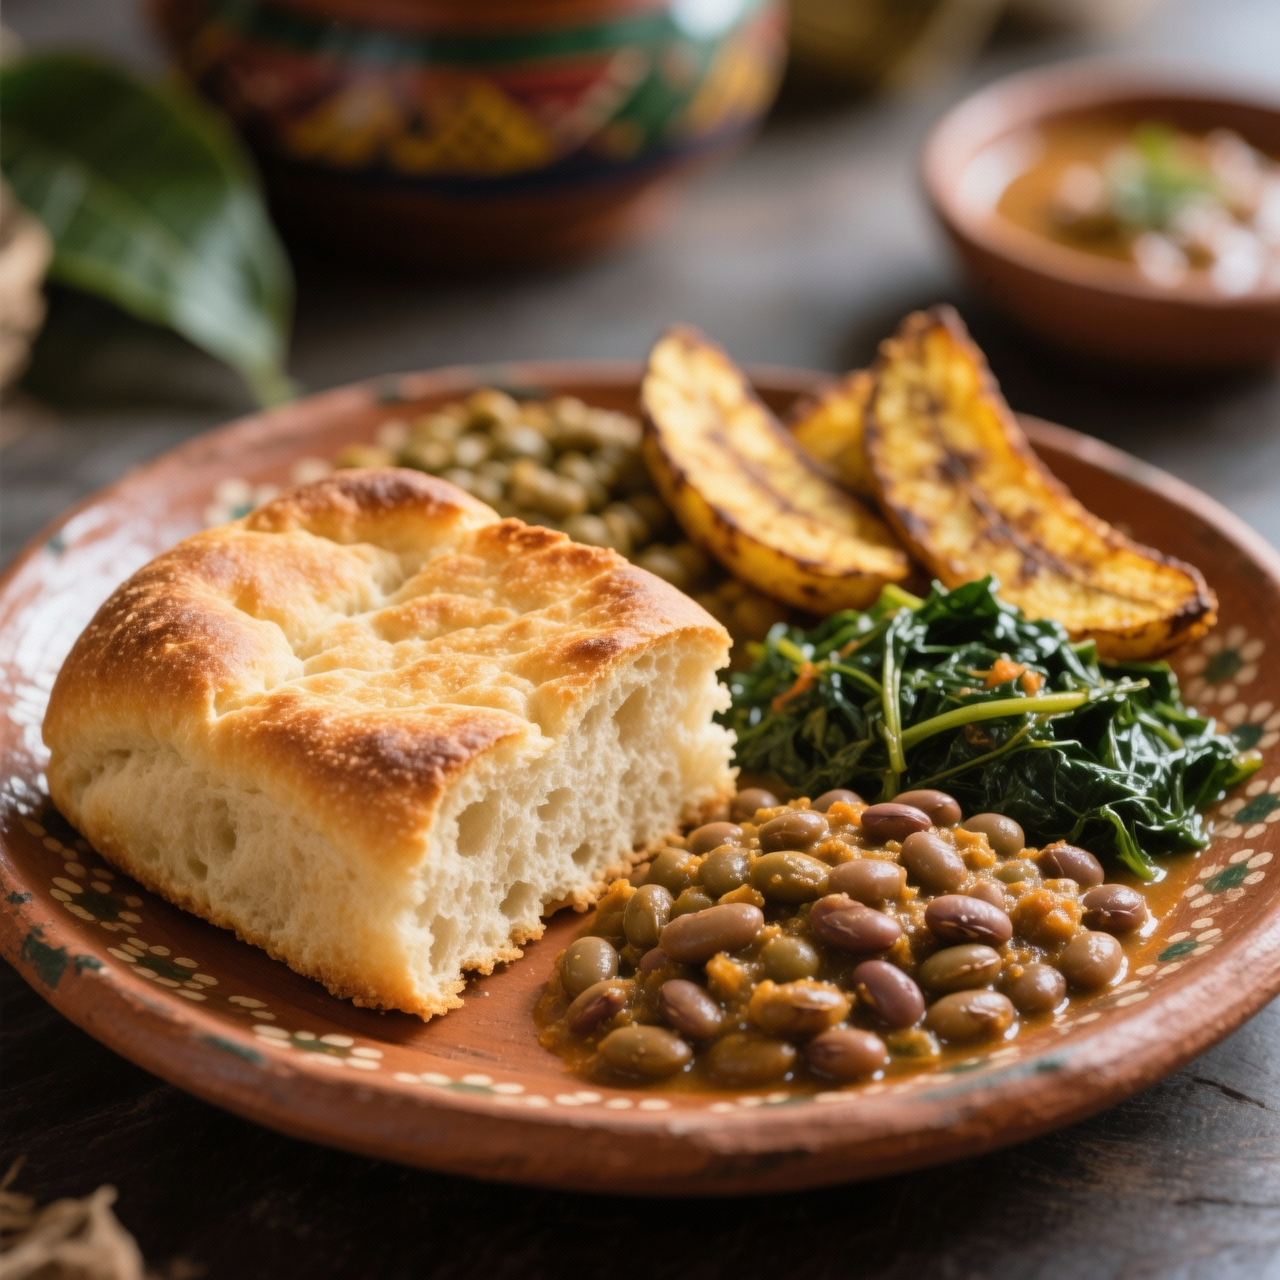
Hardo bread
When I think of Jamaican hard dough bread, or hardo as we affectionately call it, I’m transported straight to the warm, yeasty aisles of Kingston bakeries. This isn’t your average supermarket loaf. If you’ve ever grabbed a cheap, plastic-wrapped sliced bread for a couple of dollars, you know exactly what’s wrong with it: it’s gummy, devoid of soul, and packed with preservatives and high-fructose corn syrup to keep it unnaturally soft for weeks. Making hardo bread from scratch is a revelation. A basic shop-bought loaf might cost you two or three bucks, but it tastes like sweetened cardboard compared to the dense, slightly sweet, and beautifully crusty reality of homemade hard dough bread. The origins of this bread trace back to British colonial influence, adapted by Jamaicans who enriched the basic dough with sugar and fat to create a sturdy, satisfying staple that pairs perfectly with everything from saltfish to a simple smear of butter. The biggest pitfall I see people fall into is treating it like a standard fluffy sandwich bread. You have to knead it thoroughly to develop that signature tight, chewy crumb, and you must resist the urge to add too much flour during shaping, which dries it out. It requires patience during proofing to achieve that distinct, slightly dense yet tender texture. Baking it until the crust is deeply caramelized and hard is non-negotiable. Once you taste the rich, buttery, subtly sweet crumb of a genuine from-scratch hardo loaf, you’ll never look at a plastic bag of supermarket bread the same way again.
Nutrition
| Per serving | Calories | Protein | Carbs | Fat | Sat fat | Fibre | Sugar | Sodium |
|---|---|---|---|---|---|---|---|---|
| beginner | 330kcal | 8g | 58g | 7g | 4g | 2g | 18g | 490mg |
| intermediate | 480kcal | 11g | 78g | 12g | 6g | 3g | 16g | 450mg |
| expert | 310kcal | 7g | 45g | 12g | 7g | 2g | 10g | 300mg |
Per serving · Ava-estimated — a guide, not a clinical figure.
- 500 gbread flour— plus extra for dusting
- 100 ggranulated sugar— traditional Jamaican hard-dough is distinctly sweet
- 5 gsalt— fine sea salt
- 7 ginstant yeast— one standard packet
- 250 mlwhole milk— warmed to approximately 38C or 100F
- 60 gunsalted butter— softened, or substitute with traditional hard margarine
Shop-bought Caribbean hard-dough bread costs around $4 to $5 a loaf and is typically packed with high-fructose corn syrup, artificial flavors, and preservatives like calcium propionate to extend shelf life, resulting in a gummy crumb and flat flavor. This beginner-friendly from-scratch version ditches the processed additives for real butter, brown sugar, and vanilla, yielding a deeply flavorful, slightly sweet loaf with a tender, flaky interior and a crisp, caramelized crust. At the beginner level, we use a straightforward straight-dough method with instant yeast, skipping complex laminations or long cold ferments in favor of a simple, forgiving two-rise process. The key is ensuring your dough is kneaded just until it passes the windowpane test to develop enough gluten for that signature chew without becoming tough. Watch the dough during the proofing stages; it should double in size and feel pillowy, not dense. If your kitchen is cool, give it a little extra time. This approach guarantees a confident first attempt at a bakery-quality staple that freezes beautifully for quick weekday breakfasts.
Equipment
- 9x5-inch loaf pan— metal conducts heat best for a crisp crust
- Large mixing bowl— glass or stainless steel
- Kitchen towel— damp, for covering dough
Method
- 1
Whisk the bread flour, white sugar, brown sugar, salt, and instant yeast together in a large bowl.
Ensure your yeast is not expired to guarantee a good rise.
mixing~ 2 min - 2
Pour in the warm water, melted butter, and vanilla extract, stirring until a shaggy dough forms.
Water should be around 105°F to 110°F, feeling like a warm bath.
hydrating~ 3 min - 3
Turn the dough onto a lightly floured surface and knead for 8 to 10 minutes until smooth, elastic, and slightly tacky but not sticky.
If it sticks excessively, add flour a tablespoon at a time, but avoid adding too much.
kneading~ 10 minTricky bit - 4
Place the kneaded dough in a lightly oiled bowl, cover with a damp towel, and let it rise in a warm spot for 60 minutes until doubled in size.
A turned-off oven with just the light on creates a perfect proofing environment.
proofing~ 60 min - 5
Punch down the risen dough, shape it into a tight log, and place it seam-side down in a greased 9x5-inch loaf pan.
Pulling the surface tight creates a nice domed crust as it bakes.
shaping~ 5 min - 6
Cover the pan and let the dough rise again for 45 minutes until it crests about an inch above the rim of the pan.
It should spring back slowly when gently poked with a floured finger.
final_proof~ 45 min - 7
Bake in a preheated 375°F oven for 30 to 35 minutes until the crust is deep golden brown and the internal temperature reaches 190°F.
Tent with foil for the last 10 minutes if the top is browning too quickly.
baking~ 35 minTricky bit
Cooking from frozen
Thaw at room temperature in its wrapping, then refresh in a hot oven for five minutes to restore the crust.
Storage times are a guide — always use your judgement and store food safely.