
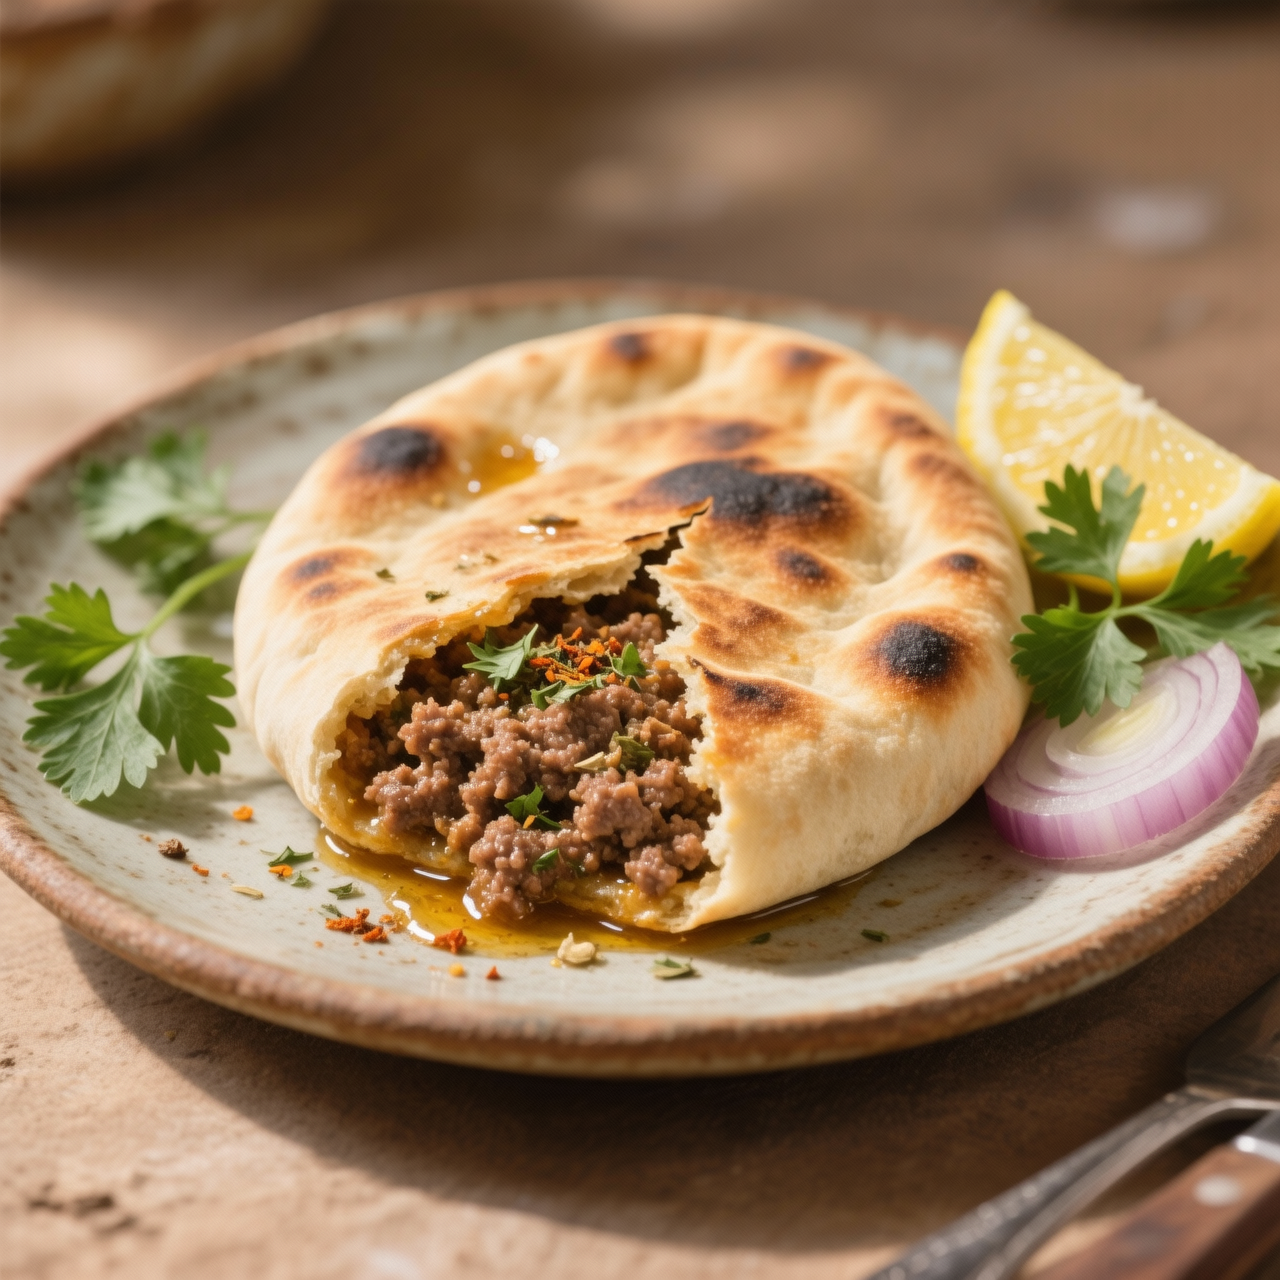
Hawawshi (stuffed meat bread)
I first encountered hawawshi in a bustling Cairo alley, where the scent of toasted cumin and searing beef bled into the cool evening air. This humble Egyptian staple was born from resourceful street vendors who transformed simple dough and spiced minced meat into something deeply satisfying. What strikes me about hawawshi is how it completely eclipses the frozen, pre-stuffed flatbreads and processed meat pockets you will find in supermarket aisles. Those shop-bought imposters usually cost around five pounds per pack, yet they are stuffed with fatty fillers, soggy bread, and chemical preservatives that completely mask any real flavour. Making this from scratch takes a little patience, but it is the only way to honour the dish. The real magic happens when you hand-mix fresh beef with chopped onions, garlic, and warm spices, letting them rest before sealing everything inside a relaxed homemade dough. The most common pitfall I see is overstuffing or failing to crimp the edges properly, which guarantees a messy leak during cooking. Another mistake is skipping the dough rest; it must relax so it stretches without tearing. When you finally press it onto a hot pan or slide it into the oven, the result is a golden, blistered crust that gives way to deeply savoury, herb-flecked meat. It rewards attention, scales beautifully for batch prep, and proves that genuine street food never needs a factory shortcut.
Nutrition
| Per serving | Calories | Protein | Carbs | Fat | Sat fat | Fibre | Sugar | Sodium |
|---|---|---|---|---|---|---|---|---|
| beginner | 510kcal | 28g | 44g | 20g | 6g | 3g | 5g | 580mg |
| intermediate | 540kcal | 34g | 42g | 22g | 7g | 4g | 3g | 720mg |
| expert | 585kcal | 34g | 46g | 21g | 7g | 3g | 3g | 640mg |
Per serving · Ava-estimated — a guide, not a clinical figure.
- 500 gground beef— preferably 15-20% fat for moisture
- 150 gonion— finely diced
- 100 ggreen bell pepper— seeded and finely diced
- 9 ggarlic— about 3 cloves, minced
- 20 gfresh parsley— finely chopped
- 5 gground cumin
- 3 gground coriander
- 5 gpaprika
- 2 gcinnamon— ground
- 10 gsalt— divided between filling and dough
- 3 gblack pepper— freshly ground
- 30 mlolive oil— for mixing filling and brushing
- 400 gall-purpose flour— for dough
- 240 mlwarm water— for dough activation
- 7 gactive dry yeast— about 2 teaspoons
- 5 gsugar— to feed yeast
- 30 mlvegetable oil— for dough and greasing
This beginner-friendly Hawawshi strips away the fuss of traditional dough-making while keeping every element entirely from scratch. Store-bought frozen versions often run £2–3 each, yet they rely on cheap, over-processed meat fillers, stale bread pockets, and heavy preservatives that leave a greasy, one-note aftertaste. Here, you’ll simply buy fresh ground beef and ready-made pita breads, then mix a vibrant, homemade spice blend in one bowl. The method focuses on gentle handling to keep the bread pliable and prevents tearing during assembly. Watch closely when sealing the edges: press firmly with damp fingers to trap the juices inside, otherwise the filling can leak during cooking. Bake on a preheated sheet for a crisp, blistered crust without constant flipping, making it far more forgiving for first-timers. Keep your oven hot and resist opening the door early; the steam inside the pita is what cooks the meat evenly and keeps the bread soft. The result is a deeply savoury, spiced meat pocket that costs pennies to scale, freezes beautifully in batches, and outshines any supermarket shortcut with fresh aromatics and honest, recognisable ingredients.
Equipment
- Large mixing bowl— wide rim for comfortable folding
- Heavy baking sheet— preheat in oven for a crisp bottom
- Sharp serrated knife— for splitting pitas cleanly
Method
- 1
Combine ground beef, finely grated onion, minced garlic, ground cumin, ground coriander, smoked paprika, salt, and olive oil in a mixing bowl.
Grating the onion releases juices that keep the filling moist without making the bread soggy.
folding~ 3 min - 2
Use a sharp knife to slice each pita horizontally, stopping just short of cutting through, to create a wide pocket.
Work gently to maintain an intact hinge that holds the filling securely.
pocketing~ 4 minTricky bit - 3
Spoon the meat mixture evenly into each pocket, then press the open edges firmly with damp fingers to seal completely.
Damp fingers prevent sticking and help fuse the bread layers for a leak-proof seal.
sealing~ 3 min - 4
Brush both sides lightly with oil, place on a preheated baking tray, and bake until the crust blisters and turns deep golden.
Resist opening the oven door early; trapped steam is essential for cooking the meat through.
baking~ 25 min
Cooking from frozen
Thaw overnight in the fridge, then bake in a hot oven until the crust crisps and the centre is piping hot.
Storage times are a guide — always use your judgement and store food safely.