
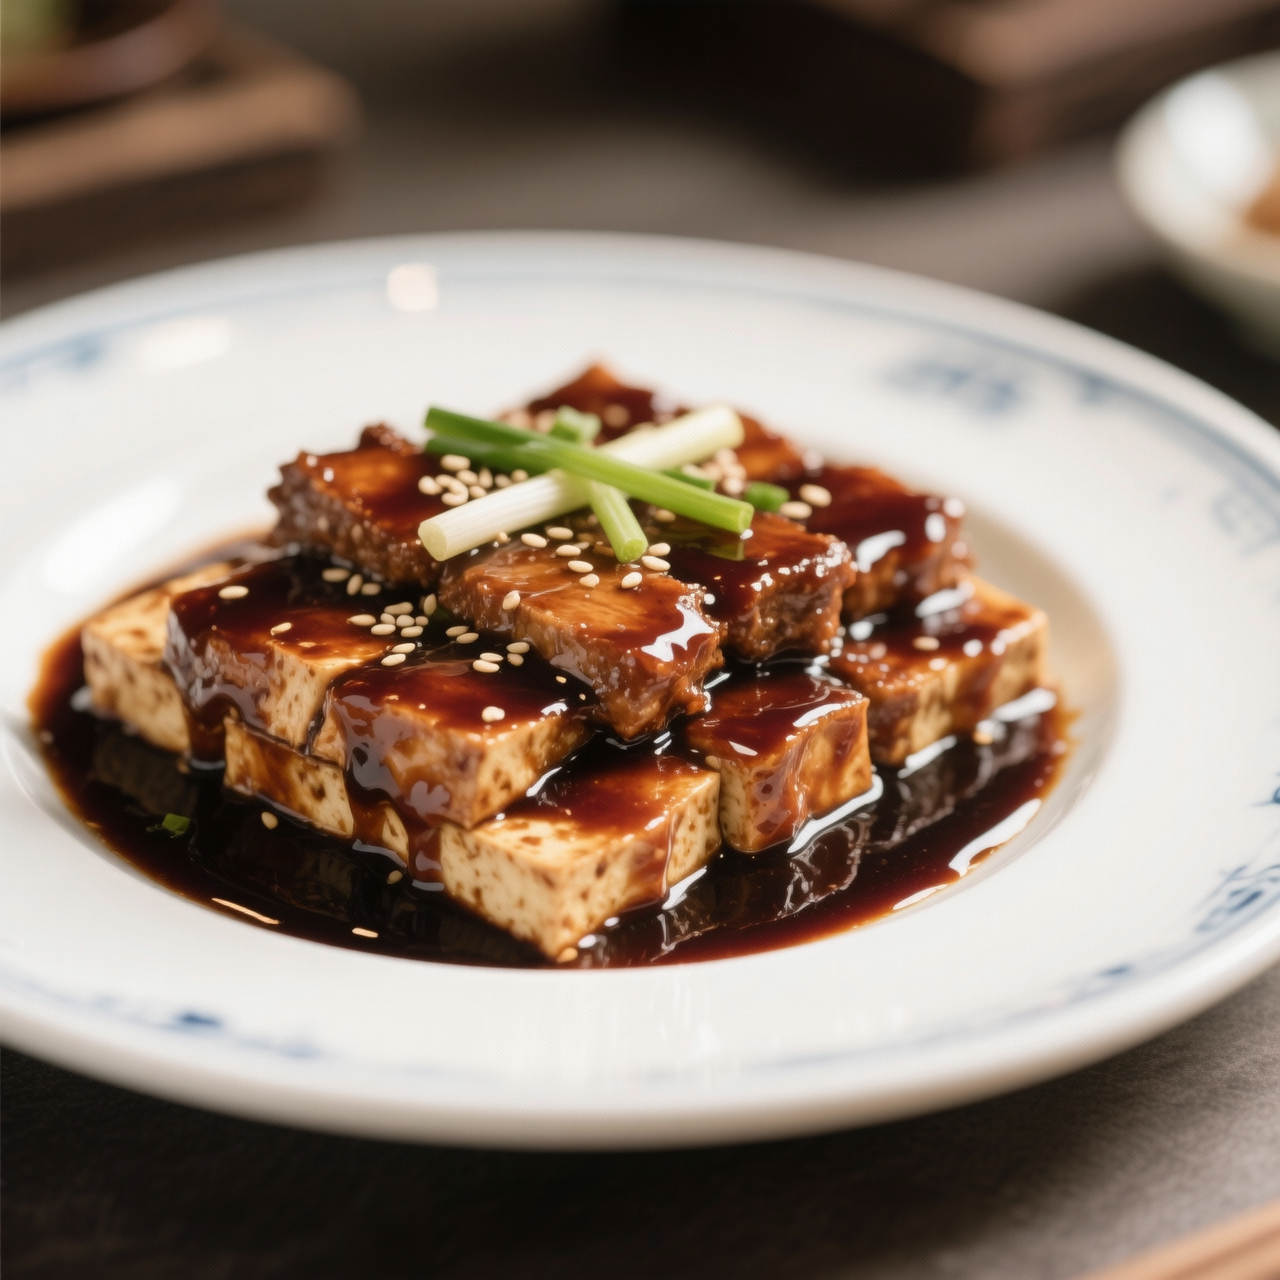
Hoisin Sauce
I’ve always believed that the soul of Cantonese cooking lives in its condiments, and hoisin sauce is perhaps the most charismatic of them all. Translating roughly to “seafood sauce” despite containing absolutely none, this glossy, mahogany-hued blend actually traces its roots to the southern kitchens of Guangdong, where cooks sought to balance sweet, salty, and umami in a single jar. When I make it at home, I’m not just mixing ingredients; I’m capturing a century-old pantry staple that elevates everything from roasted meats to simple stir-fried greens. What makes hoisin so vital is its complexity—it’s not merely sweet or salty, but deeply savory with fermented bean paste at its heart, rounded out by garlic, sesame oil, and a careful kiss of spice. Yet, I see home cooks stumble over it constantly. The most common pitfall is reaching for overly sweet commercial versions that mask the fermented depth, or substituting plain soy sauce for the essential fermented soybean base, which strips away the sauce’s signature funk. Another frequent misstep is rushing the simmer; hoisin needs low, patient heat to marry the fermented paste with the sweeteners, allowing the raw garlic bite to mellow into something rich and cohesive. I always advise tasting as you go, adjusting the rice vinegar at the end to brighten what the long cook dulls. Because it relies on pantry staples like rice vinegar, fermented black bean paste, and brown sugar, it’s naturally vegan, making it a quiet triumph in modern plant-based cooking. Once you’ve mastered the balance, you’ll never buy a jar again.
Nutrition
| Per serving | Calories | Protein | Carbs | Fat | Sat fat | Fibre | Sugar | Sodium |
|---|---|---|---|---|---|---|---|---|
| beginner | 85kcal | 2g | 19g | 2g | 1g | 1g | 14g | 510mg |
| intermediate | 115kcal | 2g | 24g | 2g | 0g | 1g | 16g | 480mg |
| expert | 170kcal | 3g | 36g | 2g | 1g | 2g | 24g | 810mg |
Per serving · Ava-estimated — a guide, not a clinical figure.
- 120 gFermented soybean paste— Yellow or black variety
- 80 gBrown sugar— Packed
- 40 mlRice vinegar— Unseasoned
- 15 gGarlic— Freshly minced
- 10 mlToasted sesame oil
- 2 gFive-spice powder
- 5 gChili paste(optional)— Adjust to taste
- 20 mlLight soy sauce
- 30 mlWater— For adjusting consistency
This beginner-friendly approach skips the time-consuming traditional fermentations and focuses on a quick, reliable shortcut using pantry staples and a jarred base like smooth peanut butter or miso. You will combine sweet, salty, tangy, and umami elements in one pot, relying on pre-measured ratios rather than tasting and adjusting blindly. The goal here is a confident first attempt that yields a thick, glossy sauce perfect for dipping or glazing. Watch closely during the simmering stage; the natural sugars in the molasses and sugar will scorch quickly if left unattended over high heat. Keep your whisk moving constantly to prevent sticking and ensure the starch slurry incorporates smoothly without clumping. If the sauce thickens too fast, simply splash in a tablespoon of warm water to loosen it. Once cooled, transfer it to a clean glass jar and refrigerate. It will continue to thicken as it chills, developing a rich, cohesive texture. This method guarantees consistent results every time, removing the guesswork while preserving the classic sweet-and-savory profile you expect from authentic hoisin.
Equipment
- Small heavy-bottomed saucepan— distributes heat evenly to prevent scorching
- Whisk— essential for lump-free incorporation
- Silicone spatula— scrapes edges to avoid burning
- Glass storage jar— with tight-sealing lid
Method
- 1
Whisk together the soy sauce, smooth peanut butter, molasses, rice vinegar, and minced garlic in a saucepan until completely smooth.
Ensure the peanut butter is fully incorporated before applying heat to avoid separation.
emulsifying~ 2 min - 2
Place the pan over medium-low heat and gently warm the mixture while stirring continuously.
Do not let it boil aggressively, or the sugars will burn.
tempering~ 3 min - 3
Dissolve the cornstarch in two tablespoons of cold water, then slowly pour the slurry into the simmering pan while whisking vigorously.
Cold water prevents instant clumping when the starch hits the hot liquid.
slurry~ 1 minTricky bit - 4
Simmer the sauce for exactly three minutes until it coats the back of a spoon, then immediately remove it from the heat.
Residual heat will continue to thicken the sauce as it cools.
reduction~ 3 min - 5
Transfer the finished sauce to a sterilized glass jar, seal tightly, and refrigerate until completely chilled.
Store in the back of the fridge for maximum shelf life.
storing~ 2 min
Cooking from frozen
Thaw overnight in the fridge and whisk vigorously to re-emulsify before using.
Storage times are a guide — always use your judgement and store food safely.