
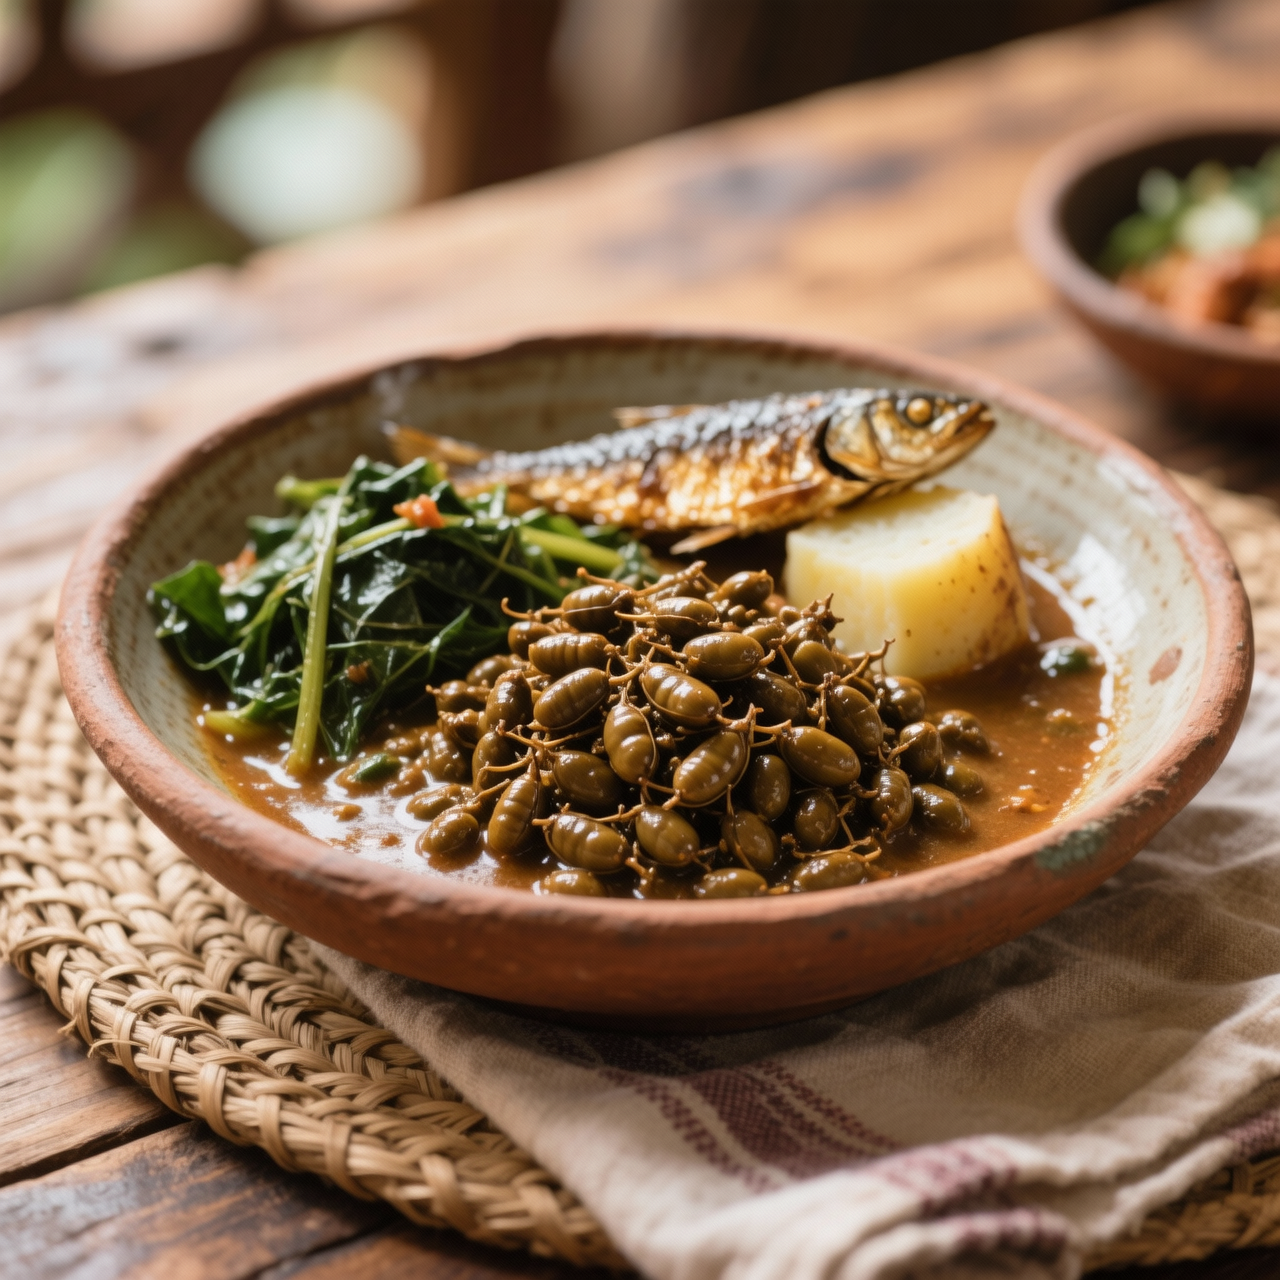
Iru / dawadawa (fermented locust bean)
I’ve always believed that true flavor doesn’t shout; it lingers, patiently building depth until it becomes the quiet backbone of everything it touches. That’s exactly what iru, or dawadawa, does for West African cooking. Born from the hard seeds of the African locust bean tree, this fermented condiment has anchored our kitchens for centuries, transforming humble leafy greens, legumes, and broths into deeply savory, complex meals long before commercial bouillon cubes or imported soy sauces existed. The traditional process is an exercise in patience and microbial trust: boiling the seeds until tender, carefully dehulling them by hand, wrapping them in warm banana leaves or packing them into clay vessels, and allowing naturally occurring bacteria to break down proteins over several days. Why does it matter? Because it connects us to a lineage of preservation and flavor alchemy that modern, convenience-driven pantries often overlook. Yet, crafting it at home demands respect for the process. The most common pitfall is rushing the fermentation or neglecting temperature control, which invites spoilage instead of the beneficial Bacillus strains we’re cultivating. Over-washing the seeds strips away essential wild cultures, while under-boiling leaves them too dense to ferment evenly. When successful, the paste should smell intensely pungent, earthy, and richly savory, never sour or ammonia-sharp. I always advise cooks to embrace that bold aroma—it’s the unmistakable scent of transformation. Keep it tightly sealed, top with a thin layer of neutral oil to prevent drying, and let it elevate your dishes from within. It’s not merely a seasoning; it’s a living archive of West African culinary wisdom.
Nutrition
| Per serving | Calories | Protein | Carbs | Fat | Sat fat | Fibre | Sugar | Sodium |
|---|---|---|---|---|---|---|---|---|
| beginner | 145kcal | 12g | 5g | 8g | 1g | 4g | 1g | 340mg |
| intermediate | 48kcal | 4g | 4g | 2g | 1g | 3g | 1g | 165mg |
| expert | 140kcal | 12g | 5g | 9g | 3g | 5g | 1g | 15mg |
Per serving · Ava-estimated — a guide, not a clinical figure.
- 500 gAfrican locust bean— Dried, whole seeds; ensure pods are completely removed before processing
This beginner-friendly approach skips the traditional three-day fermentation and hulling process, which can be intimidating and time-consuming. Instead, we start with a high-quality, pre-fermented jarred iru paste, allowing you to focus entirely on unlocking its deep, savory umami profile safely. The key to success here is gentle heat management and proper moisture control. Because commercial pastes often retain excess salt and moisture from packaging, a quick rinse and thorough drying step prevents splattering and ensures a clean, concentrated flavor. You will lightly bloom the paste in a neutral oil, stirring constantly to coax out its nutty, meaty aroma without burning the delicate fermented compounds. This low-and-slow technique guarantees a smooth, spoonable consistency that integrates seamlessly into stews, soups, and rice dishes. Watch closely during the final minutes of cooking; the iru should darken slightly and release a rich, earthy fragrance. Once cooled completely, it is portioned into airtight glass containers for easy batch storage. This method builds confidence in handling traditional West African seasonings while delivering reliable, restaurant-quality depth in your everyday cooking.
Equipment
- Heavy-bottomed skillet— A wide surface prevents crowding and promotes even evaporation.
- Wooden spoon— Essential for scraping the pan bottom without scratching.
- Clean kitchen towel— Paper towels work but may leave lint on the paste.
- Airtight glass jars— Small mason jars or recycled condiment bottles are ideal.
Method
- 1
Place the jarred iru in a fine-mesh strainer and rinse thoroughly under cool running water.
Removes excess surface salt and packaging oils that can muddy the final flavor.
rinsing~ 1 min - 2
Spread the rinsed paste onto a clean kitchen towel and press firmly to absorb all excess moisture.
Removing water is critical to prevent dangerous oil splatters during cooking.
drying~ 1 minTricky bit - 3
Pour two tablespoons of neutral oil into a heavy-bottomed skillet and warm over medium-low heat.
Test with a single bean; it should sizzle gently without smoking.
warming~ 2 min - 4
Add the dried iru to the skillet and stir continuously, pressing out any stubborn lumps.
Constant movement prevents hot spots and ensures uniform flavor development.
blooming~ 3 minTricky bit - 5
Cook until the mixture darkens slightly and releases a deep, nutty aroma, then immediately transfer to a heatproof bowl.
Fermented proteins burn rapidly; residual heat will safely finish the process.
toasting~ 5 minTricky bit - 6
Pack the completely cooled iru into sterilized glass jars, pressing down firmly to eliminate air pockets before sealing.
Refrigerate for daily use or freeze in ice-cube trays for long-term batch storage.
portioning~ 2 min
Cooking from frozen
Thaw overnight in the refrigerator, then stir well and add directly to simmering pots; no extra heating step is needed.
Storage times are a guide — always use your judgement and store food safely.