
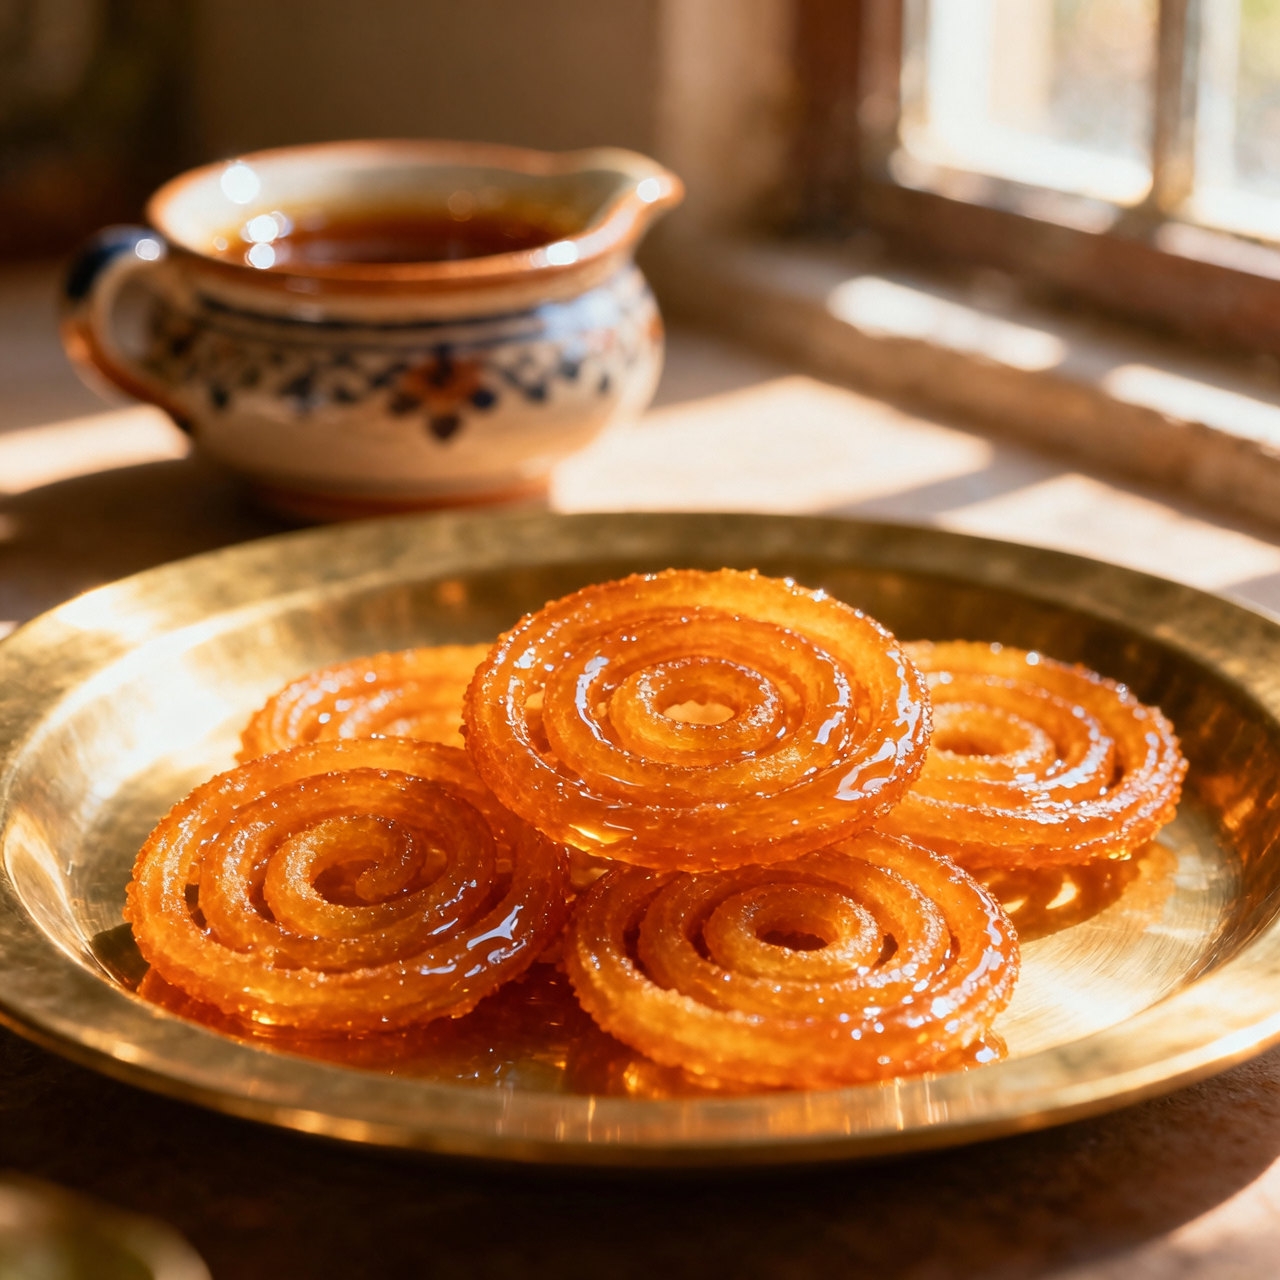
Jalebi
I’ve spent countless evenings chasing the perfect spiral, a pursuit that always brings me back to the ancient streets where jalebi first took shape. While many assume this iconic sweet is strictly a Mughal-era creation, its roots actually stretch further back to medieval Persia and the Arabic zalabiya, eventually weaving its way through trade routes and temple kitchens across the Indian subcontinent to become the beloved, syrup-drenched delight we know today. To me, jalebi isn’t just a dessert; it’s a living thread connecting generations, a golden coil that appears at dawn festivals, monsoon celebrations, and quiet afternoon tea breaks alike. What makes it so profoundly meaningful is its alchemy: how a humble fermented batter transforms under heat into crisp, resonant rings that shatter delicately between your teeth. Yet, this very transformation is where most home cooks stumble. The fermentation must be patient and precise; rush it, and your batter loses the subtle tang that balances the sugar syrup. Temperature control is equally unforgiving. Oil too cool, and the spirals absorb grease like a sponge; too hot, and they burn before setting their shape. Even the syrup demands respect—it should be a warm, single-thread consistency when the hot jalebi dives in, allowing the crisp exterior to drink deeply without turning soggy. When I finally got the rhythm right, I realized jalebi teaches patience, observation, and a willingness to embrace the beautiful unpredictability of fermentation. It’s a dance of heat and time, one that rewards those who listen closely to the sizzle.
Nutrition
| Per serving | Calories | Protein | Carbs | Fat | Sat fat | Fibre | Sugar | Sodium |
|---|---|---|---|---|---|---|---|---|
| beginner | 730kcal | 12g | 118g | 25g | 6g | 7g | 75g | 7mg |
| intermediate | 730kcal | 12g | 118g | 25g | 6g | 7g | 75g | 7mg |
| expert | 730kcal | 12g | 118g | 25g | 6g | 7g | 75g | 7mg |
Per serving · Ava-estimated — a guide, not a clinical figure.
- 150 gsplit urad dal— skinless, whole
- 100 gall-purpose flour— sifted
- 120 gunsweetened coconut yogurt— full-fat, room temperature
- 300 ggranulated sugar
- 250 mlfiltered water— room temperature
- 1000 mlneutral vegetable oil— for deep frying, high smoke point
- 5 gground cardamom
- 0.5 gsaffron threads
- 15 mllemon juice— freshly squeezed
This version prioritizes accessibility and speed without sacrificing the essential jalebi experience. Instead of managing a slow, temperature-sensitive fermentation, we leverage a quick hydration approach combined with a pre-mixed batter technique to mimic the traditional airy structure. The focus here is on mastering the piping motion and maintaining consistent oil temperature. Watch for the syrup consistency; it must be slightly thinner than honey to ensure rapid absorption without making the coils heavy. Beginners often panic when the batter hits the oil, causing them to squeeze too fast. Practice the motion with water first to build muscle memory. The goal is a confident first attempt that delivers recognizable crunch and sweetness. Always skim any stray batter fragments from the oil to prevent burning, which can impart a bitter taste to subsequent batches. Keep your workspace dry, use a squeeze bottle for control, and trust the visual cues over strict timers.
Equipment
- Wide heavy skillet— cast iron or stainless steel
- Candy thermometer— clip-on preferred
- Silicone squeeze bottle— wide nozzle
- Wire cooling rack— lined with parchment
Method
- 1
Whisk the all-purpose flour, coconut yogurt, and lemon juice into a smooth, thick batter until absolutely no lumps remain.
Batter should coat a spoon heavily.
whisking~ 2 min - 2
Combine the sugar, water, saffron threads, and cardamom in a small saucepan and bring to a gentle boil.
Saffron should bleed color quickly.
simmering~ 3 min - 3
Heat the neutral oil in a wide pan over medium heat until it reaches 175°C on a thermometer.
Oil should shimmer, not smoke.
temperature control~ 5 minTricky bit - 4
Transfer the batter into a squeeze bottle and pipe concentric circles directly into the hot oil.
Keep wrist steady, move counter-clockwise.
extrusion~ 2 minTricky bit - 5
Fry the jalebi coils for two minutes, flipping once, until they turn deep golden and rigid.
Do not crowd the pan.
deep-frying~ 2 min - 6
Remove the fried coils with a slotted spoon and immediately submerge them in the warm syrup for thirty seconds.
Syrup must be warm, not hot.
soaking~ 1 min