
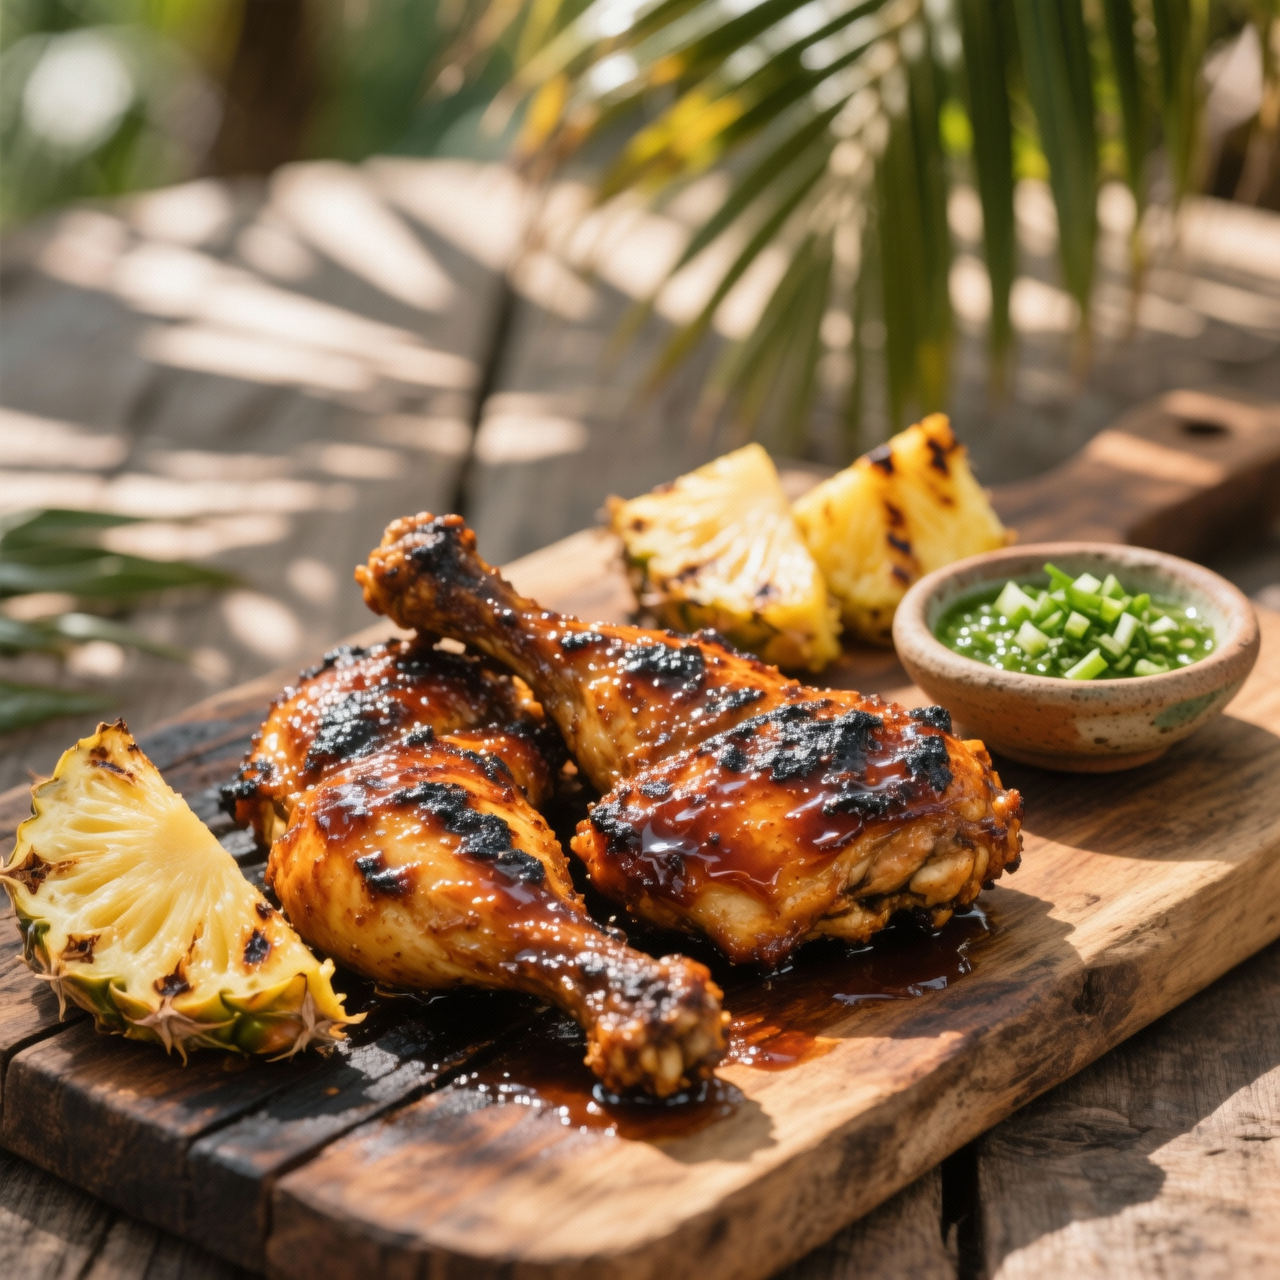
Jamaican Jerk Chicken
When I first encountered jerk chicken, I was struck not by its heat, but by its history simmering beneath the surface. This iconic dish traces its roots to the Maroon communities of Jamaica, who adapted indigenous Taino preservation techniques and blended them with African spice traditions to survive colonial hardships. Over generations, the practice evolved from a necessity into a celebrated culinary art, with every parish claiming its own rhythm for balancing allspice, scotch bonnet, and smoky pimento wood. To me, jerk chicken matters because it embodies resilience, transforming scarcity into something profoundly vibrant. It’s a reminder that food can carry memory, resistance, and joy all at once. Yet, I’ve watched countless kitchens stumble when trying to capture its essence. The most frequent misstep is treating the marinade as a mere afterthought rather than a living foundation that requires patience to penetrate the meat. Many rush the process, skipping the overnight rest, or they drown the chicken in commercial pastes that prioritize artificial sweetness over authentic heat. Another common trap is the cooking method itself. True jerk demands indirect, low-and-slow heat over aromatic wood, but modern grills often blast the surface, leaving the interior dry while the exterior chars. I always advocate for respecting the rhythm of the dish: score the meat deeply, let the spices breathe, and cook with restraint. When you honor the technique, you don’t just make a meal—you participate in a legacy that refuses to be rushed.
Nutrition
| Per serving | Calories | Protein | Carbs | Fat | Sat fat | Fibre | Sugar | Sodium |
|---|---|---|---|---|---|---|---|---|
| beginner | 550kcal | 45g | 19g | 30g | 7g | 4g | 8g | 1200mg |
| intermediate | 550kcal | 45g | 19g | 30g | 7g | 4g | 8g | 1200mg |
| expert | 550kcal | 45g | 19g | 30g | 7g | 4g | 8g | 1200mg |
Per serving · Ava-estimated — a guide, not a clinical figure.
- 1000 gChicken thigh— bone-in, skin-on, trimmed
- 15 gAllspice berry— whole
- 30 gScotch bonnet pepper— fresh, stems removed
- 100 gScallion— trimmed
- 20 gFresh thyme— leaves only
- 30 gGarlic clove— peeled
- 20 gFresh ginger— peeled
- 45 mlSoy sauce— regular sodium
- 30 gDark brown sugar— packed
- 5 gGround nutmeg— freshly grated preferred
- 3 gGround cinnamon— Ceylon variety
- 30 mlVegetable oil— neutral
- 10 gKosher salt— fine grain
- 5 gBlack peppercorn— whole
- 50 gLime— juiced
This version prioritizes accessibility and confidence over tradition. You will process every listed ingredient in a single food-pulse cycle to create a quick marinade, bypassing the traditional toasting and resting phases. The chicken bakes on a wire rack in a standard oven, eliminating the guesswork of managing live coals. Watch the oven temperature closely; the brown sugar in the marinade will burn if exposed to direct high heat, so we rely on steady, moderate warmth to render the fat and caramelize the exterior safely. An instant-read thermometer is your best ally here, taking the guesswork out of poultry safety. Do not skip the brief resting period after baking, as the residual heat will redistribute the juices and firm up the skin slightly. The goal is not to replicate a wood-fired pit on your first attempt, but to understand how the core flavors interact and learn to read the visual cues of properly cooked poultry. Once you master this streamlined approach, the transition to live-fire cooking will feel entirely natural.
Equipment
- Food processor— standard bowl size works
- Wire rack— fits inside baking sheet
- Instant-read thermometer— digital preferred
Method
- 1
Combine all marinade ingredients in a food processor until smooth.
Pulse to avoid heating the mixture.
emulsifying~ 1 min - 2
Score the chicken skin lightly with a sharp paring knife.
Cut through skin only, not the meat.
scoring~ 1 minTricky bit - 3
Rub the paste thoroughly into the chicken, ensuring full coverage.
Work under the skin if possible.
marinating~ 2 min - 4
Arrange the chicken on a wire rack set over a rimmed baking sheet.
Prevents steaming in rendered fat.
racking~ 1 min - 5
Roast in a preheated 190°C oven until deeply browned.
Rotate halfway through for even color.
roasting~ 35 minTricky bit - 6
Verify the thickest part reaches 74°C using an instant-read thermometer.
Do not touch the bone.
probing~ 1 min - 7
Transfer to a cutting board and tent loosely with foil.
Resting allows juices to redistribute.
resting~ 5 min