
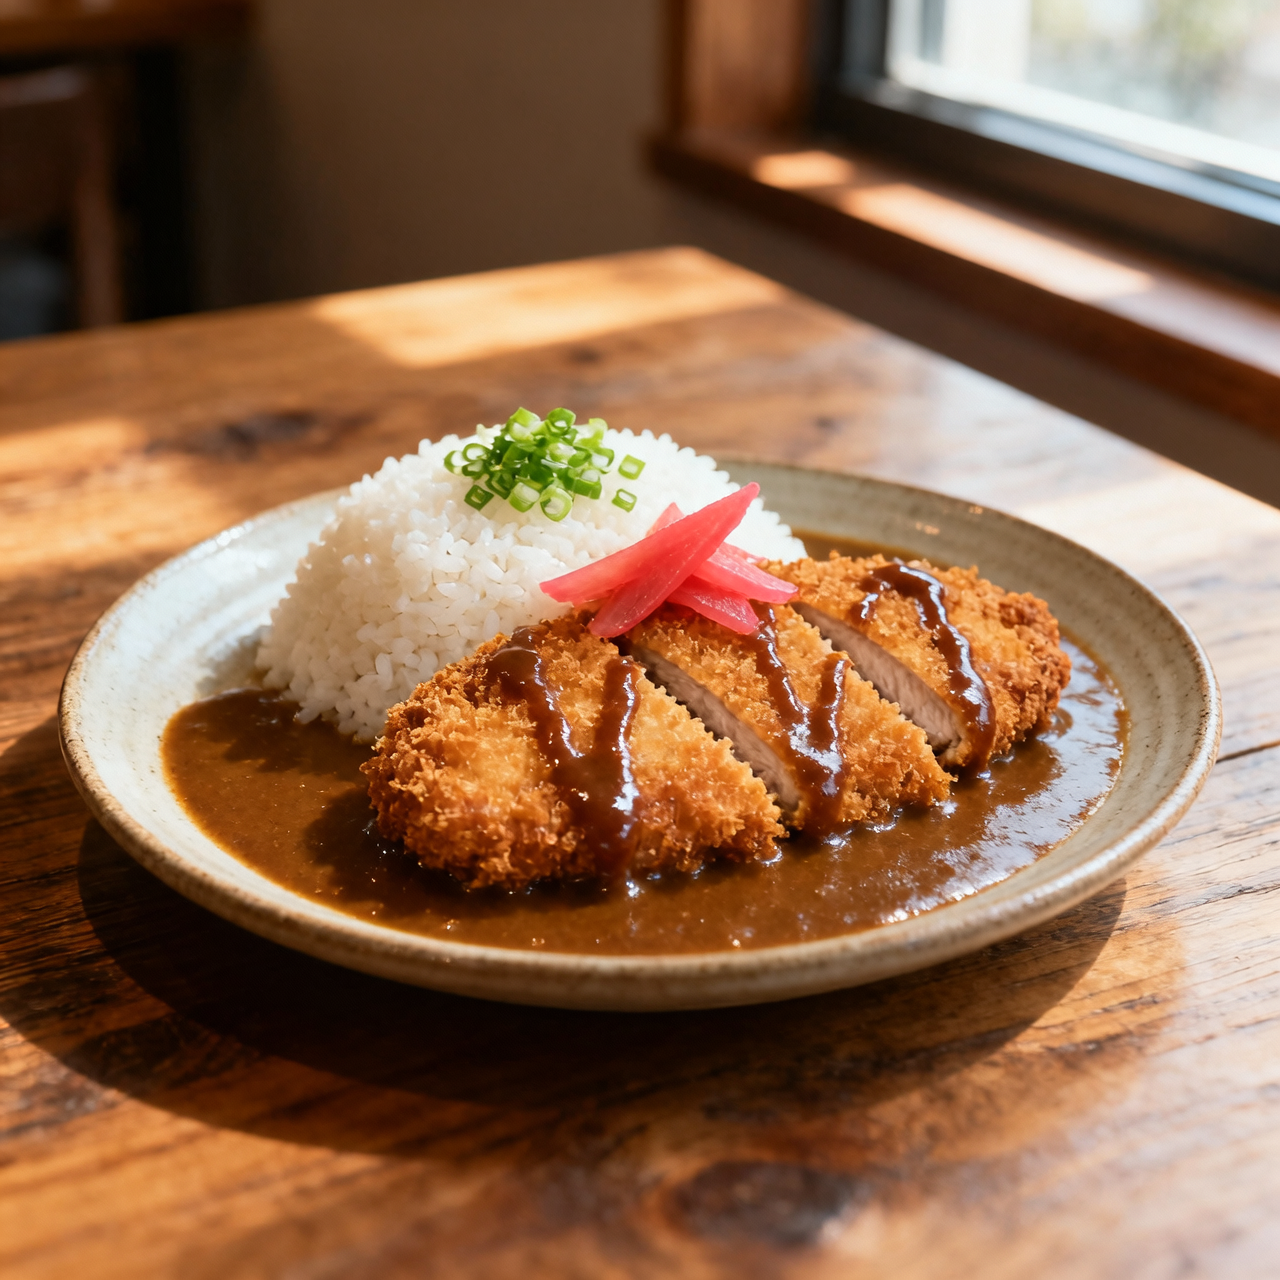
Katsu Curry
I’ve always believed that katsu curry is where Japan’s quiet culinary discipline meets the warm embrace of comfort food. Born in the Meiji era, it’s a beautiful example of how Japanese cooks absorbed Western influences—like British-style curry and French-inspired cutlets—and refined them into something entirely their own. I remember the first time I truly understood its magic: standing over a simmering pot of roux, watching the way the onions melted into the sauce, and realizing this wasn’t just about feeding the body, but about creating a rhythm in the kitchen. What makes katsu curry matter today is its unpretentious honesty. It doesn’t demand perfection, only patience. You can feel it in the crunch of the breaded pork, the gentle sweetness of the curry, and the way it quietly brings people together around the table. Yet, so many stumble at the very first step. The most common pitfall I see is rushing the roux. People crank the heat to speed things along, and suddenly the flour scorches, leaving a bitter edge that ruins the delicate balance. Another mistake is under-seasoning the meat or skipping the resting phase after frying, which guarantees a soggy crust the moment it hits the sauce. And please, never pour boiling curry over freshly fried katsu. Let the sauce cool slightly, serve them side by side, and let each bite marry on the plate. When you respect the process, the dish rewards you with a harmony that feels like a quiet victory every single time.
Nutrition
| Per serving | Calories | Protein | Carbs | Fat | Sat fat | Fibre | Sugar | Sodium |
|---|---|---|---|---|---|---|---|---|
| beginner | 1020kcal | 62g | 94g | 41g | 9g | 7g | 12g | 1250mg |
| intermediate | 1020kcal | 62g | 94g | 41g | 9g | 7g | 12g | 1250mg |
| expert | 1020kcal | 62g | 94g | 41g | 9g | 7g | 12g | 1250mg |
Per serving · Ava-estimated — a guide, not a clinical figure.
- 600 gChicken breast— butterflied to even thickness
- 200 gPanko breadcrumb— Japanese-style, fine to medium texture
- 100 gAll-purpose flour— for dredging and roux base
- 2 unitLarge egg— lightly beaten
- 1000 mlNeutral vegetable oil— for deep frying
- 2 unitYellow onion— thinly sliced
- 300 gRusset potato— cubed uniformly
- 200 gCarrot— cut into half-moons
- 100 gJapanese curry roux— commercial block or homemade spice blend
- 750 mlWater— or light dashi stock
- 15 mlSoy sauce— for umami balance
- 15 mlMirin— for subtle sweetness
This version is designed for your very first attempt, prioritizing confidence over complexity. We lean on high-quality commercial curry roux blocks and a straightforward frying method to guarantee a reliable result without the guesswork. The key here is temperature control and timing. Commercial roux melts quickly and thickens fast, so you must keep the heat low once it hits the pot to prevent scorching. For the cutlet, I recommend the three-step dredge: flour, egg, then panko. Press the breadcrumbs gently but firmly so they adhere without crushing. Fry at a steady medium heat; if the oil smokes, drop the temperature immediately. The biggest pitfall at this level is overcrowding the pan, which drops the oil temperature and leads to soggy, greasy crusts. Work in batches if your skillet is small. Once the cutlet rests, slice it against the grain to preserve that crisp texture. The curry sauce comes together while the meat drains, and a quick simmer is all it needs. You will learn the fundamental rhythm of katsu curry here: prep, coat, fry, simmer, assemble. Master this sequence, and you will have a deeply satisfying meal that feels restaurant-familiar.
Equipment
- Heavy-bottomed skillet— non-stick or cast iron works
- Wire cooling rack— prevents soggy bottoms
- Shallow bowls— for breading station
- Medium saucepan— for curry base
Method
- 1
Pound chicken breasts to uniform thickness and season lightly with salt.
Even thickness ensures consistent cooking.
pounding~ 5 min - 2
Arrange flour, beaten eggs, and panko in three separate shallow bowls.
Keep one hand dry for handling raw ingredients.
mise en place~ 3 min - 3
Coat cutlets thoroughly in flour, dip in egg, and press firmly into panko.
Press gently to avoid crushing the flakes.
coating~ 4 minTricky bit - 4
Heat vegetable oil in skillet to 170 degrees Celsius.
Use a thermometer or test with a single breadcrumb.
temperature control~ 7 min - 5
Fry cutlets until golden brown and crisp, flipping once halfway through.
Do not move them until the crust sets.
deep-frying~ 6 minTricky bit - 6
Transfer fried cutlets to wire rack to drain excess oil.
Resting keeps the crust crisp.
resting~ 4 min - 7
Sauté sliced onions in saucepan until soft and translucent.
Low heat prevents burning the sugars.
sweating~ 5 min - 8
Add water, potatoes, and carrots to the onions and simmer until tender.
Vegetables should be fork-tender but firm.
simmering~ 10 min - 9
Remove pot from heat and stir in curry roux pieces until completely dissolved.
Off-heat prevents the starch from clumping.
emulsifying~ 3 min - 10
Return sauce to low heat and simmer briefly to thicken, then stir in soy sauce and mirin.
Taste and adjust sweetness before serving.
reduction~ 5 min - 11
Slice rested cutlet diagonally and plate beside rice with curry poured alongside.
Serve immediately for maximum texture contrast.
plating~ 2 min