
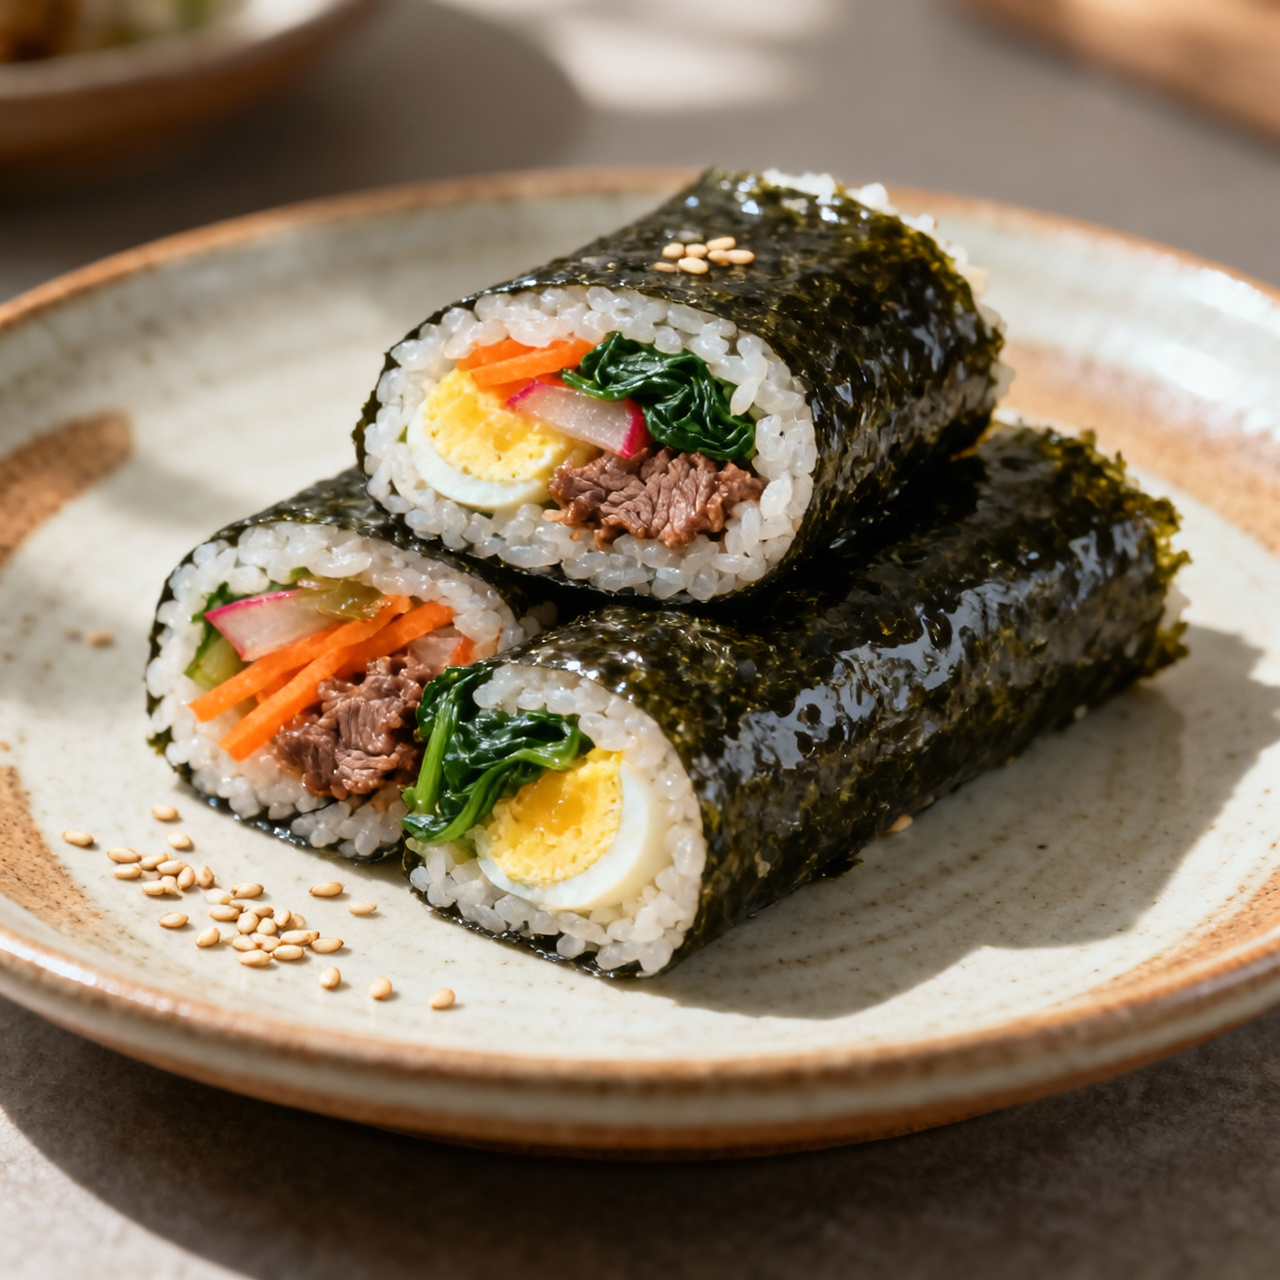
Kimbap
I remember the first time I realized how much I’d compromised by reaching for those plastic-wrapped kimbap packs at the corner store. They cost around three or four dollars each, and while they’re undeniably convenient, the rice is always cold and gummy, the vegetables taste like they’ve been sitting in a damp drawer for days, and the whole thing falls apart the moment you try to slice it. Making kimbap from scratch isn’t just about saving money; it’s about reclaiming a dish that’s deeply woven into Korean daily life. Historically, it emerged as a practical, portable meal for workers and travelers, built around seasoned rice, crisp vegetables, and a thin sheet of dried seaweed. When you roll it yourself, you control every layer: the rice is lightly toasted in sesame oil and salted just right, the fillings stay vibrant, and the final roll has that satisfying structural integrity that convenience packs completely lack. The biggest pitfall most beginners face is overfilling the seaweed, which guarantees a messy tear, or skipping the step of cooling and seasoning the rice properly, which turns it into a pasty brick. Another common mistake is rolling too loosely or failing to press firmly, leaving gaps that cause the kimbap to unravel when sliced. The key is patience—spread a thin, even layer of rice, arrange your fillings in a neat, compact line, and roll tightly using a bamboo mat or clean towel. Once you feel that gentle, even pressure, the process becomes almost meditative. You’ll end up with something that actually tastes alive, costs a fraction of the store-bought alternative, and proves that real food doesn’t need a factory to be portable.
Nutrition
| Per serving | Calories | Protein | Carbs | Fat | Sat fat | Fibre | Sugar | Sodium |
|---|---|---|---|---|---|---|---|---|
| beginner | 360kcal | 15g | 44g | 13g | 3g | 3g | 4g | 480mg |
| intermediate | 380kcal | 15g | 46g | 14g | 4g | 3g | 5g | 620mg |
| expert | 385kcal | 15g | 52g | 11g | 2g | 4g | 5g | 480mg |
Per serving · Ava-estimated — a guide, not a clinical figure.
- 300 gshort-grain rice— Cooked while hot and seasoned with sesame oil and salt, then cooled to room temperature
- 5 sheetsseaweed sheet— Full-size toasted nori or gim, kept dry until ready to roll
- 150 gspinach— Blanched, drained, squeezed dry, and seasoned with salt and sesame oil
- 100 gcarrot— Julienned into thin matchsticks and lightly sautéed until tender-crisp
- 100 gyellow pickled radish— Drained and cut into thin matchsticks
- 3 wholeegg— Beaten, cooked into thin sheets, and sliced into long strips
- 150 gbeef sirloin— Thinly sliced, marinated in soy sauce and sugar, then stir-fried until cooked
- 15 mlsesame oil— Used for seasoning rice and sautéing vegetables
- 10 gsesame seed— Toasted, mixed into rice or sprinkled on finished rolls
- 5 gsalt— For seasoning rice and blanched vegetables
This beginner version strips away the intimidation of restaurant-style kimbap while keeping every ingredient completely from-scratch. Convenience packs rely on cheap, preservative-heavy rice, artificial flavorings, and overly salty fillings that leave you sluggish for hours. Making it at home costs roughly half as much per roll, uses fresh vegetables, real sesame oil, and properly seasoned rice, and gives you full control over the salt and texture. At this level, you will skip the traditional multi-pot simmering and complex marinade steps. Instead, fillings are quickly sautéed or blanched in a single pan, and the rice is seasoned with a straightforward mix of salt, toasted sesame oil, and a touch of sugar while still warm. The rolling technique is simplified by using slightly less rice and leaving a clear gap at the top edge, making it much easier to seal without tearing the seaweed. Watch closely when slicing: a sharp, lightly oiled knife and a gentle sawing motion prevent the rolls from squashing. Keep your workspace dry and roll firmly but gently for neat, uniform cylinders that hold together beautifully.
Equipment
- Bamboo sushi mat— wrap tightly in plastic wrap for easy cleanup
- Large non-stick skillet— 12-inch works best for quick fillings
- Rice cooker or heavy pot— must have a tight-fitting lid
- Large mixing bowl— wooden or ceramic retains heat well
- Chef's knife— keep it razor-sharp for clean cuts
Method
- 1
Rinse short-grain sushi rice under cold water until it runs clear, then cook it in a rice cooker or heavy pot with the appropriate water ratio.
Do not skip rinsing, as it removes excess surface starch.
rinsing~ 5 min - 2
Transfer the hot cooked rice to a large bowl and gently fold in toasted sesame oil, a pinch of fine salt, and one teaspoon of sugar until the grains are evenly coated.
Use a cutting motion with a flat spatula to keep the rice fluffy.
folding~ 2 min - 3
Bring a pot of salted water to a boil, blanch the spinach and sliced carrots until just tender, then drain and squeeze out every drop of moisture.
Excess water will make the seaweed soggy and tear during rolling.
blanching~ 4 minTricky bit - 4
Heat a thin layer of oil in a skillet, sauté the beef strips until browned, then scramble the eggs into a flat sheet and slice all fillings into uniform matchsticks.
Let the cooked fillings cool to room temperature before assembling.
sautéing~ 6 min - 5
Place a nori sheet shiny-side down on the mat, spread a thin layer of rice leaving a one-inch border at the far edge, and arrange the fillings in a tight line across the center.
Press the rice lightly; packing it too firmly will make the roll tough.
layering~ 3 minTricky bit - 6
Lift the near edge of the mat, tuck it over the fillings, roll forward with steady pressure, and moisten the bare nori border with a fingertip to seal the cylinder.
Roll once, then give the mat a gentle squeeze to compact the interior.
rolling~ 2 minTricky bit - 7
Rest the finished roll seam-side down for five minutes, then slice into eight bite-sized pieces using a lightly oiled sharp knife with a gentle back-and-forth sawing motion.
Wipe the blade clean between each cut for crisp, professional edges.
slicing~ 2 min
Storage times are a guide — always use your judgement and store food safely.