
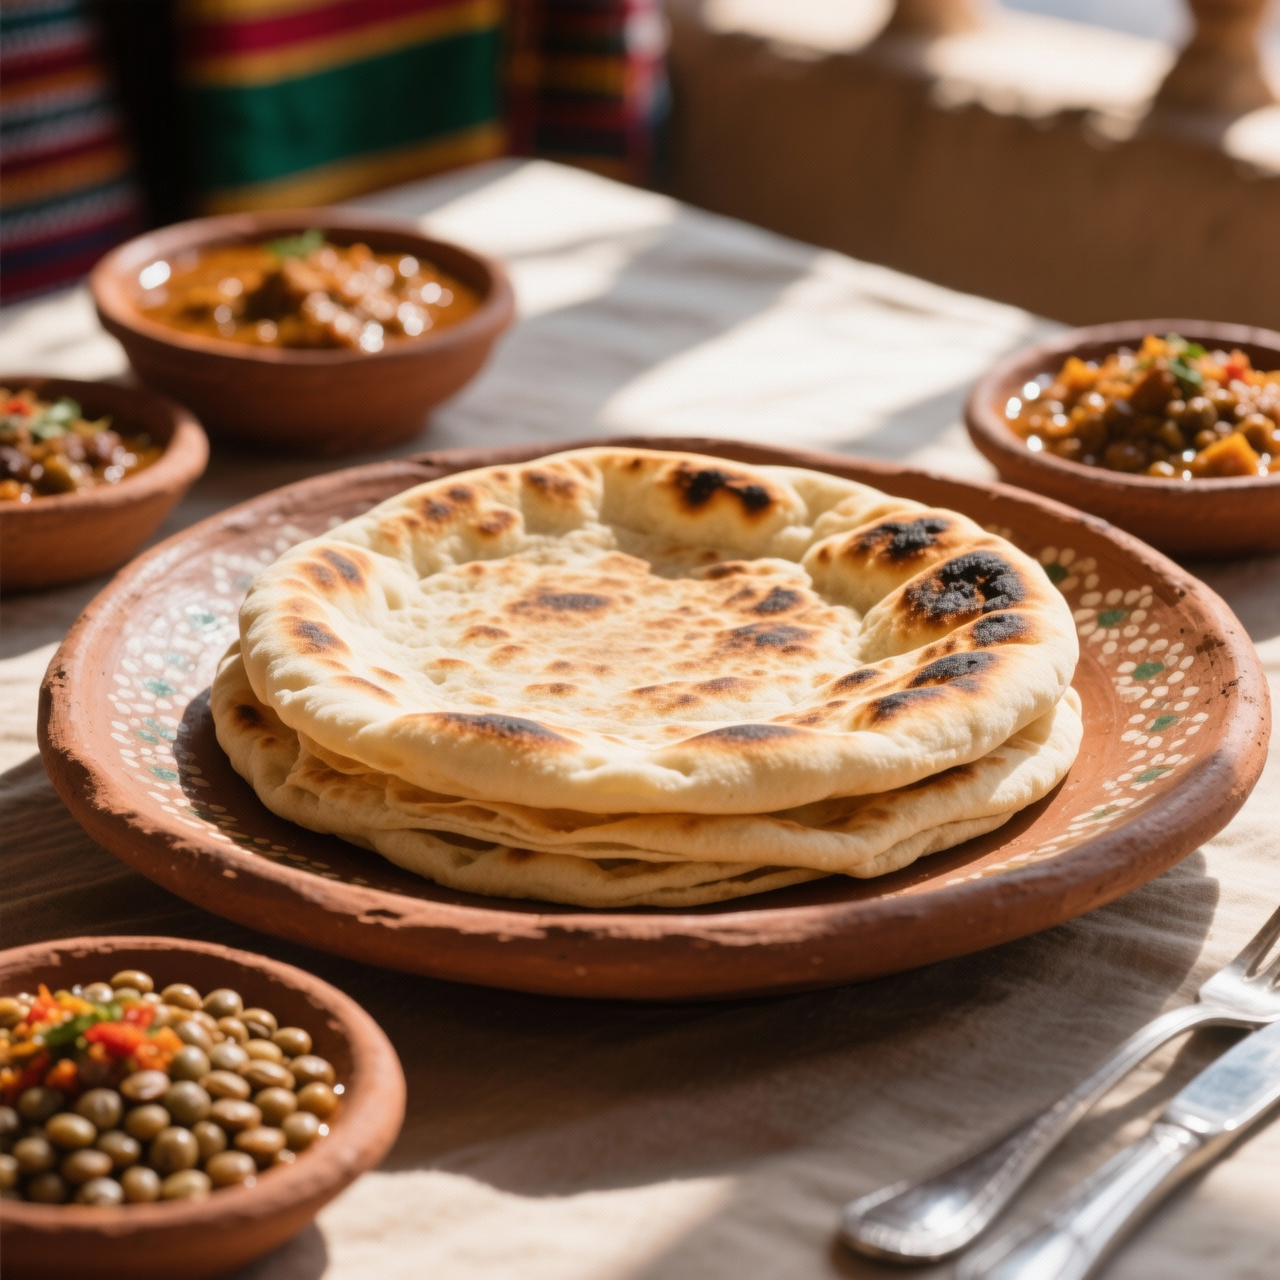
Kita (unleavened griddle bread)
I first learned to make kita during a long stretch of Ethiopian fasting days, when the rhythm of the kitchen slows and simplicity becomes a quiet kind of reverence. Unlike yeasted breads that demand hours of waiting, kita is an exercise in patience measured in minutes, relying only on flour, water, and a hot pan. It matters because it strips away the unnecessary, returning us to a time when bread was a direct conversation between hand, heat, and grain. You will often see it compared to mass-produced tortillas or pre-packaged flatbreads, which sit on supermarket shelves for weeks at a steep three or four pounds per pack. Those store-bought versions are laced with dough conditioners, artificial preservatives, and stabilisers that leave a chalky, chemical aftertaste, completely divorcing you from the honest, nutty flavour of toasted wheat. Making it yourself takes barely fifteen minutes and costs pennies, but the real victory is in the texture: a tender, slightly blistered interior with edges that crisp beautifully. The most common pitfall is rushing the heat. If your pan isn’t properly preheated, the dough will steam instead of sear, resulting in a gummy, pale disc that tears when folded. Conversely, a pan that runs too hot will scorch the outside while the middle remains stubbornly raw. You must listen to the gentle hiss of the batter as it hits the surface and trust your eyes more than a timer. Let it rest just long enough to set, then flip once. That single, confident motion is where the magic lives.
Nutrition
| Per serving | Calories | Protein | Carbs | Fat | Sat fat | Fibre | Sugar | Sodium |
|---|---|---|---|---|---|---|---|---|
| beginner | 195kcal | 6g | 41g | 1g | 0g | 2g | 0g | 300mg |
| intermediate | 195kcal | 5g | 33g | 2g | 0g | 2g | 0g | 320mg |
| expert | 350kcal | 9g | 68g | 4g | 1g | 3g | 0g | 320mg |
Per serving · Ava-estimated — a guide, not a clinical figure.
- 250 gTeff flour— Sifted to remove lumps
- 200 mlWater— Lukewarm
- 5 gSalt— Fine grain
- 15 mlVegetable oil— For greasing the griddle
This beginner-friendly approach strips away the intimidation factor while preserving the authentic, minimalist character of traditional fasting kita. You will mix just three whole ingredients by hand, focusing on hydration balance and a brief resting period to relax the gluten, which makes rolling and cooking far more forgiving. Watch the dough closely during kneading; it should feel soft and pliable, not sticky, so adjust with a light dusting of flour only if necessary. When griddle-cooking, maintain steady medium heat and flip only once you see dry, matte edges and small surface bubbles—this prevents tearing and guarantees a tender, slightly chewy interior. Commercially packaged flatbreads typically cost six to eight dollars per bag, rely on dough conditioners and preservatives for shelf life, and deliver a dry, cardboard-like texture that lacks the toasted wheat aroma of a freshly made bread. By contrast, this from-scratch method requires only a bowl, a skillet, and twenty minutes of your time, yielding a warm, pliable bread that costs pennies per piece and honors the fasting tradition without compromise.
Equipment
- Heavy-bottomed skillet— Cast iron or non-stick holds heat evenly
- Large mixing bowl— Glass or ceramic helps you judge dough hydration
Method
- 1
Combine flour and salt in a large bowl, then gradually add warm water while stirring until a shaggy dough forms.
Start with three-quarters of the water and add more only if the mixture feels too dry.
hydration~ 2 min - 2
Turn the dough onto a clean surface and knead gently for three minutes until it becomes smooth and elastic.
Press the heel of your hand forward and fold it back; avoid tearing the developing structure.
kneading~ 3 min - 3
Cover the dough with a damp kitchen towel and let it rest undisturbed for fifteen minutes.
This resting period allows the starch to fully absorb moisture, making shaping much easier.
resting~ 15 min - 4
Divide the rested dough into four equal pieces, roll each into a tight ball, then flatten into a quarter-inch disc.
Keep unused pieces covered so the surface does not dry out while you work.
shaping~ 5 min - 5
Heat a dry skillet over medium heat until a drop of water sizzles and dances across the surface, then cook one disc until the bottom shows golden spots and the top looks matte.
Do not press down on the bread or flip it repeatedly, as this will toughen the crumb.
pan-toasting~ 4 minTricky bit - 6
Flip the bread once and cook the second side for exactly one minute, then transfer to a clean towel and cover to keep soft.
Stacking them under a towel traps gentle steam, preserving pliability.
stacking~ 1 min
Cooking from frozen
Thaw at room temperature, then warm in a dry skillet until soft and pliable.
Storage times are a guide — always use your judgement and store food safely.