
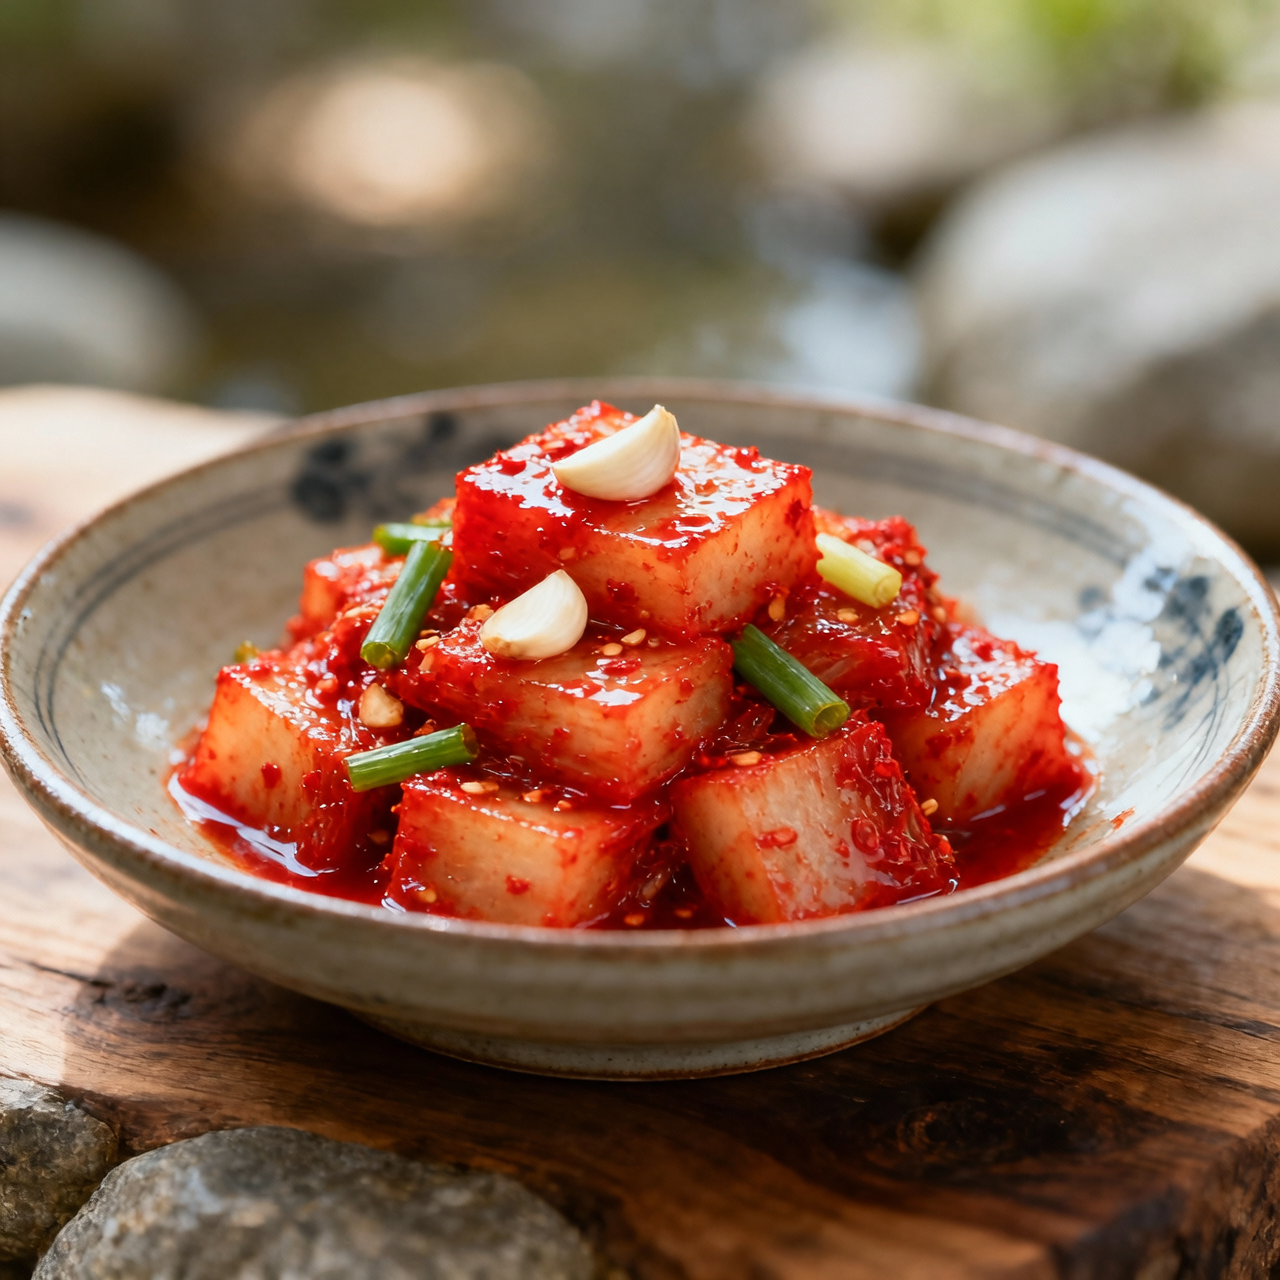
Kkakdugi (Radish Kimchi)
I first fell for kkakdugi in a cramped Seoul kitchen where my halmeoni taught me that patience, not speed, builds true flavour. Kkakdugi is Korea’s beloved cubed radish kimchi, a side dish that anchors nearly every meal with its sharp, bracing crunch and slow-building tang. Unlike the smooth, paste-heavy napa cabbage kimchi, this version celebrates the daikon radish’s natural sweetness and structural integrity, transforming it into a lacto-fermented treasure. Store-bought kkakdugi usually costs around six to eight dollars for a modest plastic tub, but the trade-off is steep: the radish is often brined in harsh vinegar and sodium-heavy preservatives, pasteurised until the beneficial microbes are dead, and left with a mushy, one-note sourness that never develops. Making it from scratch is a quiet rebellion against that sterile convenience. By hand-cubing fresh daikon, salting it properly to draw out just enough moisture without collapsing its bite, and mixing it with a simple paste of gochugaru, garlic, ginger, fish sauce, and a touch of sugar, you invite a living ecosystem to bloom. The most common pitfall is rushing the salting stage; under-salt and the radish weeps into a soggy mess, over-salt and it becomes inedible. Another frequent error is packing it too tightly before the initial fermentation, which traps heat and encourages off-flavours instead of the clean, lactic tang you want. When done right, this jar becomes a batch hero that quietly deepens over weeks, rewarding your restraint with a vibrant, probiotic-rich side that elevates rice, soups, and grilled seafood alike.
Nutrition
| Per serving | Calories | Protein | Carbs | Fat | Sat fat | Fibre | Sugar | Sodium |
|---|---|---|---|---|---|---|---|---|
| beginner | 92kcal | 2g | 13g | 1g | 0g | 3g | 6g | 810mg |
| intermediate | 35kcal | 2g | 7g | 0g | 0g | 3g | 3g | 450mg |
| expert | 38kcal | 1g | 7g | 0g | 0g | 3g | 3g | 520mg |
Per serving · Ava-estimated — a guide, not a clinical figure.
- 2000 gKorean radish— firm and heavy for its size, peeled and cut into 2.5 cm cubes
- 50 gCoarse sea salt— preferably uniodized for even brining
- 80 gKorean chili powder— coarse grind preferred for traditional texture
- 100 mlFish sauce— use a high-quality brand for depth of umami
- 40 gSalted shrimp— rinsed thoroughly and finely minced
- 30 gGarlic— peeled and finely minced
- 15 gGinger— peeled and finely grated
- 50 gScallion— trimmed, washed, and cut into 2.5 cm lengths
- 25 gGranulated sugar— balances acidity and jumpstarts fermentation
- 50 gAsian pear(optional)— peeled, cored, and grated for natural sweetness
Store-bought kkakdugi often costs six to eight dollars per jar, relies on heavy preservatives and artificial crunch enhancers, and quickly loses its bright, tangy character after weeks on the shelf. Making it from scratch at a beginner level strips away the intimidation of traditional Korean fermentation while keeping every ingredient real and recognizable. Instead of worrying about precise fermentation temperatures or grinding your own chili paste, this version focuses on straightforward cubing, a forgiving salt draw, and a quick hand-mixed seasoning blend you can control. The key difference here is pacing: we let the salt do the heavy lifting to pull out excess water, guaranteeing a crisp texture without needing a specialized press or repeated rinsing. Watch closely during the salting stage—radish should bend slightly without snapping, signaling it is ready to absorb your seasoning. Keep your hands gloved when mixing to protect your skin from the chili flakes, and pack the cubes firmly but gently to avoid crushing them. Once sealed, patience is your only required technique. Leave the jar at room temperature for two days to kickstart natural fermentation, then move it to the fridge where it will develop deeper, tangier notes over the following weeks while staying perfectly crunchy and vibrant.
Equipment
- Large non-reactive mixing bowl— Glass or stainless steel prevents metallic reactions with the salt
- Wide-mouth fermentation jar— Standard mason jar works perfectly
- Disposable nitrile gloves— Essential for safely handling the chili powder
Method
- 1
Cut one large daikon radish into uniform one-inch cubes, trimming away any tough or bruised edges.
Uniform size ensures even salting and consistent crunch throughout the batch.
dicing~ 5 min - 2
Toss the cubes with coarse sea salt and let them rest in a colander set over a bowl for forty minutes.
The radish will shrink and bend slightly when squeezed; this draws out bitter moisture.
dry-brining~ 40 min - 3
Whisk together Korean chili powder, finely minced garlic, grated ginger, fish sauce, granulated sugar, and thinly sliced scallions in a small bowl until a thick, cohesive paste forms.
Taste a tiny amount and adjust sugar to balance the natural heat before proceeding.
emulsifying~ 3 min - 4
Rinse the radish quickly under cold water, pat the cubes thoroughly dry with paper towels, then gently fold the seasoning paste over them until every piece is evenly coated.
Wear gloves to protect your skin from the chili flakes during this step.
folding~ 4 minTricky bit - 5
Pack the coated radish tightly into a clean jar, seal the lid loosely, and leave it at room temperature for forty-eight hours before refrigerating.
Open and press down on the contents once daily to release built-up fermentation gases.
packing~ 2 min
Cooking from frozen
Thaw slowly in the refrigerator and incorporate into cooked dishes like stews or fried rice, since freezing will soften the crisp raw texture.
Storage times are a guide — always use your judgement and store food safely.