
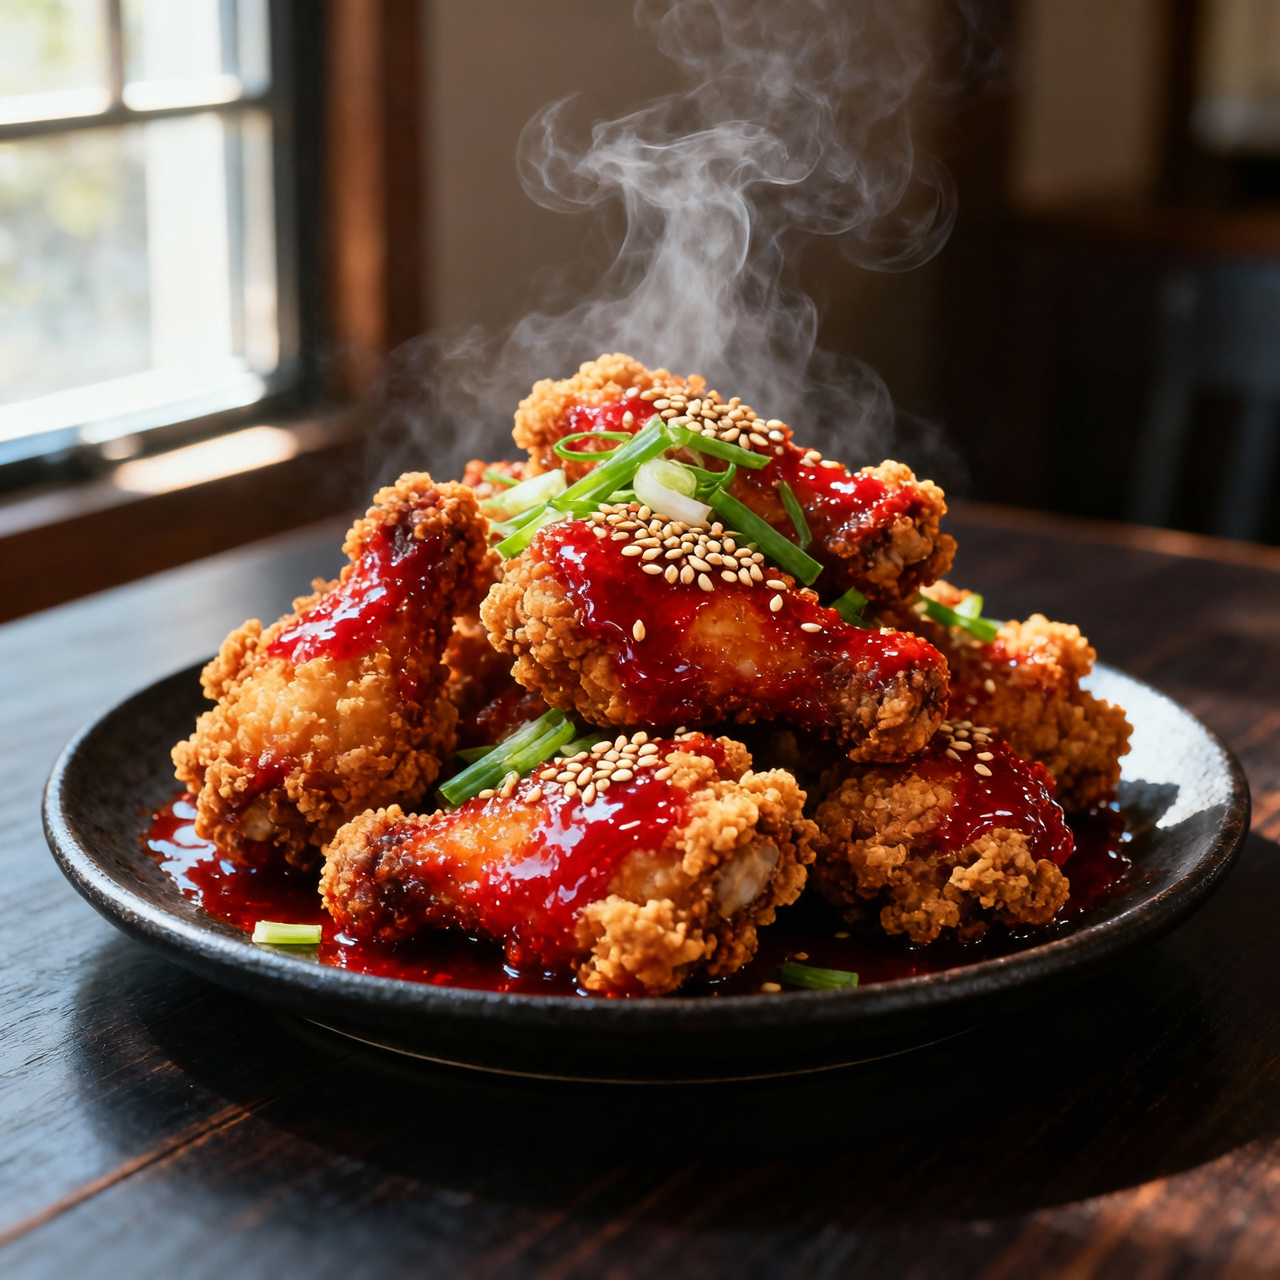
Korean Fried Chicken
I’ve always believed that Korean fried chicken is less a dish and more a cultural handshake, born in the bustling streets of post-war Seoul where resourcefulness met ingenuity. When American troops introduced wheat and frying techniques, Korean cooks didn’t just replicate—they refined, double-frying to achieve that impossibly shattering crust that became a national obsession. To me, this chicken matters because it embodies resilience; it’s a testament to how limitation can spark culinary brilliance, turning humble ingredients into something universally adored. Yet, I’ve seen too many home cooks stumble at the threshold of perfection. The most common pitfall is skipping the double fry, which leaves the crust soggy and heavy instead of light and glass-like. Others rush the marinade, forgetting that buttermilk and grated garlic need time to penetrate the meat, or they crank the oil too hot, burning the exterior before the interior cooks through. Temperature control is non-negotiable, and so is patience. When you drain the first fry, let it rest. Let the steam escape. Only then does the second dip transform it into something magical. And please, never drown it in sauce while it’s still piping hot; toss it gently while it’s warm enough to absorb the glossy, sweet-spicy glaze without turning to mush. This recipe isn’t just about frying chicken—it’s about honoring a tradition that taught me how to slow down, respect the process, and find joy in the crackle of perfectly executed technique. When you get it right, the crunch echoes, and suddenly you understand why an entire nation fell in love with a humble bird.
Nutrition
| Per serving | Calories | Protein | Carbs | Fat | Sat fat | Fibre | Sugar | Sodium |
|---|---|---|---|---|---|---|---|---|
| beginner | 960kcal | 49g | 40g | 68g | 15g | 1g | 14g | 1200mg |
| intermediate | 960kcal | 49g | 40g | 68g | 15g | 1g | 14g | 1200mg |
| expert | 960kcal | 49g | 40g | 68g | 15g | 1g | 14g | 1200mg |
Per serving · Ava-estimated — a guide, not a clinical figure.
- 1000 gchicken thigh— bone-in, skin-on, patted completely dry
- 100 gpotato starch— sifted to remove lumps
- 5 gbaking powder— aluminum-free
- 5 gfine salt— kosher or sea salt
- 2 gblack pepper— freshly cracked
- 15 ggarlic clove— peeled
- 10 gginger root— peeled
- 80 ggochujang— fermented chili paste
- 60 gketchup— standard variety
- 30 gsoy sauce— regular sodium
- 20 grice vinegar— unseasoned
- 40 ghoney— raw or mild clover
- 15 mlsesame oil— toasted
- 1500 mlvegetable oil— neutral high-smoke point, for frying
- 30 gscallion— thinly sliced, white and green parts
- 10 gsesame seed— toasted
This version strips away the intimidation factor by focusing on reliable, repeatable steps. You will work with the exact same ingredients as the advanced tiers, but the approach leans heavily on commercial gochujang for instant depth and a straightforward single-layer dredge. The primary goal here is moisture management and temperature control, which I guarantee with a digital thermometer and a strict batch-frying schedule. Watch your oil temperature closely; dropping below the target will cause the starch coating to absorb fat and turn greasy. After frying, let the chicken drain on a wire rack rather than paper towels to preserve airflow and prevent sogginess. The sauce is prepared in a single saucepan and brought to a gentle simmer until it coats the back of a spoon, requiring minimal reduction time. When combining the hot chicken with the glaze, use a wide spatula and fold gently to avoid crushing the delicate crust. This pathway removes guesswork from the most common failure points. You do not need specialized equipment or years of wok experience to succeed. Follow the timing cues, trust your thermometer, and resist the urge to rush the final toss. The result is a deeply satisfying, restaurant-adjacent meal that builds foundational confidence for more complex iterations.
Equipment
- Heavy-bottomed pot— Dutch oven or deep skillet works best
- Digital thermometer— Clip-on or probe style
- Wire cooling rack— placed over a baking sheet
Method
- 1
Pat chicken completely dry, season with salt and pepper, and let rest at room temperature for fifteen minutes.
Surface moisture is the enemy of crispness.
tempering~ 15 min - 2
Whisk potato starch and baking powder together in a wide bowl until fully aerated.
No lumps allowed.
aerating~ 1 min - 3
Coat each piece thoroughly in the starch mixture, pressing firmly to adhere a thin, even layer.
Shake off excess vigorously.
dredging~ 3 min - 4
Heat vegetable oil to one hundred sixty degrees Celsius in a heavy pot and verify temperature with a thermometer.
Oil must be stable before adding chicken.
calibrating~ 5 minTricky bit - 5
Fry chicken in small batches for eight minutes until pale gold, then transfer to a wire rack.
Do not overcrowd the pot.
first-fry~ 8 minTricky bit - 6
Simmer gochujang, ketchup, soy sauce, vinegar, honey, grated aromatics, and sesame oil until glossy and slightly thickened.
Stir constantly to prevent scorching.
reducing~ 4 min - 7
Toss hot fried chicken gently with the warm sauce and garnish with scallions and sesame seeds.
Use a folding motion to preserve the crust.
glazing~ 2 minTricky bit