
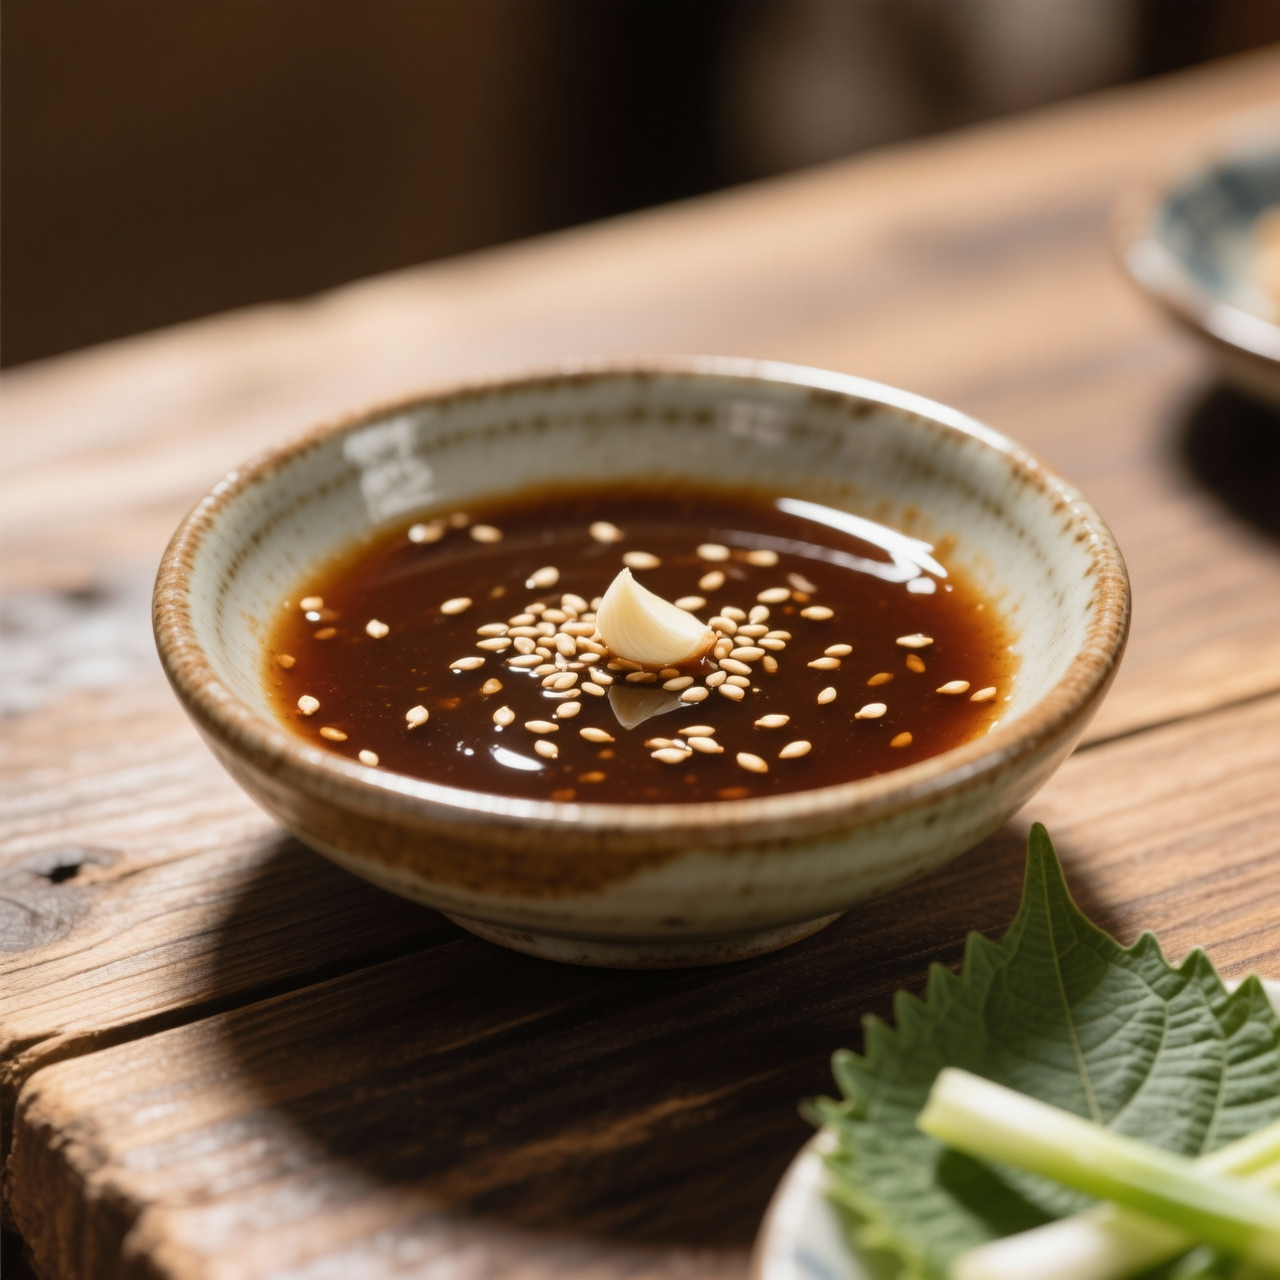
Korean Soy Dipping Sauce (Yangnyeomjang)
I still remember the first time I truly understood what yangnyeomjang meant beyond just a label on a takeout menu. It’s a quiet anchor in Korean home cooking, the kind of sauce that doesn’t demand attention until you realize every meal is just a little flatter without it. At its core, this all-purpose scallion-soy dip is a masterclass in restraint: fermented soy sauce, toasted sesame oil, a touch of sweetness, and raw aromatics that wake up when they hit the palate. I’ve spent years tweaking ratios across countless kitchen counters, and what I’ve learned is that the magic isn’t in complexity—it’s in balance. Too much sugar and you mask the umami; too little sesame oil and the sauce turns sharp and one-dimensional. The most common pitfall I see is rushing the resting period. Soy sauce needs time to marry with the minced scallions and garlic, allowing the volatile compounds to mellow into something cohesive. Another mistake is using low-sodium soy sauce without adjusting the seasoning, which leaves the dip tasting watery and insipid. I always recommend a standard brewed soy sauce as your base, because the depth of fermentation carries the whole thing. When you get it right, this sauce transforms plain steamed vegetables into a revelation, elevates cold noodles, and makes even the simplest tofu or seitan feel intentional. It’s not meant to be a heavy glaze or a simmered reduction. It’s a bright, savory companion that should be mixed fresh, rested briefly, and kept in the back of the fridge for whenever you need a quick, reliable lift. That’s the real beauty of yangnyeomjang—it waits patiently until you’re ready.
Nutrition
| Per serving | Calories | Protein | Carbs | Fat | Sat fat | Fibre | Sugar | Sodium |
|---|---|---|---|---|---|---|---|---|
| beginner | 48kcal | 2g | 7g | 2g | 0g | 0g | 5g | 420mg |
| intermediate | 48kcal | 2g | 9g | 2g | 0g | 0g | 6g | 920mg |
| expert | 48kcal | 1g | 5g | 3g | 1g | 0g | 3g | 920mg |
Per serving · Ava-estimated — a guide, not a clinical figure.
- 120 mlSoy sauce— Use regular or low-sodium soy sauce
- 40 gScallion— Finely sliced, white and green parts kept separate if desired
- 10 gGarlic— Freshly minced or microplaned
- 15 mlSesame oil— Toasted for optimal nutty aroma
- 5 gSesame seed— Lightly toasted
- 10 mlRice vinegar— Adds mild acidity to balance saltiness
- 30 mlWater— Room temperature
- 5 gGranulated sugar(optional)— Can be omitted or swapped for maple syrup
This beginner-friendly version strips away traditional labor, relying on reliable jarred staples to guarantee a balanced, restaurant-style dip on your very first try. Instead of grinding whole sesame seeds or simmering dried kelp for hours, we use pre-toasted sesame seeds, ready-made soy sauce, and a quick stovetop bloom to wake up the aromatics. The goal here is confidence: you will learn to layer salty, sweet, and umami flavors without guessing ratios, while avoiding common pitfalls like burning minced garlic or overcooking the sesame oil. Watch your heat closely during the brief warming stage; you only want to gently dissolve the sweetener and soften the raw bite of the scallions and garlic, never to boil or reduce the mixture into a glaze. Stir constantly once the pan hits medium heat, and remove it the moment the sugar disappears. This approach gives you a perfectly emulsified, pourable sauce in minutes that holds beautifully in the fridge. Serve it alongside dumplings, grilled vegetables, or crispy tofu, and adjust the sweetness or salt in future batches as your palate develops.
Equipment
- Small saucepan— Non-stick coating prevents scorching
- Silicone whisk— Ensures smooth blending
- Glass storage jar— Must have a tight-sealing lid
Method
- 1
Whisk together the soy sauce, rice vinegar, granulated sugar, and toasted sesame oil in a small bowl until fully combined.
Room temperature liquids dissolve sugar faster.
dissolving~ 1 min - 2
Pour the mixture into your saucepan and warm it over low heat for exactly two minutes.
Keep the flame low to prevent the sesame oil from turning bitter.
tempering~ 2 min - 3
Fold in the minced garlic, grated ginger, and thinly sliced scallions, stirring constantly for one minute.
Stop immediately when the scallions brighten and lose their sharp raw edge.
wilting~ 1 minTricky bit - 4
Transfer the warm sauce to a clean jar, let it rest uncovered until it reaches room temperature, then seal tightly.
Cooling prevents trapped steam from making the dip watery.
resting~ 3 min
Storage times are a guide — always use your judgement and store food safely.