
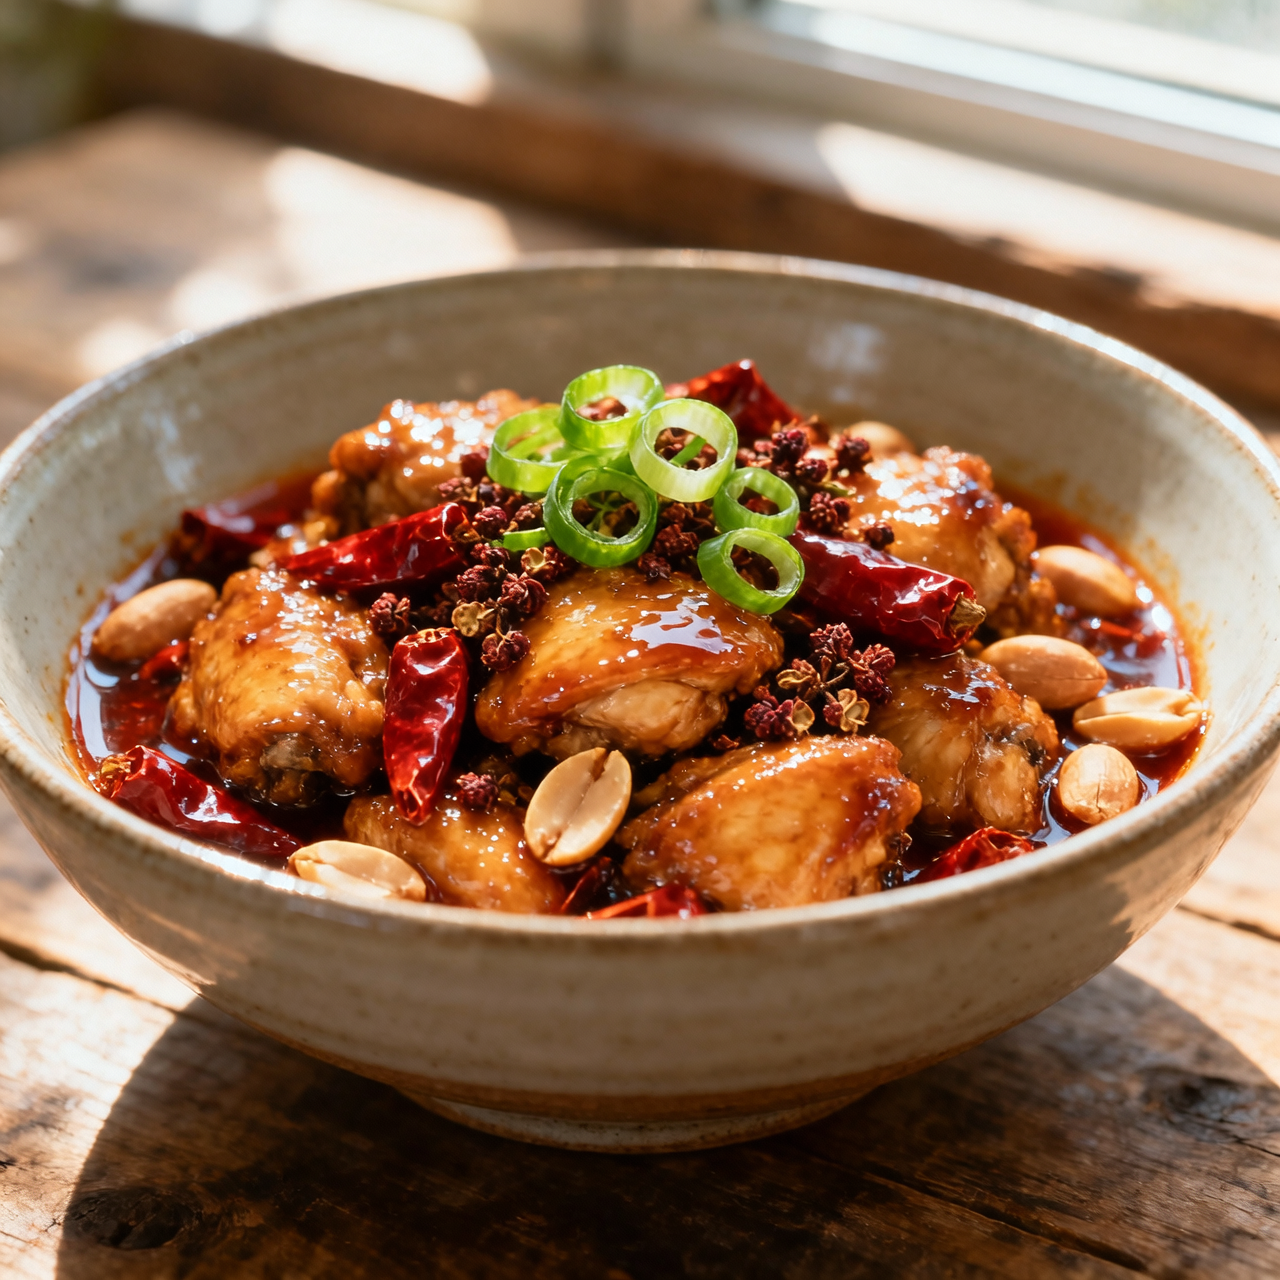
Kung Pao Chicken
I have spent years chasing the perfect balance of ma and la, that signature Sichuan dance of numbing and heat that defines authentic Kung Pao Chicken. Long before it became a global takeout staple, this dish was born in the kitchens of late Qing dynasty officials in Sichuan, named after Ding Baozhen, who held the honorary title of Gongbao. To me, it is not just a stir-fry; it is a masterclass in controlled chaos. The magic lies in the harmony of contrasting elements: tender, velvety chicken, toasted peanuts, and a glossy sauce that balances sweet, sour, salty, and spicy, all anchored by the electric buzz of Sichuan peppercorns. What makes this dish matter is its demand for precision. It is easy to drown it in cornstarch or overwhelm it with chili paste, turning a nuanced regional classic into a one-note sugar bomb. The most common pitfall I see is rushing the aromatics. You must toast the dried chilies just until they darken slightly, infusing the oil without burning them, and add the peppercorns at the exact right moment to release their citrusy fragrance. Another mistake is skipping the velveting step; without a quick bath in rice wine and cornstarch, the chicken will toughen under high heat. When done right, every bite should be a revelation of texture and layered heat, a reminder that Chinese regional cooking is never about brute force, but about rhythm, timing, and respect for the ingredients. I approach it with that reverence, knowing the dish deserves to be exactly as its Sichuan ancestors intended.
Nutrition
| Per serving | Calories | Protein | Carbs | Fat | Sat fat | Fibre | Sugar | Sodium |
|---|---|---|---|---|---|---|---|---|
| beginner | 466kcal | 32g | 17g | 31g | 5g | 4g | 5g | 765mg |
| intermediate | 466kcal | 32g | 17g | 31g | 5g | 4g | 5g | 765mg |
| expert | 466kcal | 32g | 17g | 31g | 5g | 4g | 5g | 765mg |
Per serving · Ava-estimated — a guide, not a clinical figure.
- 500 gBoneless skinless chicken thigh— cut into uniform 2cm cubes
- 80 gUnsalted roasted peanut— skin removed
- 15 gWhole dried red chili— Facing Heaven variety preferred
- 5 gWhole Sichuan peppercorn— freshly harvested if possible
- 20 gGarlic clove— finely minced
- 15 gFresh ginger root— peeled and finely minced
- 30 gScallion— white and green parts separated
- 30 mlLight soy sauce— low sodium preferred
- 20 mlChinkiang black vinegar— aged at least three years
- 15 gGranulated sugar— fine crystal
- 15 gCornstarch— sifted to remove clumps
- 20 mlShaoxing wine— authentic aged variety
- 5 mlToasted sesame oil— pure, not blended
- 30 mlLow-sodium chicken stock— cold
- 60 mlNeutral vegetable oil— high smoke point
- 30 gEgg white— lightly beaten
- 2 gFine sea salt— non-iodized
- 1 gGround white pepper— freshly ground
This version prioritizes consistency and approachability without sacrificing the dish’s core flavor profile. Instead of juggling multiple marinades and complex sauce ratios, you will rely on a streamlined prep method and a simplified cooking sequence. The chicken is quickly coated in cornstarch and seared in a standard skillet, eliminating the need for a high-heat wok or advanced temperature control. A pre-mixed sauce base is whisked together in advance, ensuring the sweet, sour, and savory notes are perfectly balanced before heat is ever applied. You will learn to identify the exact moment the aromatics soften and the sauce thickens to a glossy sheen, using visual cues rather than strict timers. Watch closely for oil splatter when adding dried chilies, and keep your heat at medium-high to prevent burning the garlic. The goal here is not restaurant-level wok hei, but a reliable, deeply satisfying meal that builds foundational stir-fry confidence. By mastering this controlled approach, you will naturally develop the intuition needed to adjust heat and timing in future attempts.
Equipment
- Non-stick skillet— 12-inch diameter recommended
- Mixing bowls— two medium sizes
- Wooden spatula— heat resistant
Method
- 1
Combine chicken, cornstarch, salt, and egg white in a bowl and toss until evenly coated.
Coating should feel slippery, not pasty.
velveting~ 2 min - 2
Whisk soy sauce, black vinegar, sugar, stock, Shaoxing wine, and sesame oil in a small bowl.
Taste a drop; it should balance sweet and tangy.
emulsifying~ 1 min - 3
Heat half the vegetable oil in a heavy skillet over medium-high heat and add the chicken in a single layer.
Do not crowd the pan to ensure proper browning.
searing~ 4 minTricky bit - 4
Remove the chicken, add the remaining oil, and briefly fry the chilies, peppercorns, garlic, and ginger until fragrant.
Aroma should be sharp but not smoky.
blooming~ 1 minTricky bit - 5
Return the chicken to the skillet, pour in the sauce mixture, and stir continuously until the liquid thickens and coats every piece.
Remove from heat immediately when glossy.
glazing~ 1 minTricky bit - 6
Fold in the peanuts and scallions off the heat and plate immediately.
Residual heat will finish cooking the vegetables.
tossing~ 1 min