
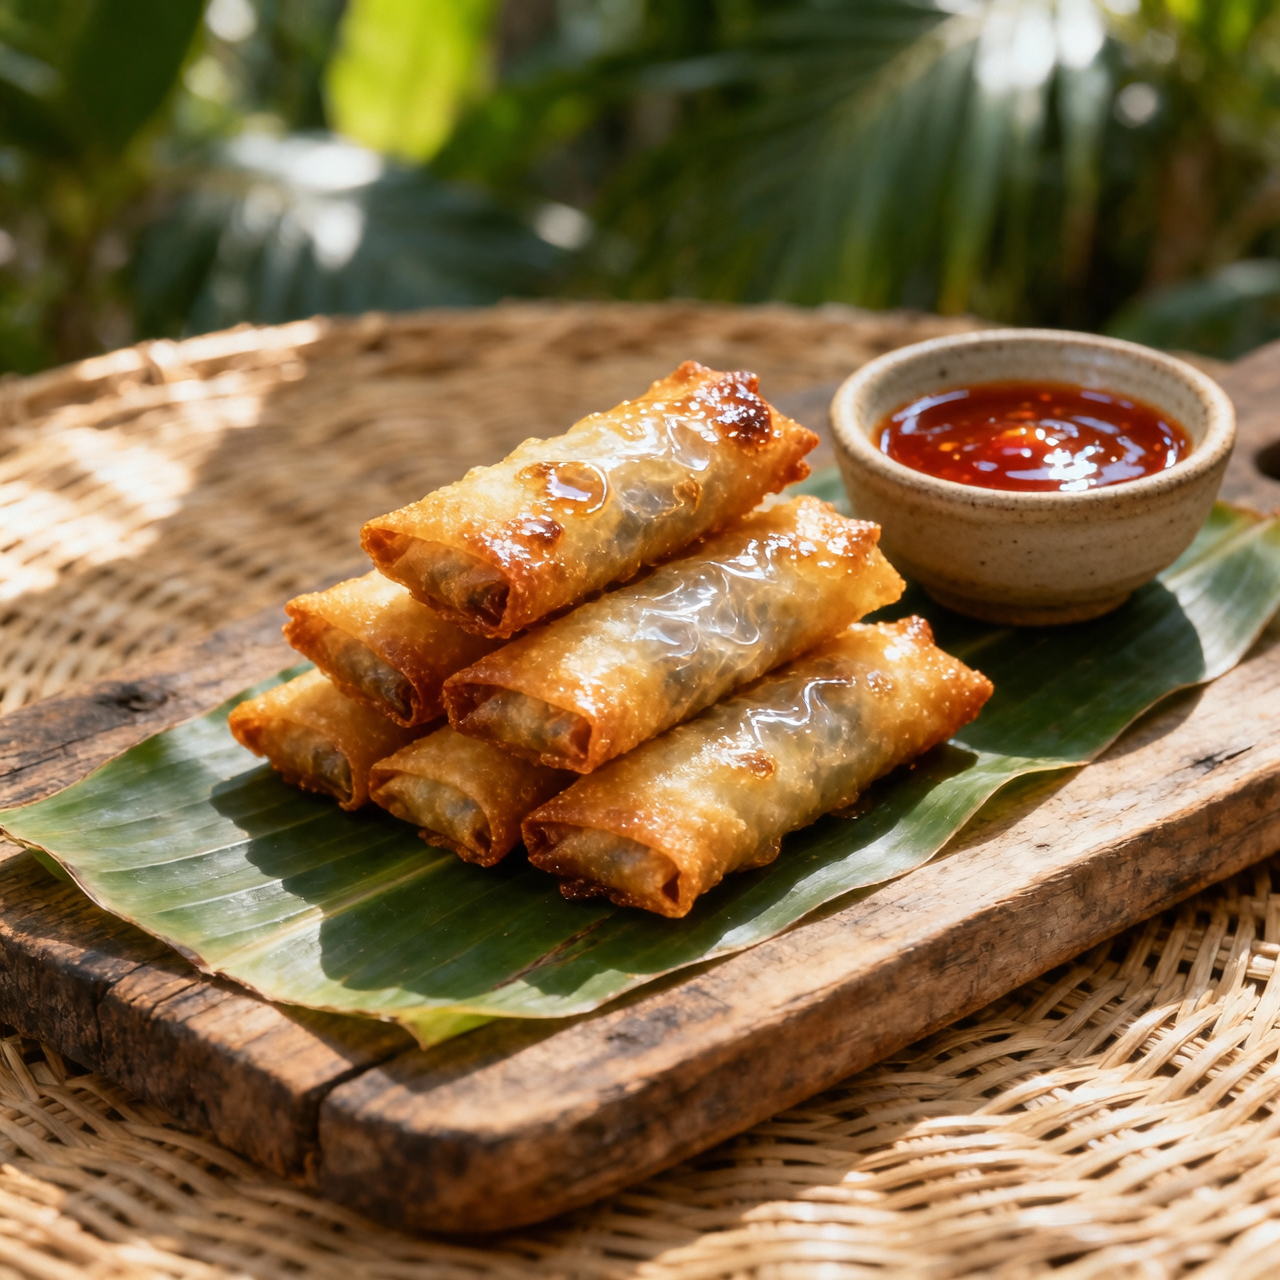
Lumpia Shanghai
When I first learned to roll lumpia shanghai as a teenager, I didn't realize I was handling a quiet archive of Filipino history. These slender, golden cylinders didn't actually originate in Shanghai at all. They are the proud offspring of Chinese immigrants from Fujian province who brought their spring roll techniques to the Philippine archipelago centuries ago. Over time, the name Shanghai stuck, likely as a marketing flourish that eventually cemented itself in our culinary lexicon. To me, this dish matters precisely because it refuses to stay confined to a single identity. It is Chinese technique married to Filipino resourcefulness, wrapped in paper-thin dough and deep-fried until it crackles. Every time I serve it at a family gathering, I am participating in a ritual of abundance and shared joy. Yet, despite its humble appearance, lumpia shanghai demands respect. I have seen too many well-meaning cooks sabotage their batches by ignoring a few critical details. The most frequent mistake is overstuffing the wrappers, which guarantees blowouts in the hot oil. Others rush the seal, leaving gaps that invite grease instead of crispness. Temperature control is equally unforgiving; oil that is too cool yields a heavy, oil-logged cylinder, while oil that is too hot scorches the exterior before the pork and aromatics inside can fully cook and meld. The secret, I have learned through years of trial and oil splatters, lies in patience. Roll tightly but not aggressively, keep the filling balanced and dry, and maintain a steady, moderate heat. When done right, the result is a shatteringly crisp exterior giving way to a savory, fragrant core that tastes unmistakably like home.
Nutrition
| Per serving | Calories | Protein | Carbs | Fat | Sat fat | Fibre | Sugar | Sodium |
|---|---|---|---|---|---|---|---|---|
| beginner | 580kcal | 27g | 35g | 37g | 10g | 3g | 3g | 750mg |
| intermediate | 580kcal | 27g | 35g | 37g | 10g | 3g | 3g | 750mg |
| expert | 580kcal | 27g | 35g | 37g | 10g | 3g | 3g | 750mg |
Per serving · Ava-estimated — a guide, not a clinical figure.
- 500 gGround pork— 80/20 fat ratio preferred
- 6 cloveGarlic clove— finely minced
- 150 gYellow onion— finely diced
- 100 gCarrot— julienned
- 80 gWater chestnut— drained and minced
- 30 mlSoy sauce— preferably Filipino or light
- 2 gBlack pepper— freshly cracked
- 4 gKosher salt
- 20 pieceLumpia wrapper— thawed if frozen
- 1 wholeLarge egg— beaten, for sealing
- 1000 mlNeutral oil— for deep frying, amount varies
This version embraces reliable shortcuts and clear, step-by-step guidance to guarantee a confident first attempt. Instead of wrestling with complex spice blends or precise knife work, you will rely on straightforward prep and accessible tools to build a reliable filling. The key to success here is temperature management and consistent rolling tension; keep your oil at a steady 325°F so the wrappers crisp without burning, and roll each cylinder snugly to prevent splitting. If your mixture feels too wet, add a minute of chilling time before wrapping to firm up the fats. Do not overcrowd the pot, as dropping the temperature will lead to greasy, limp results. Focus on uniform sizing so every piece cooks evenly, and use the egg wash generously but lightly to create a secure seal without soggy edges. Once fried, transfer immediately to a wire rack rather than paper towels to preserve maximum crunch. Watch your oil temperature closely and trust the visual cues of bubbling intensity.
Equipment
- Mixing bowl— medium size, stainless or glass
- Deep pot— heavy-bottomed, at least 3 inches deep
- Candy thermometer— clip-on or digital probe
- Slotted spoon— for safe removal
Method
- 1
Combine ground pork, minced garlic, diced onion, julienned carrot, minced water chestnut, soy sauce, black pepper, and salt in a large bowl.
Use a fork to break up clumps quickly.
mixing~ 2 min - 2
Place a single lumpia wrapper on a clean surface with one corner pointing toward you.
Keep unused wrappers under a damp cloth.
positioning~ 0 min - 3
Spoon two tablespoons of filling near the bottom corner and roll tightly away from you halfway.
Apply even pressure to compress the meat.
rolling~ 0 minTricky bit - 4
Fold the left and right corners inward over the filling to seal the sides.
Overlap slightly to prevent leakage.
folding~ 0 min - 5
Continue rolling upward until only a small triangle remains at the top.
Maintain consistent cylinder thickness.
rolling~ 0 min - 6
Brush the remaining corner with beaten egg and press firmly to secure the wrapper.
A thin layer prevents soggy seams.
sealing~ 0 min - 7
Heat neutral oil in a heavy pot to 325°F and carefully lower five rolls into the hot fat.
Listen for steady bubbling, not violent splattering.
frying~ 1 minTricky bit - 8
Fry until uniformly golden brown, turning occasionally, then drain on a wire rack.
Avoid stacking hot rolls to preserve crunch.
finishing~ 3 min