
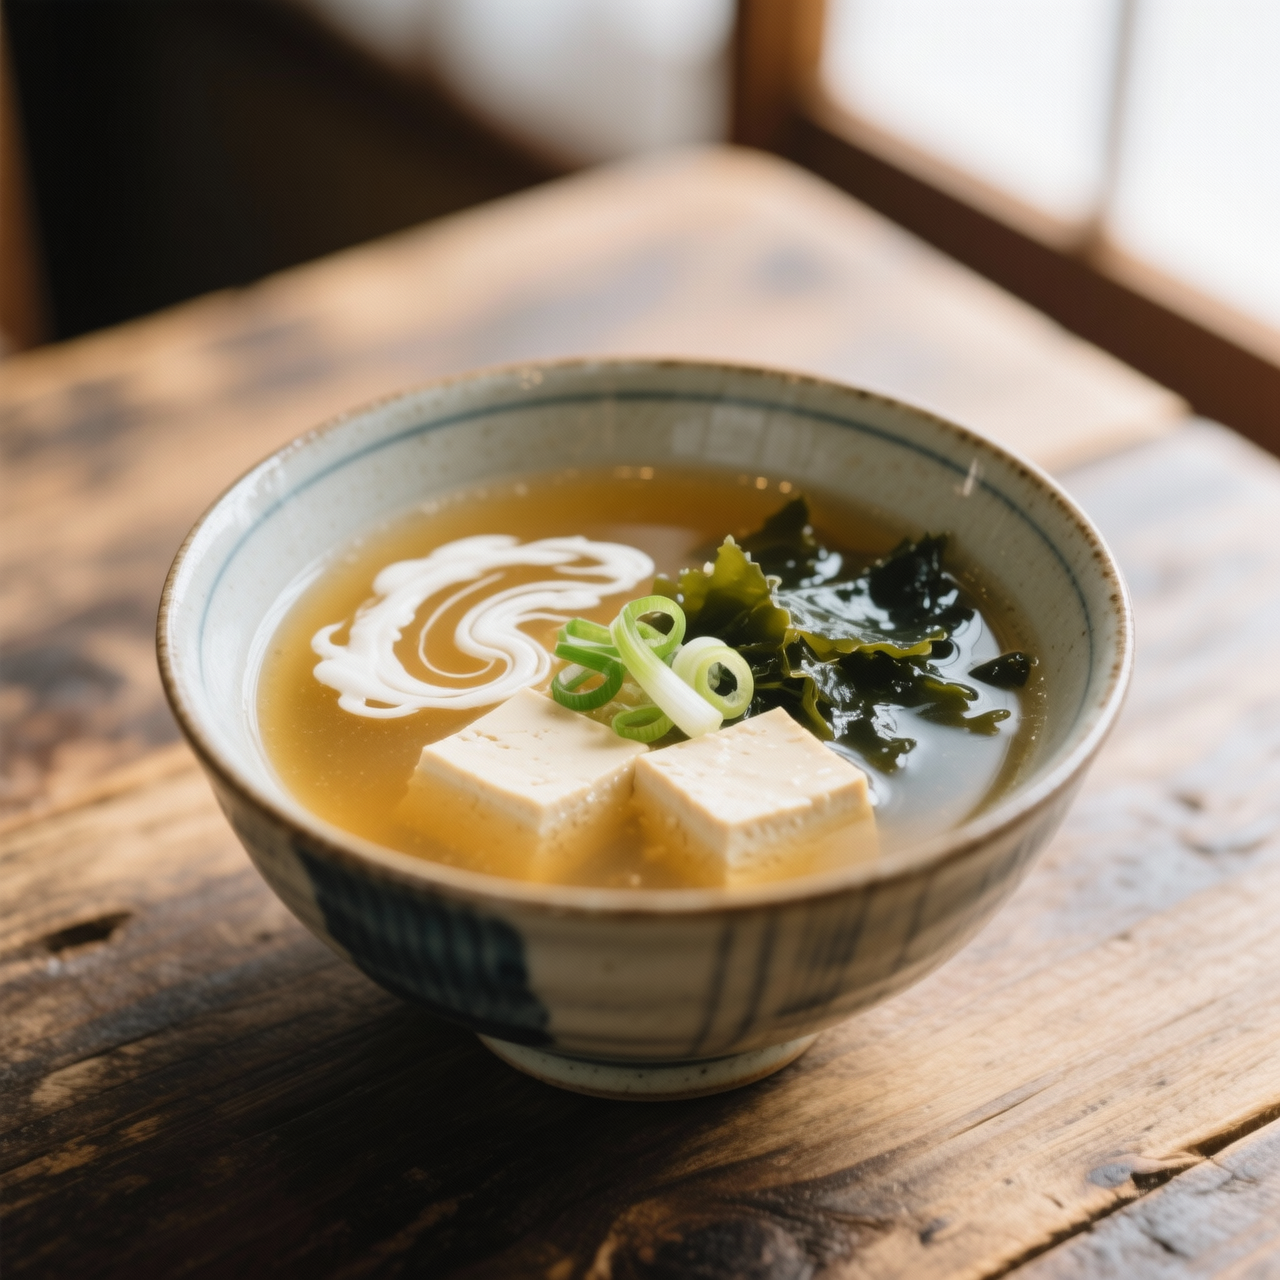
Miso (Homemade)
Making your own miso is less a recipe and more a quiet pact with time. I first learned of it from an old Kyoto merchant who told me that true flavor isn’t manufactured—it’s patiently negotiated between soybeans, salt, and koji over months of darkness. The process traces back to ancient Chinese jiang, but it was in Japan where it found its true soul, evolving from monastic preservation into the foundational umami heartbeat of modern cooking. I keep a heavy ceramic crock in my coolest pantry corner because homemade miso carries a living complexity that no commercial tub can replicate. It breathes, shifts with the seasons, and rewards patience with a profoundly layered savoriness. But the journey isn’t without traps. The most common mistake is rushing fermentation or letting temperatures swing wildly, which invites off-flavors and aggressive mold. Beginners often pack jars too loosely, leaving oxygen pockets that turn the surface dull instead of developing that rich, earthy bloom. Salt ratios are critical; too little and wild microbes run rampant, too much and you starve the koji. Another frequent misstep is using unboiled tap water or unsterilized vessels, which introduces competing bacteria. I always toast my sea salt, rinse beans until the water runs clear, and press the paste down until every last air bubble surrenders. Then I seal it, weigh it, and step away. Miso teaches restraint. It asks you to trust the dark and remember that the deepest flavors cannot be hurried.
Nutrition
| Per serving | Calories | Protein | Carbs | Fat | Sat fat | Fibre | Sugar | Sodium |
|---|---|---|---|---|---|---|---|---|
| beginner | 185kcal | 13g | 11g | 5g | 1g | 2g | 3g | 2900mg |
| intermediate | 24kcal | 2g | 3g | 1g | 0g | 1g | 1g | 540mg |
| expert | 215kcal | 14g | 22g | 6g | 1g | 5g | 4g | 3100mg |
Per serving · Ava-estimated — a guide, not a clinical figure.
- 4000 gsoybean— Dried, preferably non-GMO yellow soybeans
- 3200 gkoji rice— Fresh, unpasteurized, and kept refrigerated until ready to mix
- 1200 gsea salt— Unrefined, non-iodized salt to ensure proper fermentation
This beginner-friendly approach demystifies traditional miso fermentation by using pre-measured koji rice and a forgiving mash-and-pack technique. Instead of cooking dried soybeans from scratch, we start with pre-cooked soybeans to guarantee a tender, easily mashable base on your very first try. The key is maintaining a clean environment and achieving the right salt-to-koji ratio, which this recipe simplifies with a straightforward mixing step. Watch closely during the blending stage: the paste should feel like damp playdough, not crumbly or soupy. If it holds together when squeezed, you are ready to pack. We use wide-mouth glass jars instead of traditional wooden tubs, making it easy to monitor the fermentation without specialized equipment. Over the next eight to twelve weeks, keep your jar in a cool, dark spot and resist the urge to open it frequently. You will notice the color deepen and a rich, savory aroma develop. This version prioritizes confidence over tradition, giving you a reliable, deeply umami-rich condiment that scales effortlessly for year-round cooking.
Equipment
- Large mixing bowl— glass or stainless steel preferred for easy cleaning
- Potato masher or food processor— masher keeps it traditional, processor speeds it up
- 1-liter wide-mouth glass jar— sterilized before use
- Plastic wrap— to create an airtight seal against the paste
Method
- 1
Drain and gently warm the pre-cooked soybeans until they are soft enough to mash easily with a fork.
Warm beans blend smoother and reduce fermentation lag.
tempering~ 2 min - 2
Transfer the beans to your mixing bowl and mash vigorously until a coarse, uniform paste forms with no whole pieces remaining.
A food processor can be used for a smoother texture.
mashing~ 5 min - 3
Evenly distribute the salt and koji rice over the bean paste, then knead thoroughly with clean hands until the mixture clumps together when squeezed.
The dough should feel like damp playdough.
kneading~ 4 minTricky bit - 4
Pack the miso firmly into the sterilized jar, pressing down continuously to eliminate trapped air pockets.
Air pockets encourage unwanted mold growth.
packing~ 3 minTricky bit - 5
Press plastic wrap directly against the exposed surface, seal the lid tightly, and store in a cool, dark cabinet for eight weeks.
Check monthly for surface mold, which can simply be scraped off.
anaerobic sealing~ 1 min
Cooking from frozen
Thaw overnight in the refrigerator and whisk vigorously to reincorporate separated moisture before adding to warm dishes.
Storage times are a guide — always use your judgement and store food safely.