
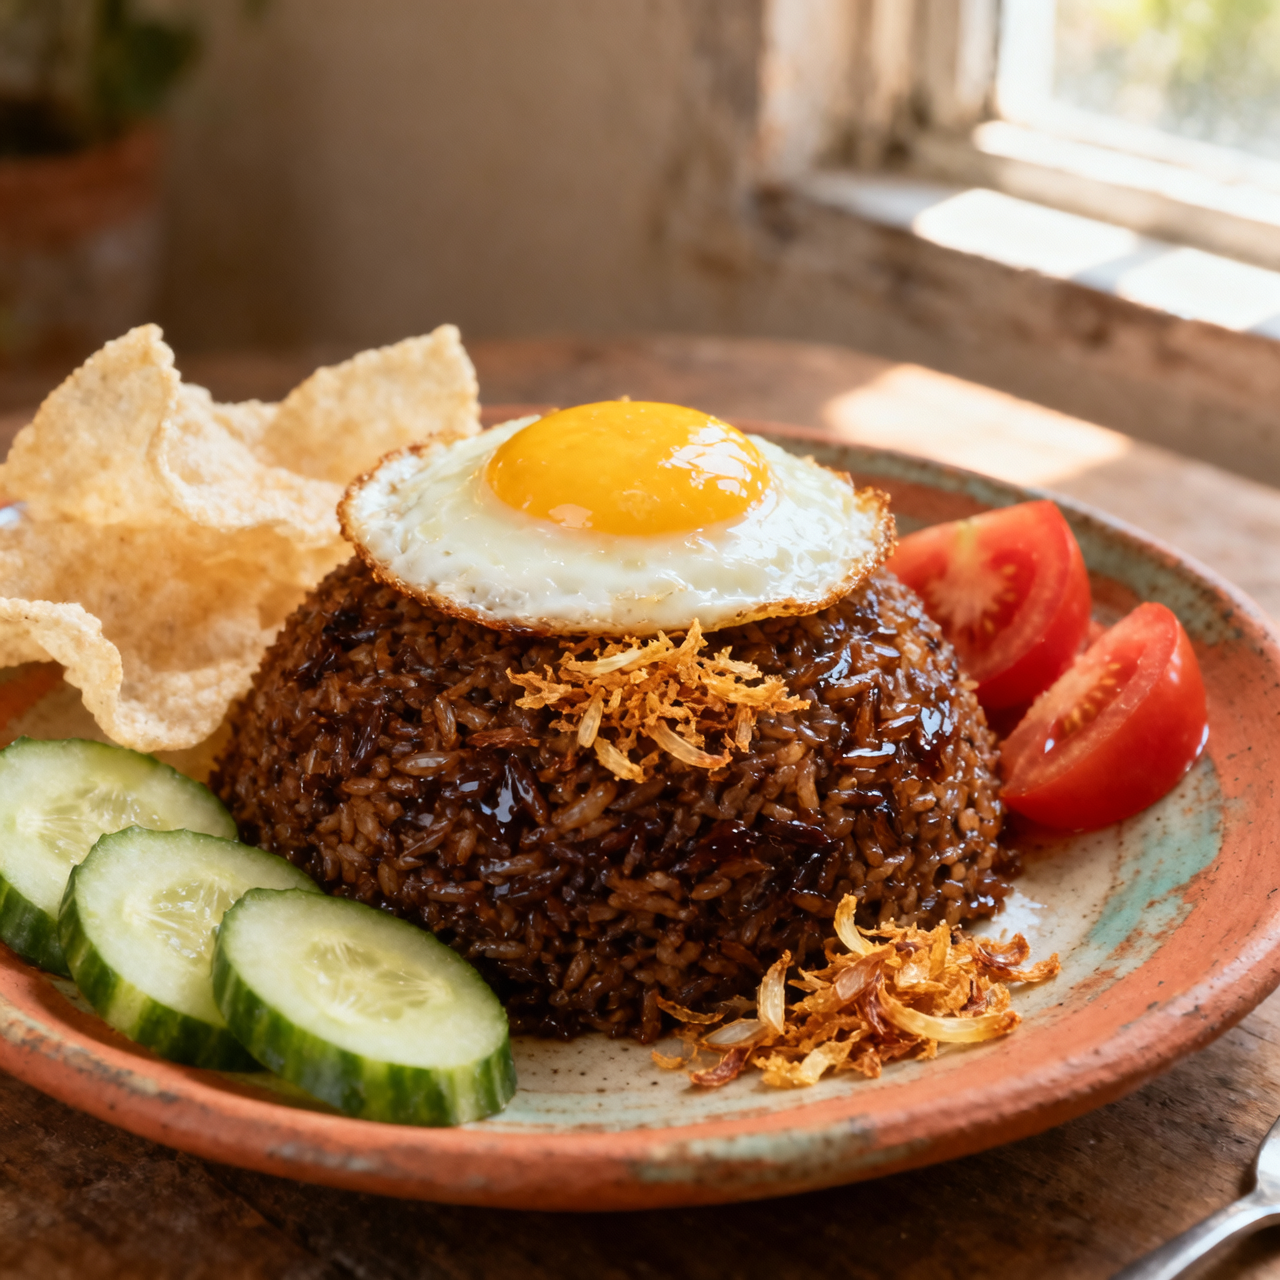
Nasi Goreng
When I first encountered nasi goreng on a bustling Jakarta street corner, I didn’t realize I was tasting centuries of practical ingenuity. At its core, this dish is a beautiful testament to resourcefulness, born from the simple necessity of using leftover rice before it spoiled. Over time, it evolved into something far more profound, a culinary anchor that unites Indonesia’s countless islands through a shared wok and a common pantry. What makes nasi goreng truly matter to me is how it transforms humble, day-old grains into a deeply aromatic centerpiece that speaks to both comfort and community. Yet, despite its apparent simplicity, I have watched countless home cooks stumble over the very details that elevate it from ordinary fried rice to something extraordinary. The most frequent mistake I see is using freshly cooked rice, which releases too much moisture and turns the dish into a gummy, lifeless mash. Proper nasi goreng demands rice that has been chilled, dried out, and separated until every kernel can dance in the heat. Another pitfall lies in the seasoning balance; many rush the sweet soy sauce, shrimp paste, and chilies without building them properly in the wok, resulting in a flat or overwhelmingly salty profile. You must respect the high heat, the swift motion, and the patience to let the aromatics bloom before the rice ever hits the pan. When you honor these principles, the final plate isn’t just sustenance, it is a warm, smoky memory of Indonesia itself, waiting to be shared.
Nutrition
| Per serving | Calories | Protein | Carbs | Fat | Sat fat | Fibre | Sugar | Sodium |
|---|---|---|---|---|---|---|---|---|
| beginner | 645kcal | 28g | 77g | 25g | 5g | 2g | 12g | 970mg |
| intermediate | 645kcal | 28g | 77g | 25g | 5g | 2g | 12g | 970mg |
| expert | 645kcal | 28g | 77g | 25g | 5g | 2g | 12g | 970mg |
Per serving · Ava-estimated — a guide, not a clinical figure.
- 800 gcooked jasmine rice— day-old, thoroughly chilled
- 60 mlvegetable oil— neutral high-heat oil
- 100 gshallot— peeled
- 4 countgarlic clove— peeled
- 30 gred chili— stems removed
- 10 gshrimp paste— toasted
- 45 mlkecap manis— Indonesian sweet soy sauce
- 15 mlfish sauce— standard Thai or Vietnamese
- 5 gwhite sugar
- 300 gboneless chicken thigh— cut into bite-sized pieces
- 4 countlarge egg— room temperature
- 100 gcucumber— thinly sliced
- 1 countlime— quartered
- 20 gfried shallot— for garnish
This pathway prioritizes accessibility without sacrificing the dish’s essential flavor profile. You will bypass the labor-intensive grinding of the aromatic base by using a high-quality jarred nasi goreng paste or quickly pulsing the raw aromatics in a food processor until smooth. The primary challenge at this level is moisture management. Freshly cooked rice will steam into a clumpy mess, so chilling your rice for at least four hours is non-negotiable. I recommend spreading it on a baking sheet before refrigerating to ensure rapid, even cooling. When cooking, resist the urge to overcrowd the pan. Cook the protein first, set it aside, and then fry the rice in two separate batches if your skillet lacks surface area. High heat is your friend, but patience is your safeguard. Stir constantly once the sauce hits the pan to prevent scorching, and finish each portion with a cracked egg that cooks gently into the grains. Watch closely as you add the sweet soy sauce; it thickens rapidly and can turn bitter if left unattended. Your goal is a cohesive, glossy plate where every grain stands alone. Trust the visual cues over rigid timers, and do not rush the final toss.
Equipment
- large non-stick skillet— flat surface helps with batch cooking
- food processor(optional)— optional shortcut for paste
- silicone spatula— flexible edge for folding
Method
- 1
Spread the cold rice evenly across a baking sheet to break up any large clumps.
Rice must be dry and separated.
chilling~ 2 min - 2
Heat 30 ml of oil in a large non-stick skillet over medium-high heat and sauté the diced chicken until fully cooked.
Chicken should reach 74°C internally.
searing~ 4 min - 3
Push the chicken to the edge of the pan, add the remaining oil, and fry the eggs until the whites set but the yolks remain runny.
Keep yolks intact for plating.
frying~ 2 min - 4
Remove the protein and eggs, then add the jarred paste or processed aromatics to the center of the hot pan.
Spread evenly to prevent burning.
blooming~ 1 min - 5
Add the chilled rice and toss continuously until every grain is coated in the fragrant oil.
Use a spatula to fold, not stir.
coating~ 3 min - 6
Pour in the kecap manis, fish sauce, and sugar, then toss vigorously until the liquid evaporates and the rice darkens.
Taste and adjust salt before plating.
glazing~ 2 minTricky bit - 7
Plate the rice immediately and top each portion with a fried egg, sliced cucumber, lime wedges, and fried shallots.
Serve hot for best texture.
plating~ 1 min