
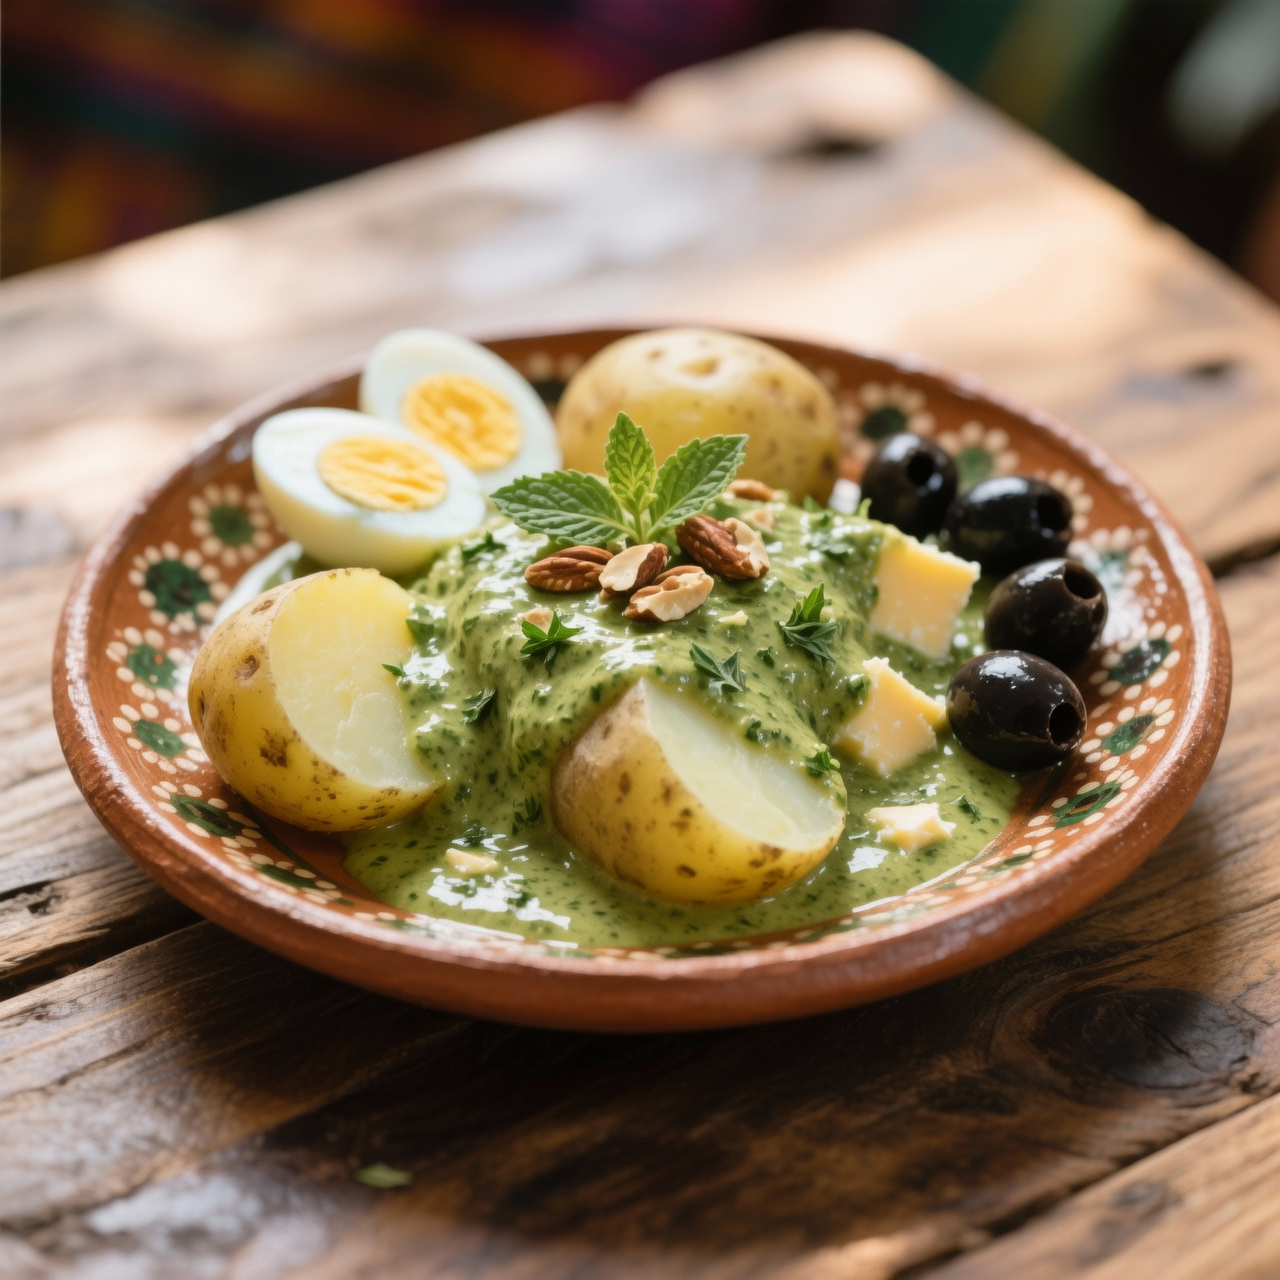
Ocopa Sauce
When I first encountered Ocopa in the high-altitude kitchens of Arequipa, I was immediately captivated by its vibrant, herbaceous complexity. This iconic Peruvian sauce, traditionally served over boiled potatoes, is a masterclass in balancing rich, nutty undertones with the bright, minty punch of huacatay, or black mint. The origins of Ocopa trace back to the Santa Catalina Monastery in Arequipa, where nuns supposedly created it to utilize local ingredients like peanuts, walnuts, and indigenous herbs. What matters most to me about this sauce is its ability to transform humble boiled potatoes into a deeply satisfying, culturally resonant dish without relying on any meat products. It proves that vegetarian cuisine can be profoundly rich and layered. However, making Ocopa at home often comes with a few common pitfalls. The most frequent mistake is over-toasting the nuts and seeds, which turns the sauce bitter rather than deeply savory. Another critical error is using dried huacatay instead of fresh, or failing to blend the sauce long enough to achieve that signature silky, emulsified texture. If you don't toast your ají mirasol properly or skip the step of soaking the bread to thicken the sauce, you lose the authentic body and subtle sweetness that defines a true Ocopa. I always remind my home cooks to be patient with the blending process; a gritty sauce defeats the purpose of this elegant, velvety condiment. By respecting these traditional techniques, you honor the culinary heritage of Arequipa while creating a truly unforgettable vegetarian centerpiece.
Nutrition
| Per serving | Calories | Protein | Carbs | Fat | Sat fat | Fibre | Sugar | Sodium |
|---|---|---|---|---|---|---|---|---|
| beginner | 450kcal | 12g | 25g | 35g | 8g | 4g | 6g | 600mg |
| intermediate | 280kcal | 9g | 10g | 22g | 6g | 2g | 3g | 650mg |
| expert | 450kcal | 18g | 15g | 38g | 12g | 5g | 6g | 650mg |
Per serving · Ava-estimated — a guide, not a clinical figure.
- 30 ghuacatay leaf— fresh
- 50 gpeanut— unsalted and shelled
- 30 gají mirasol— dried
- 50 gred onion— peeled
- 10 ggarlic clove— peeled
- 120 mlevaporated milk
- 100 gfresh white cheese
- 30 mlvegetable oil
- 20 gsoda cracker— plain
- 5 gsalt
This beginner-friendly Ocopa sauce embraces smart shortcuts without sacrificing the iconic Peruvian flavor profile. Instead of hunting for fresh huacatay leaves and roasting ají amarillo peppers from scratch, we rely on high-quality jarred pastes to deliver that essential earthy, minty, and fruity depth in seconds. The technique focuses on building a flavorful sofrito base, then gently simmering it before blending with roasted peanuts, crackers, and milk to achieve a velvety, emulsified texture. Pay close attention to the blending stage: add the liquids slowly to prevent the sauce from breaking, and scrape down the sides of the blender frequently to ensure a perfectly smooth consistency. If the sauce becomes too thick after resting, simply whisk in a splash of warm water or milk to loosen it. This approach guarantees a confident first attempt at a classic dish, yielding a vibrant, nutty, and aromatic sauce that clings beautifully to boiled potatoes.
Equipment
- Heavy-bottomed pan— non-stick is fine here
- Blender or food processor— A standard pitcher blender works best for emulsifying
- Silicone spatula— essential for scraping down the blender sides
Method
- 1
Heat the vegetable oil in a heavy-bottomed pan over medium heat, then add the ají amarillo paste, minced garlic, and finely diced onion.
The oil should shimmer but not smoke.
sweating~ 1 min - 2
Sauté the mixture until the onions are completely translucent and the ají amarillo paste darkens slightly and becomes fragrant.
Stir frequently to prevent the garlic from burning.
sautéing~ 7 min - 3
Stir in the jarred huacatay paste and cook for exactly one minute to bloom the herbs.
The kitchen will fill with a strong, minty aroma.
blooming~ 1 min - 4
Transfer the cooked sofrito to a blender, then add the roasted peanuts, crushed crackers, evaporated milk, salt, and black pepper.
Let the hot mixture cool for 5 minutes before blending to prevent pressure buildup.
blending~ 2 min - 5
Blend on high until completely smooth, stopping to scrape down the sides of the pitcher with a spatula as needed.
A perfectly smooth base is crucial for the final texture.
puréeing~ 2 min - 6
With the blender running on low speed, slowly drizzle in the remaining vegetable oil in a thin, steady stream until the sauce thickens.
Adding the oil too quickly will cause the emulsion to break.
emulsifying~ 2 minTricky bit - 7
Taste the sauce and adjust the seasoning, then pulse in the crumbled queso fresco until just incorporated.
The cheese should leave tiny white flecks in the vibrant green sauce.
finishing~ 1 min
Cooking from frozen
Thaw overnight in the fridge and re-blend briefly to restore the emulsion.
Storage times are a guide — always use your judgement and store food safely.