
Okonomiyaki Sauce
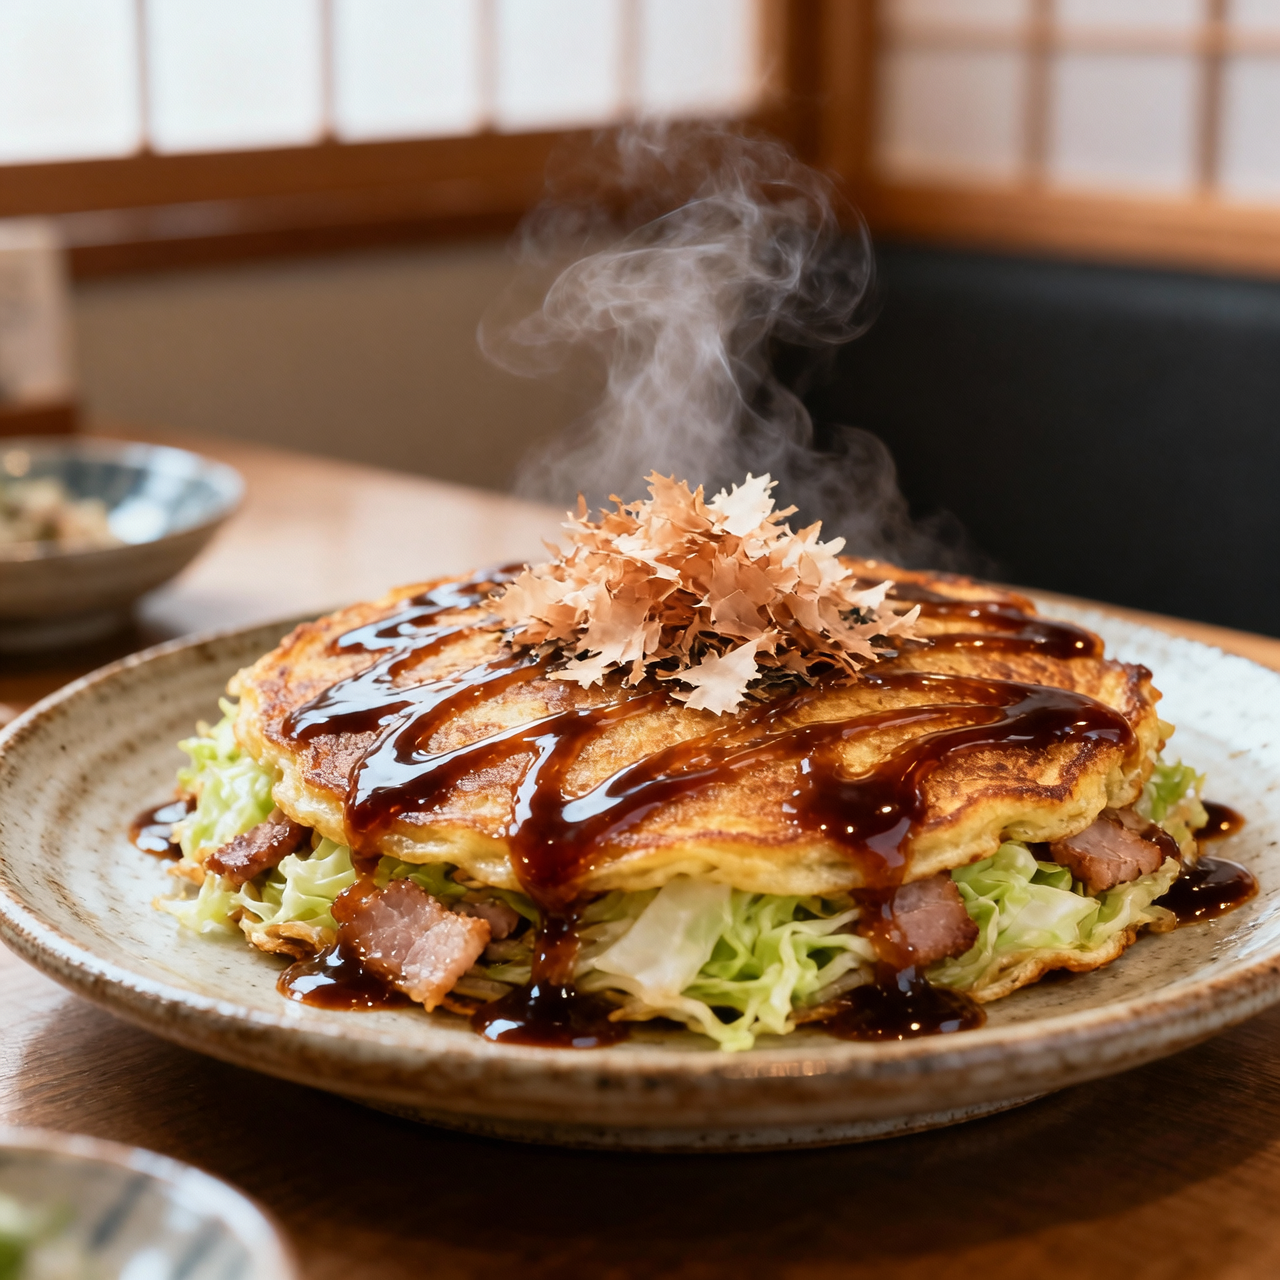
When I first started exploring Japanese home cooking, I quickly learned that okonomiyaki isn’t just about the cabbage pancake itself; it’s the glossy, sweet-savory glaze that ties every bite together. Born in the bustling post-war food stalls of Osaka and Hiroshima, this sauce was originally born from necessity and ingenuity, blending accessible pantry staples into something deeply comforting. To me, mastering it is about capturing that perfect balance of umami depth, gentle fruitiness, and bright acidity without letting any single note overpower the dish. The most common mistake I see is relying too heavily on bottled ketchup or soy sauce, which flattens the complexity into a one-dimensional sweetness. Another frequent pitfall is over-reducing the mixture, which turns a silky, pourable glaze into a sticky paste that clings stubbornly to the griddle. When I make this vegan version, I focus on building layers: a touch of apple or date syrup for natural sweetness, a splash of rice vinegar to lift the heaviness, and a carefully measured amount of vegan Worcestershire to anchor the savory backbone. Getting the consistency right means simmering just long enough to marry the flavors, then letting it rest so the sharp edges mellow. This sauce matters because it’s the quiet bridge between humble ingredients and restaurant-quality results, transforming simple grilled vegetables or noodles into something that feels both nostalgic and deeply intentional. I always remind myself that patience in the simmering stage pays off in the final drizzle, where every glossy drop should taste like a carefully orchestrated harmony rather than a rushed compromise.
Nutrition
| Per serving | Calories | Protein | Carbs | Fat | Sat fat | Fibre | Sugar | Sodium |
|---|---|---|---|---|---|---|---|---|
| beginner | 45kcal | 1g | 10g | 0g | 0g | 1g | 8g | 550mg |
| intermediate | 45kcal | 2g | 10g | 0g | 0g | 1g | 8g | 560mg |
| expert | 72kcal | 2g | 16g | 1g | 0g | 3g | 12g | 610mg |
Per serving · Ava-estimated — a guide, not a clinical figure.
- 60 gtomato ketchup
- 45 mlvegan Worcestershire sauce— Verify label confirms absence of anchovies or fish derivatives
- 30 mlsoy sauce— Use tamari for a gluten-free variation
- 30 mlmirin
- 24 ggranulated sugar
- 15 mlrice vinegar
This beginner-friendly approach prioritizes accessibility and speed, using readily available pantry staples to replicate the classic sweet-savoury profile without the long simmering or fermentation steps. Instead of building layers of umami from scratch, you will combine a high-quality vegan Worcestershire alternative with tomato ketchup, soy sauce, and a touch of maple syrup or granulated sugar. The key technique here is gentle warming rather than active cooking; you will simply whisk the ingredients in a small saucepan over low heat until they fully integrate and the sugar dissolves. Watch closely for bubbling, as the natural sugars can scorch quickly if the temperature creeps above medium-low. If your sauce feels too thick after cooling, simply stir in a teaspoon of warm water or dashi substitute until it reaches a drizzle-friendly consistency. This method guarantees a reliable, balanced glaze on your very first attempt, allowing you to focus on your pancake toppings rather than sauce chemistry. Store leftovers in a clean, airtight jar in the refrigerator, where the flavours will continue to meld beautifully over the next two weeks.
Equipment
- Small saucepan— stainless steel or non-stick works best
- Whisk— helps dissolve sugars without lumps
- Glass storage jar— ensure it is thoroughly cleaned and dried
Method
- 1
Measure the vegan Worcestershire sauce, soy sauce, tomato ketchup, and maple syrup into a small saucepan.
Use standard measuring cups to ensure the sweet-savoury balance stays predictable.
mise en place~ 1 min - 2
Place the saucepan over low heat and whisk continuously until the mixture is uniform and slightly warm.
Keep the burner on low to prevent the sugars from caramelizing too aggressively.
emulsifying~ 3 min - 3
Remove the pan from the heat and taste the sauce, adjusting with a pinch of sugar or a splash of water as needed.
The sauce will thicken slightly as it cools, so aim for a slightly thinner consistency now.
balancing~ 2 minTricky bit - 4
Pour the finished sauce into a sterilised glass jar and seal tightly before refrigerating.
Label with the date, as it will keep safely for up to two weeks.
preserving~ 1 min
Cooking from frozen
Thaw overnight in the refrigerator, then whisk vigorously to restore a smooth consistency before serving.
Storage times are a guide — always use your judgement and store food safely.