
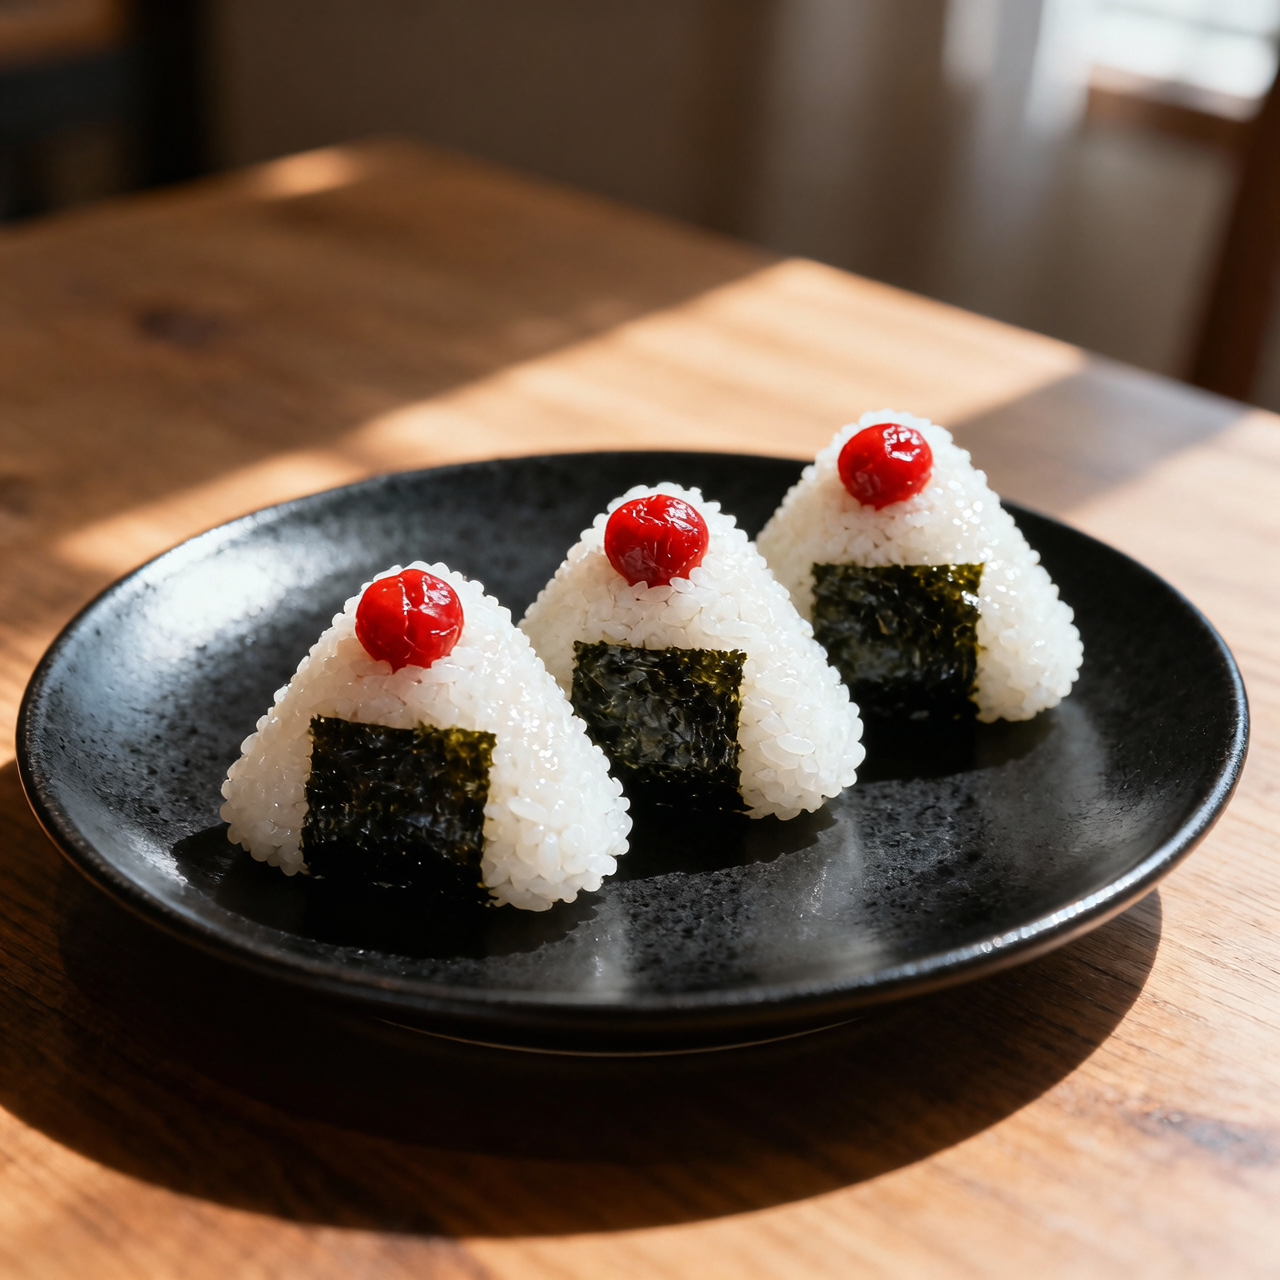
Onigiri
I still remember the first time I held a perfectly formed onigiri in my hands, its triangular silhouette a quiet testament to centuries of Japanese culinary pragmatism. Born as a portable staple for farmers and travelers, these rice balls evolved from simple sustenance into a canvas for regional creativity and personal care. What makes onigiri so profoundly meaningful to me isn’t just its elegant simplicity, but the way it bridges generations. A mother packing it for a child’s bento, a shopkeeper wrapping it in crisp nori for a weary commuter—each one carries an unspoken promise of comfort and nourishment. Yet, despite their humble appearance, onigiri demand respect. The most common mistake I see home cooks make is treating the rice like an afterthought. It must be freshly cooked, properly seasoned with salt, and handled while still warm, but never scalding. Wet hands are essential to prevent sticking, but overworking the rice will turn it into a dense, gummy mass rather than a light, cohesive triangle. Another frequent misstep is overstuffing or using wet fillings that compromise the structural integrity. The balance lies in restraint: a modest pocket of umeboshi, salmon, or kombu, gently pressed just enough to hold together without crushing the individual grains. When done right, the exterior offers a slight resistance before yielding to the tender, fragrant core. Mastering onigiri isn’t about precision tools or complex techniques; it’s about patience, tactile awareness, and honoring the quiet rhythm of Japanese food culture.
Nutrition
| Per serving | Calories | Protein | Carbs | Fat | Sat fat | Fibre | Sugar | Sodium |
|---|---|---|---|---|---|---|---|---|
| beginner | 395kcal | 9g | 82g | 3g | 0g | 2g | 1g | 1285mg |
| intermediate | 395kcal | 9g | 82g | 3g | 0g | 2g | 1g | 1285mg |
| expert | 395kcal | 9g | 82g | 3g | 0g | 2g | 1g | 1285mg |
Per serving · Ava-estimated — a guide, not a clinical figure.
- 400 gJapanese short-grain rice— unwashed, high-starch variety
- 480 mlfiltered water— room temperature
- 10 gfine sea salt— for seasoning and coating
- 4 sheetsdried nori sheet— untoasted, full size
- 4 piecesumeboshi— pitted
- 15 gwhite sesame seed— for garnish
At this level, the focus is entirely on building confidence without sacrificing the core texture of the rice. You will bypass traditional soaking and stovetop vigilance by relying on a microwave or basic rice cooker, which guarantees consistent hydration for your first attempt. The critical adjustment here is the use of plastic wrap during the shaping process. Wet hands are traditional, but plastic eliminates the fear of scalding and sticking, allowing you to apply even, gentle pressure while the rice remains hot. Watch closely for steam escaping during the resting phase, as this trapped vapor finishes the cooking and activates the starch that binds the triangle. Do not overwork the grains; pressing too hard will turn your onigiri into dense, gummy bricks. Instead, cup your hands loosely and let the rice’s natural cohesion do the heavy lifting. I have designed these steps to be forgiving, giving you clear visual and tactile cues at every stage. Once you feel the gentle resistance of a properly formed triangle, you will understand why this dish has sustained generations. Trust the timing, keep your workspace clean, and remember that the first batch is always a learning curve.
Equipment
- microwave-safe bowl with lid— glass or ceramic preferred
- plastic wrap— standard kitchen grade
- damp kitchen towel(optional)— for wiping surfaces
Method
- 1
Rinse the rice under cold running water until the drainage turns completely clear.
Use a fine mesh strainer to avoid losing grains.
rinsing~ 3 min - 2
Combine the drained rice and measured water in the microwave-safe bowl.
Ensure the bowl is large enough to prevent overflow.
hydrating~ 1 min - 3
Cover the bowl loosely and microwave on high for twelve minutes.
Steam must escape to prevent pressure buildup.
steaming~ 12 min - 4
Let the rice rest undisturbed for five minutes after microwaving.
This resting phase completes the starch gelatinization.
resting~ 5 min - 5
Lay out a sheet of plastic wrap and shape each rice portion into a triangle around one umeboshi.
Apply gentle, even pressure to avoid crushing the grains.
molding~ 3 minTricky bit - 6
Wrap the base of each triangle with a nori sheet and roll the sides in sesame seeds.
Add a light dusting of salt to the exterior before wrapping.
finishing~ 2 min