
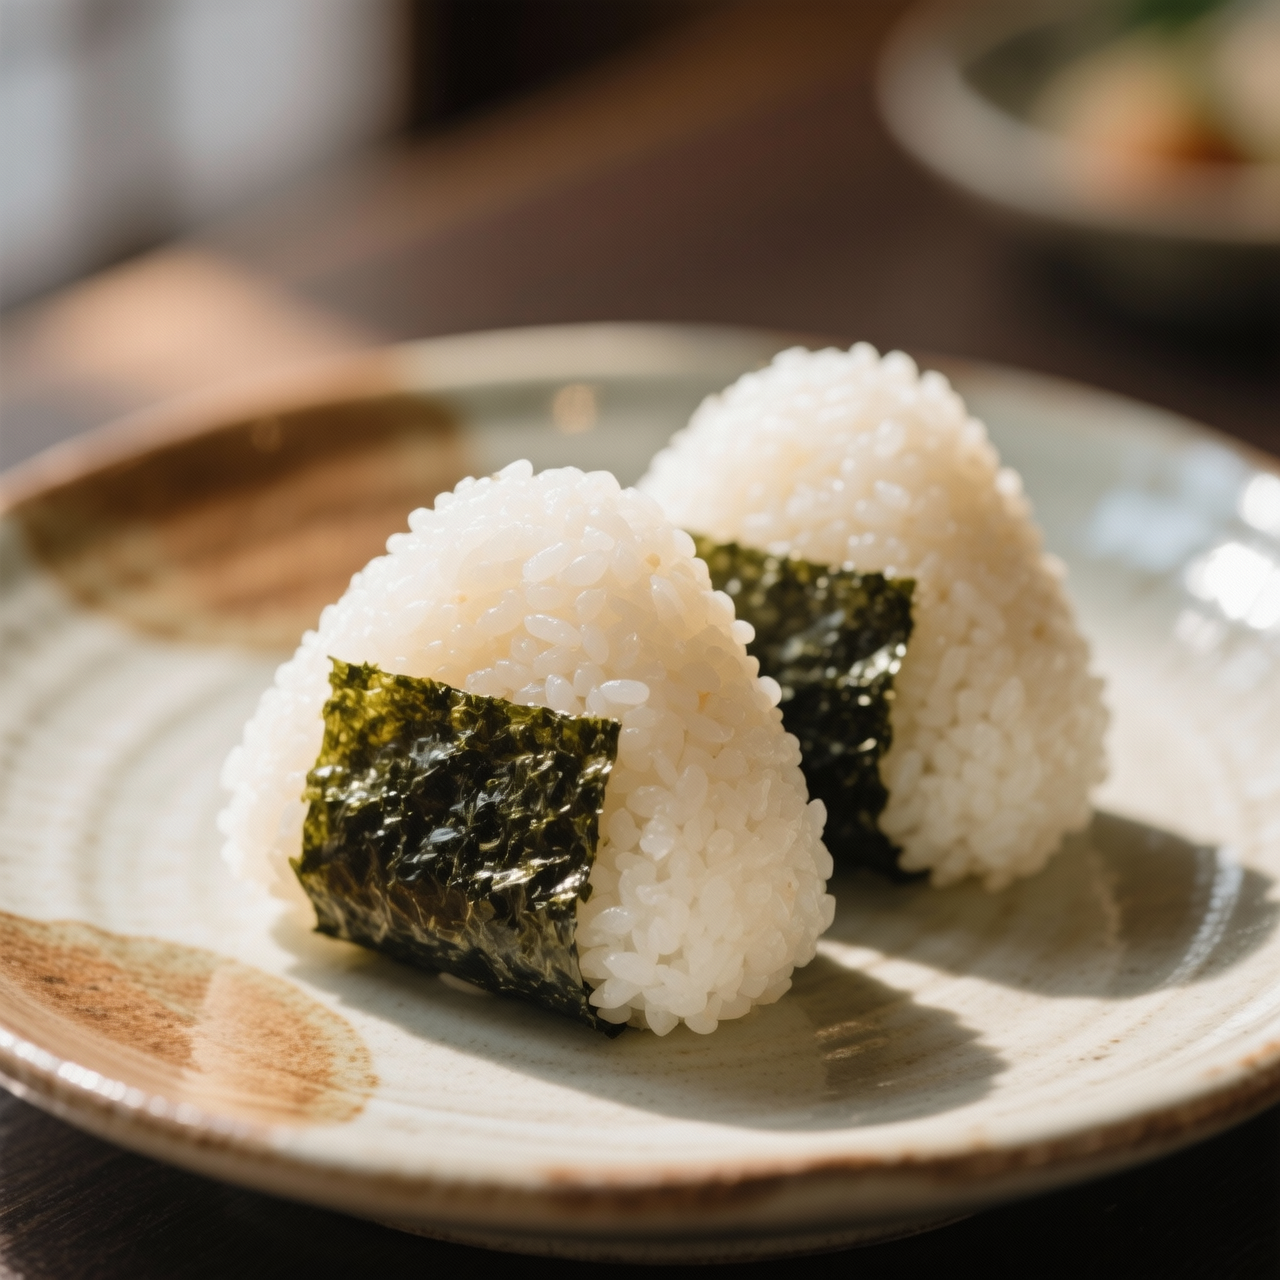
Onigiri (Rice Balls)
I’ve always believed that true comfort lives in the quiet spaces between meals, and nowhere is this more evident than in the humble Japanese onigiri. Originating in the Heian period as a practical way for travelers and farmers to carry sustenance, these rice triangles have evolved from ancient preservation techniques into a modern staple. Today, convenience stores across Japan push out millions of plastic-wrapped, mass-produced versions daily. A typical shop-bought pack runs about £1.50 to £2.50, but that convenience comes at a steep culinary cost: the rice is often hardened by refrigeration, the fillings are overly salty and chemically preserved, and the seaweed wrapper turns soggy and unpalatable. Making them from scratch completely bypasses that industrial compromise. When you press warm, properly seasoned short-grain rice by hand, you’re not just shaping food; you’re crafting a texture that breathes. The most common pitfall I see is treating the rice like a cold leftover or skipping the crucial step of wetting your hands with salted water, which inevitably leads to a sticky, tearing mess. Another mistake is overpacking the filling, which causes the delicate structure to collapse. By using freshly cooked, properly cooled rice and a light, mindful touch, you achieve that perfect balance of tender grain and crisp nori. This vegetarian approach relies entirely on pantry staples like sesame, pickled plum, or roasted mushrooms, proving that stripping away the preservatives actually amplifies the natural, earthy flavors. It’s slower, yes, but the moment you unwrap a warm, hand-formed triangle, you’ll understand exactly why generations of Japanese cooks have guarded this simple ritual.
Nutrition
| Per serving | Calories | Protein | Carbs | Fat | Sat fat | Fibre | Sugar | Sodium |
|---|---|---|---|---|---|---|---|---|
| beginner | 410kcal | 7g | 74g | 3g | 0g | 2g | 0g | 280mg |
| intermediate | 165kcal | 4g | 36g | 2g | 0g | 1g | 0g | 210mg |
| expert | 265kcal | 5g | 55g | 2g | 0g | 2g | 0g | 310mg |
Per serving · Ava-estimated — a guide, not a clinical figure.
- 300 gJapanese short-grain rice— Rinse thoroughly until the water runs clear
- 360 mlWater— Use filtered water for optimal texture
- 10 gSalt— Fine grain for seasoning hands and rice surface
- 4 pieceNori sheet— Store in airtight container to preserve crispness
- 3 pieceUmeboshi(optional)— Pitted pickled plum for traditional center filling
Convenience-store onigiri typically costs over a dollar each, yet they often arrive stale, overly salty, and loaded with preservatives, artificial umami enhancers, and cheap fillers that mask poor-quality rice. This beginner-friendly method strips the process back to honest, pantry-staple ingredients: properly washed short-grain rice, toasted nori, and a simple salt or sesame filling. The key difference here is the forgiving, hands-on shaping technique that relies on moisture and gentle pressure rather than specialized molds or excessive force. Watch closely for dry rice grains, which will cause the ball to crumble; always keep a bowl of cool water nearby to dampen your palms before each shape. Avoid packing the rice too tightly, as you want an airy, tender bite that holds together without becoming a dense brick. Handle the rice while it is still warm but not scalding, and fold the seasoning through carefully to maintain the delicate grain structure. With minimal equipment and a focus on tactile feedback, you will achieve a fresh, satisfying snack that rivals traditional street vendors without the hidden additives or plastic waste.
Equipment
- Heavy-bottomed pan with tight-fitting lid— non-stick is fine, but a thick base prevents scorching
- Wide mixing bowl— wooden or plastic helps rice release easier than metal
- Small ramekin of cool water— place it next to your shaping station
Method
- 1
Rinse short-grain rice under cold water until the runoff turns completely clear, then let it soak for twenty minutes.
Starch removal prevents gummy, clumped grains.
rinsing~ 20 min - 2
Drain the soaked rice, add fresh water to a heavy pan, cover tightly, and bring the mixture to a steady boil over medium-high heat.
Use a 1:1.1 rice-to-water ratio for short-grain.
boiling~ 3 min - 3
Immediately drop the heat to the absolute lowest setting and cook the rice undisturbed for exactly twelve minutes.
Do not lift the lid or stir during this phase.
simmering~ 12 min - 4
Turn off the burner and leave the covered pan completely untouched to allow residual steam to finish the grains for fifteen minutes.
This resting step is non-negotiable for proper texture.
resting~ 15 min - 5
Transfer the cooked rice into a wide bowl and gently fold in a measured pinch of sea salt using a flat spatula.
Use a cutting motion rather than stirring to keep grains intact.
folding~ 1 min - 6
Dip your hands in cool water, rub them lightly with salt, and carefully mold a warm portion of rice around a small center filling into a triangle.
Apply just enough pressure to bind, never to crush.
shaping~ 2 minTricky bit - 7
Wrap a crisp strip of toasted nori seaweed around the base of each formed ball just before eating.
Add the nori late to preserve its snap.
wrapping~ 1 min
Cooking from frozen
Microwave directly from frozen for 1 to 2 minutes wrapped in a damp paper towel to restore moisture.
Storage times are a guide — always use your judgement and store food safely.