
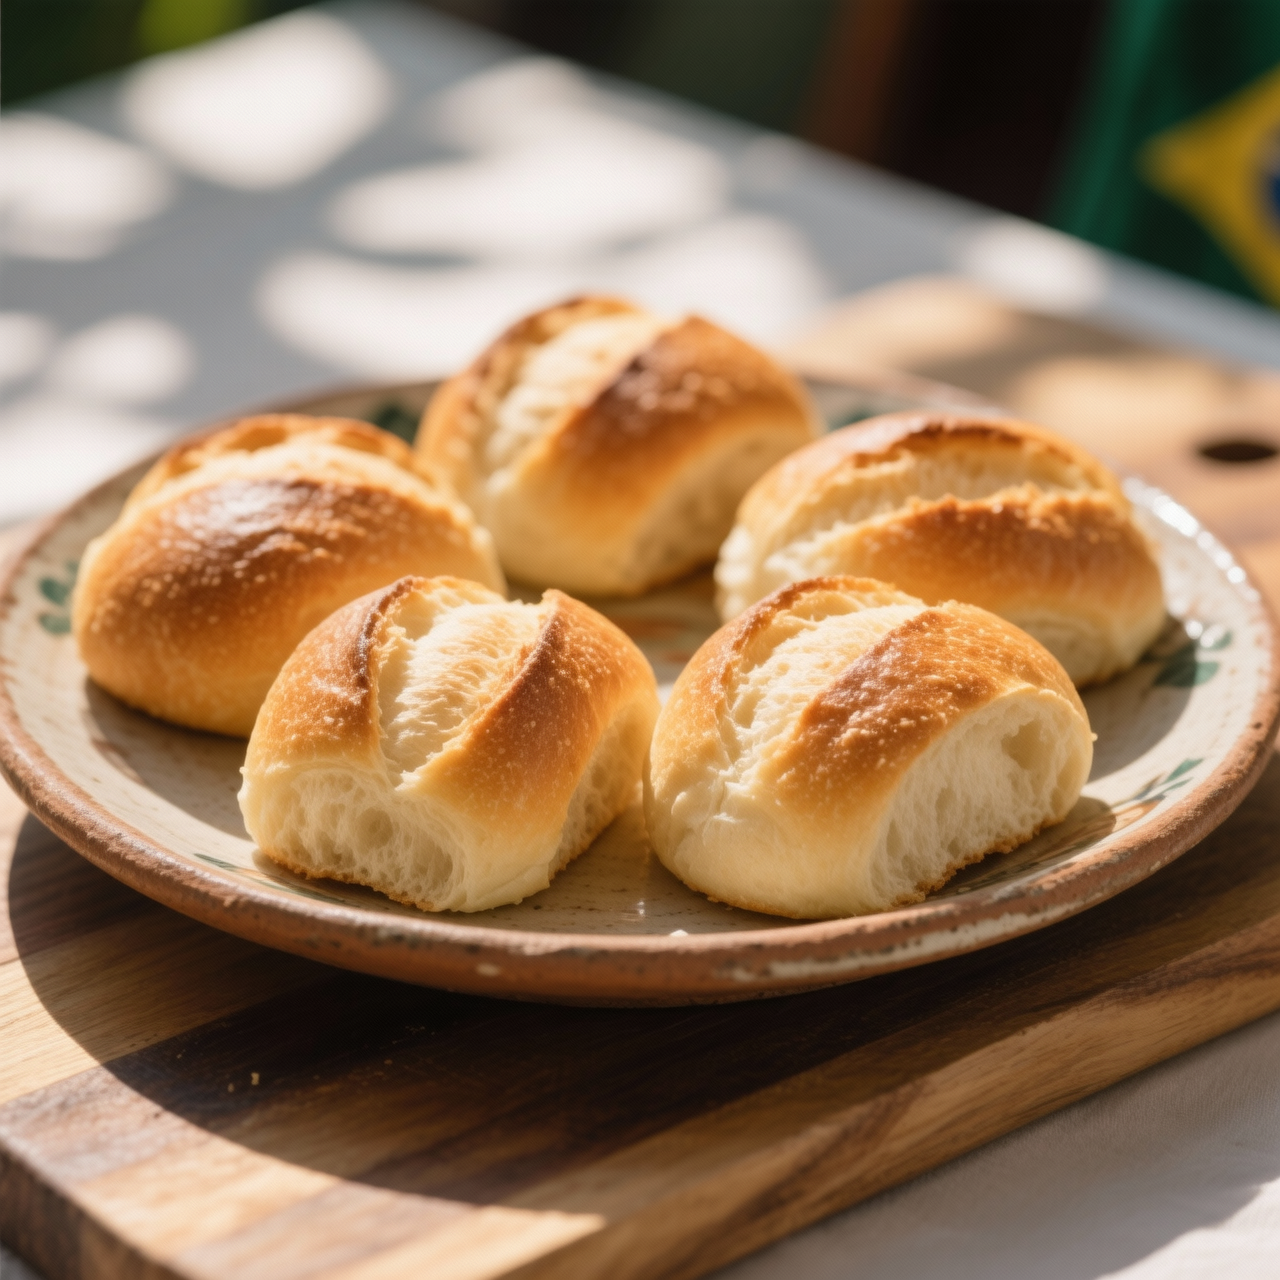
Pão Francês (Brazilian Rolls)
There is a specific, almost sacred ritual to a Brazilian morning, and it begins with the pão francês. Despite the name, these crusty, airy rolls aren't actually French; they were born in Brazil when local bakers adapted European techniques to our own wheat and tastes, creating a uniquely Brazilian staple with a shattering crust and a soft, pillowy interior. I’m sharing this vegan version because it replaces those sad, plastic-wrapped supermarket loaves that cost nearly the same as making a massive batch from scratch but taste like sweetened cardboard laced with preservatives. Shop-bought rolls often rely on dough conditioners and artificial fats to extend shelf life, sacrificing that crucial chew and depth of flavor. Making them at home guarantees you control the ingredients, yielding a vastly superior, crusty breakfast roll that actually tastes like bread. The biggest pitfall when making pão francês at home is skipping the steam. That iconic crackling crust requires a burst of steam in the first few minutes of baking to gelatinize the surface starches before they set. Without it, you just get a dull, hard bun. Another common mistake is over-kneading or under-proofing; the dough needs to be smooth and elastic, but the final proof should leave it just jiggly enough to spring back when gently poked. Once you master the steam and the timing, you’ll never look at a store-bought bag again.
Nutrition
| Per serving | Calories | Protein | Carbs | Fat | Sat fat | Fibre | Sugar | Sodium |
|---|---|---|---|---|---|---|---|---|
| beginner | 215kcal | 7g | 44g | 1g | 0g | 2g | 0g | 390mg |
| intermediate | 230kcal | 8g | 46g | 1g | 0g | 2g | 1g | 490mg |
| expert | 235kcal | 8g | 44g | 3g | 1g | 2g | 1g | 450mg |
Per serving · Ava-estimated — a guide, not a clinical figure.
- 500 gstrong white bread flour— plus extra for dusting the work surface
- 300 mllukewarm water— heated to approximately 37C
- 7 ginstant yeast— ensure the brand is vegan-friendly
- 10 gfine sea salt— fine grain integrates best into the dough
- 5 gcaster sugar— aids in yeast activation and crust browning
Shop-bought pão francês costs mere pennies but is typically loaded with dough conditioners, preservatives, and emulsifiers to extend shelf life, resulting in a tough, leathery crust that stales within hours. This from-scratch beginner version strips away the additives, relying purely on flour, water, yeast, and salt to deliver an authentic, shatteringly crisp crust and a soft, airy crumb. While traditional bakeries use a poolish pre-ferment and steam-injection ovens, this simplified approach uses a straightforward direct dough method and a clever home-oven steam trick with a tray of boiling water. You will focus on basic hand-kneading to develop gluten and a simple scoring technique to ensure the rolls expand beautifully. It is a forgiving, highly rewarding process that guarantees bakery-quality breakfast rolls without the need for esoteric ingredients or complex multi-day fermentation schedules, proving that the best daily bread is the one you bake yourself.
Equipment
- Large mixing bowl— glass or stainless steel is ideal for watching dough rise
- Baking sheet— rimmed or unrimmed both work fine
- Small oven-safe dish— metal or ceramic, for holding boiling water to create steam
Method
- 1
Dissolve the active dry yeast and a pinch of sugar in warm water, then let it sit undisturbed until a frothy layer forms on the surface.
Water should be warm to the touch, about 38C, not hot enough to kill the yeast.
blooming~ 5 min - 2
Whisk the bread flour and fine sea salt together in a large bowl, then pour in the activated yeast mixture and stir until a shaggy dough forms.
Keep the salt away from direct contact with the yeast initially to prevent inhibiting its activity.
mixing~ 2 min - 3
Turn the dough out onto a lightly floured surface and knead vigorously by hand until it becomes completely smooth, elastic, and slightly tacky.
If the dough is too sticky, add flour a tablespoon at a time, but avoid making it too dry.
kneading~ 10 minTricky bit - 4
Place the kneaded dough into a lightly oiled bowl, cover it with a damp cloth, and let it rise in a warm, draft-free spot until doubled in size.
This bulk fermentation builds the foundational flavor and gluten structure of the rolls.
bulk fermentation~ 60 min - 5
Gently punch down the risen dough, divide it into eight equal pieces, and shape each piece into a tight, smooth oval roll by tucking the edges underneath.
Surface tension is key here; a tight shape ensures the rolls rise upward rather than spreading flat.
shaping~ 8 min - 6
Arrange the shaped rolls on a baking sheet, cover them, and let them proof until puffy, then use a sharp blade to slash the top of each roll diagonally.
The slash, or 'ear', allows the roll to expand beautifully in the oven without tearing unpredictably.
scoring~ 40 min - 7
Bake the rolls in a preheated hot oven alongside a small pan of boiling water on the bottom rack to generate steam, baking until they are deeply golden and sound hollow when tapped.
Do not open the oven door for the first ten minutes to trap the steam for maximum crust development.
baking with steam~ 25 min
Cooking from frozen
Thaw at room temperature and refresh in a hot oven for five minutes to restore the crust.
Storage times are a guide — always use your judgement and store food safely.