
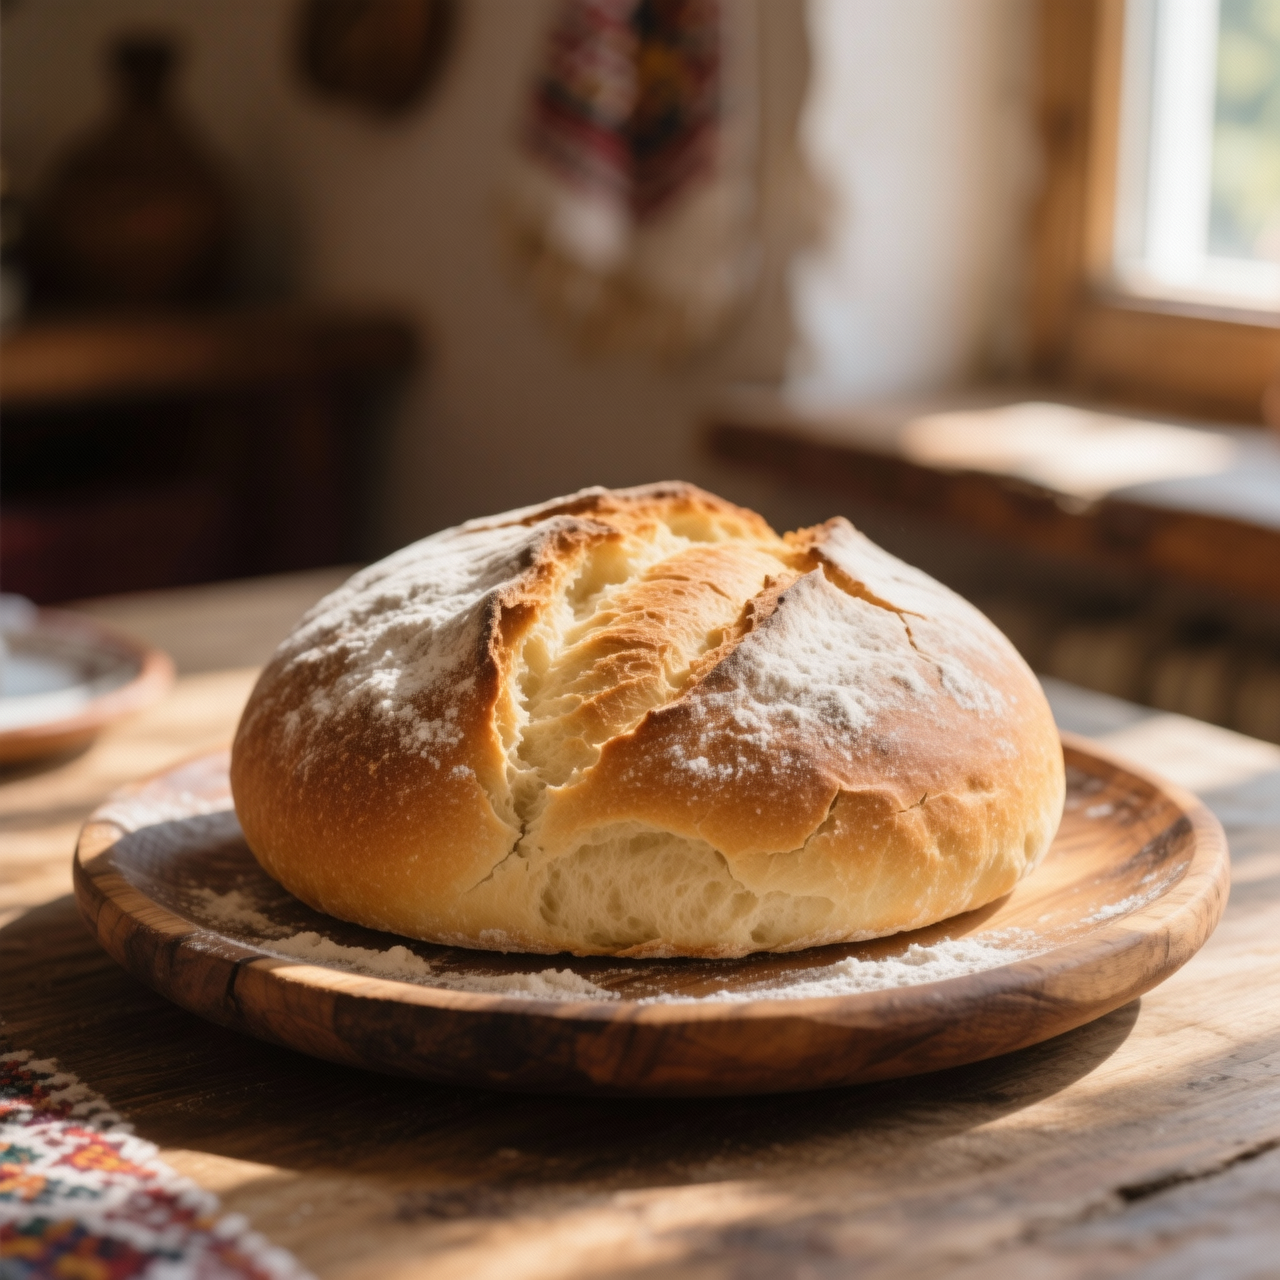
Palianytsia (bread)
When I think of Ukrainian hospitality, my mind immediately goes to palianytsia. I consider this beautiful, round, scored loaf far more than just a side; it is a profound symbol of welcome, often presented with salt to honor guests. Making this bread from scratch is a glorious rebellion against the modern supermarket aisle. A standard loaf of packaged sliced bread might cost you three or four dollars, but what are you actually getting? Those commercial loaves are pumped full of preservatives, artificial dough conditioners, and high-fructose corn syrup, yielding a squishy, flavorless sponge that inevitably molds within days. By baking my own palianytsia, I reclaim my health and my heritage, creating a crusty, deeply flavorful bread with a soft, airy crumb using just flour, water, yeast, and salt. The magic lies in the traditional cross-hatch scoring on top, which allows the bread to expand beautifully in the oven while creating those signature rustic ridges. A common pitfall I see is rushing the proofing process or failing to create enough steam in the oven; without that initial burst of steam, the crust will be tough and pale rather than beautifully crisp and golden. Another mistake is using water that is too hot, which kills the yeast and leaves you with a dense brick. I always take my time, respect the fermentation, and let the dough develop its complex, slightly tangy flavor. When I tear into that warm, homemade loaf and smell the toasted wheat, I never look at a plastic-wrapped supermarket loaf the same way again. It is a simple batch hero that transforms my kitchen into a warm, welcoming Ukrainian home.
Nutrition
| Per serving | Calories | Protein | Carbs | Fat | Sat fat | Fibre | Sugar | Sodium |
|---|---|---|---|---|---|---|---|---|
| beginner | 452kcal | 15g | 91g | 3g | 0g | 4g | 1g | 780mg |
| intermediate | 520kcal | 17g | 94g | 9g | 2g | 4g | 2g | 780mg |
| expert | 240kcal | 8g | 48g | 1g | 0g | 2g | 1g | 750mg |
Per serving · Ava-estimated — a guide, not a clinical figure.
- 500 gwheat flour— plus extra for dusting
- 300 mlwater— warm, about 38C
- 7 gactive dry yeast— or 20g fresh yeast
- 10 gsugar— to feed the yeast
- 10 gsalt— fine sea salt
- 30 mlsunflower oil— or any neutral vegetable oil
Supermarket sliced bread costs pennies but is often pumped with emulsifiers, preservatives, and dough conditioners, yielding a gummy, lifeless crumb and a chemical aftertaste. This from-scratch Palianytsia delivers a crackling crust and airy, flavorful interior without the additives. The beginner method uses a straightforward, single-rise commercial yeast dough, skipping the traditional multi-stage sourdough sponge to keep things highly forgiving and accessible for first-time bakers. You will mix, knead, shape, and bake in one simple flow. Watch your water temperature carefully—too hot kills the yeast, too cold stalls the rise. Pay close attention during shaping; a tight surface tension is crucial for the loaf to hold its round shape rather than spreading into a flat disc. Finally, do not skip the steam step in the oven; introducing moisture during the first ten minutes of baking is the absolute secret to achieving that signature crisp, blistered crust. This approach guarantees a rewarding, authentic baking experience that completely outshines any plastic-wrapped alternative.
Equipment
- Large mixing bowl— glass or stainless steel preferred for dough rising
- Baking sheet— heavy gauge to prevent bottom burning
- Small oven-safe dish— for holding boiling water to create oven steam
- Sharp razor or bread lame— a very sharp chef's knife works in a pinch
Method
- 1
Dissolve the active dry yeast and sugar in warm water and let it sit undisturbed until frothy.
Water should be around 38°C (100°F), feeling just warm to the wrist.
blooming~ 5 min - 2
Combine the bread flour and salt in a large bowl, then pour in the yeast mixture and oil to form a shaggy dough.
Add the liquid gradually to control hydration and avoid a sticky mess.
mixing~ 2 min - 3
Turn the dough onto a lightly floured surface and knead vigorously until it becomes smooth, elastic, and passes the windowpane test.
Resist adding too much extra flour, or the final crumb will be dense and dry.
kneading~ 10 minTricky bit - 4
Place the kneaded dough in a lightly oiled bowl, cover with a damp towel, and let it rise in a warm spot until doubled in size.
A turned-off oven with just the interior light on provides the perfect draft-free environment.
proofing~ 60 min - 5
Punch down the risen dough, fold the edges into the center to create surface tension, and flip it seam-side down into a tight round boule.
Drag the dough against the counter to build a tight skin; this prevents it from spreading flat.
shaping~ 5 minTricky bit - 6
Transfer the shaped dough to a parchment-lined baking sheet, cover loosely, and let it proof again until puffy and nearly doubled.
The dough should spring back slowly and leave a slight indent when gently poked with a finger.
proofing~ 45 min - 7
Use a sharp razor or lame to slash a deep, curved smile or eye shape across the top of the loaf.
Score at a shallow 30-degree angle to encourage a beautiful raised ear on the crust.
scoring~ 1 minTricky bit - 8
Bake in a preheated oven with a pan of boiling water on the bottom rack, baking first with steam then without until deeply golden and hollow-sounding.
Remove the steam pan for the last 15 minutes to crisp the crust; internal temp should reach 95°C (200°F).
baking~ 35 min
Cooking from frozen
Thaw at room temperature and refresh in a hot oven for five minutes to restore the crust.
Storage times are a guide — always use your judgement and store food safely.