
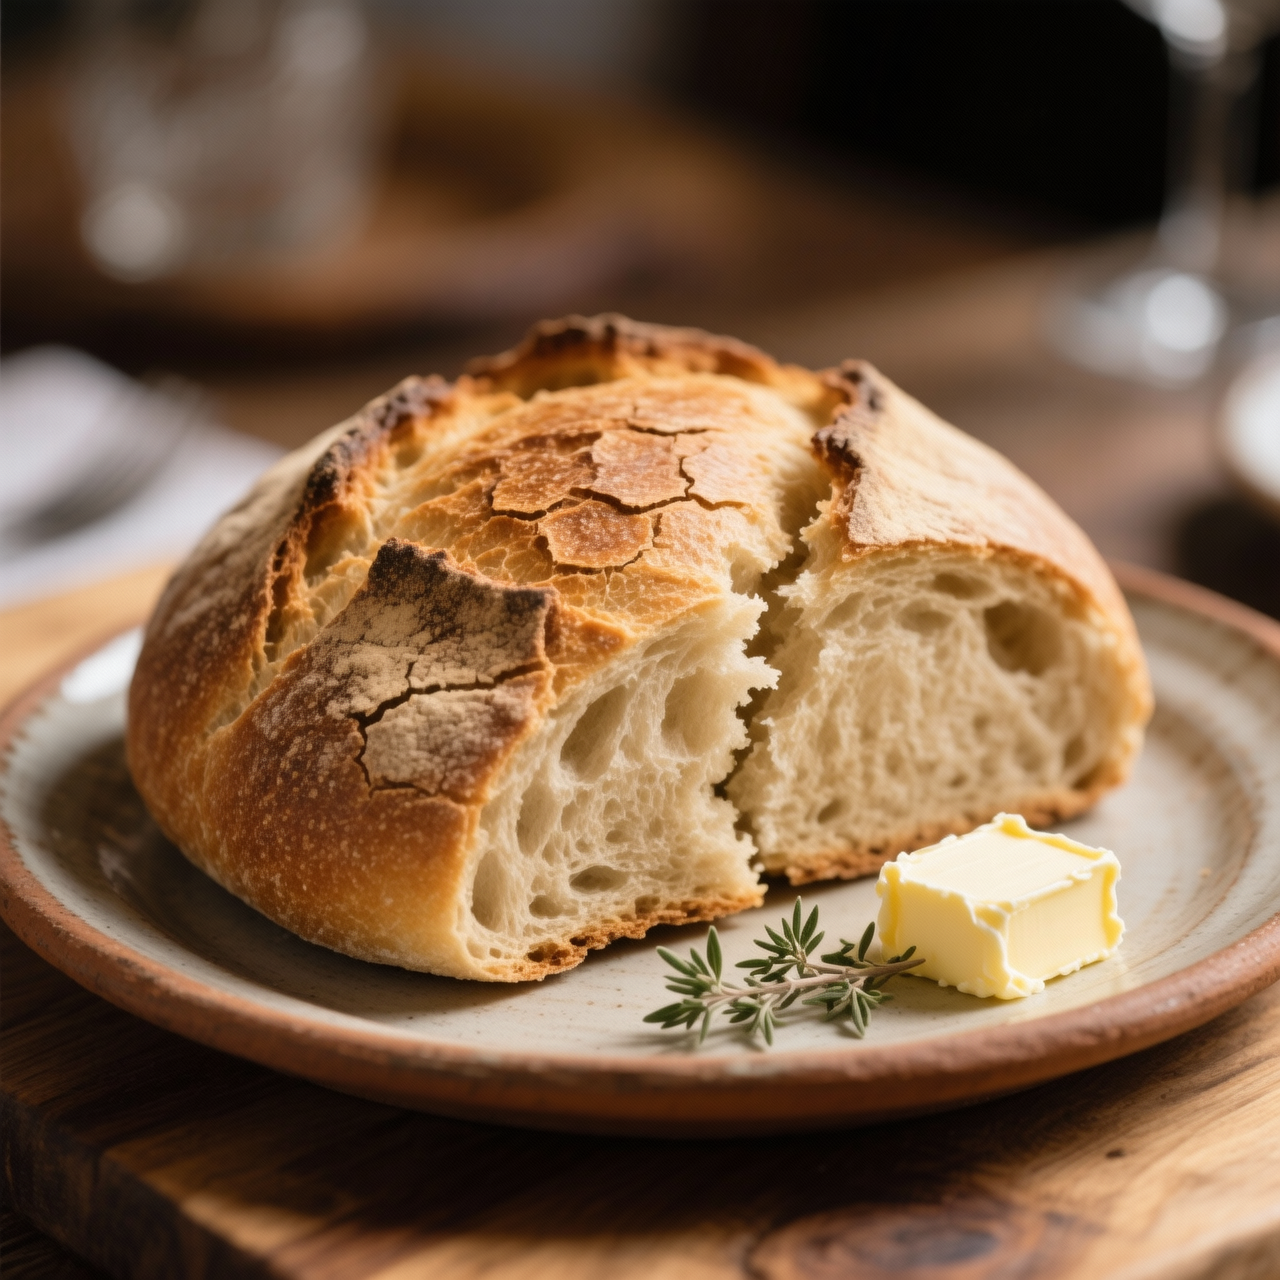
Pan casero
In Argentina, pan casero is the undisputed king of the table, anchoring everything from a morning mate session to a Sunday asado. When I decided to make this to replace the ubiquitous commercial pan de molde, I wanted to reclaim a daily staple that had been hijacked by industrial bakeries. A standard loaf of shop-bought sandwich bread costs roughly two dollars, but it is an ultra-processed disappointment. It is packed with emulsifiers, preservatives, and added sugars to extend its shelf life, resulting in a spongy, flavorless texture that turns stale or moldy within days. By contrast, baking your own pan casero at home requires only flour, water, yeast, salt, and a splash of oil. The from-scratch win is undeniable: you get a robust, crackling crust and a tender, deeply flavorful crumb that actually tastes like wheat. The pitfalls here are purely about patience and temperature. The most common mistake is using water that is too hot, which kills the yeast and leaves you with a dense brick. Another frequent error is under-kneading; the dough needs time to develop its gluten network to achieve that signature chewy, airy texture. Finally, resist the urge to slice it while it is still hot. Cutting into a fresh loaf releases all the internal steam, turning your beautiful crumb into a gummy mess. Let it rest, slice it thick, and toast it with a little olive oil. This is the bread your grandmother would recognize.
Nutrition
| Per serving | Calories | Protein | Carbs | Fat | Sat fat | Fibre | Sugar | Sodium |
|---|---|---|---|---|---|---|---|---|
| beginner | 205kcal | 6g | 38g | 3g | 1g | 2g | 2g | 380mg |
| intermediate | — | — | — | — | — | — | — | — |
| expert | 245kcal | 7g | 45g | 3g | 1g | 2g | 1g | 480mg |
Per serving · Ava-estimated — a guide, not a clinical figure.
- 500 gharina de trigo 000— también conocida como harina de fuerza
- 300 mlagua— tibia, aproximadamente a 35°C
- 10 glevadura seca— equivalente a 25 g de levadura fresca
- 10 gsal— fina
- 10 gazúcar— blanca común
- 30 mlaceite de girasol— aceite vegetal neutro
Packaged sandwich bread in Argentina typically costs around two dollars per loaf but is heavily loaded with preservatives like calcium propionate, artificial emulsifiers, and added sugars to artificially extend shelf life, ultimately resulting in a gummy texture and bland, uniform flavor. This beginner method uses a simple straight-dough technique with standard bread flour and sunflower oil, deliberately skipping the long cold ferments of the expert version for a much faster, highly forgiving process that yields a remarkably soft, sliceable crumb perfect for daily sandwiches. Watch the dough's hydration closely; local flour can vary significantly in protein content, so hold back a small splash of water if the dough feels excessively sticky. Your primary goal is achieving a smooth, elastic ball before the first rise. By controlling the simple ingredients, you easily avoid the hidden additives of commercial brands while achieving that nostalgic, soft homemade texture that perfectly elevates a simple mate sandwich or morning toast.
Equipment
- Large mixing bowl— Glass or stainless steel works best for seeing dough rise
- 9x5 inch loaf pan— Standard metal pan is ideal for a soft crust
- Clean kitchen towel— Dampened slightly to prevent dough from drying out
Method
- 1
Combine warm water, sugar, and yeast in a large bowl and let sit until foamy.
Water should be warm to the touch, around 105°F to 110°F.
blooming~ 5 min - 2
Add flour, salt, and oil to the yeast mixture and stir until a shaggy dough forms.
Hold back a splash of water if the dough feels excessively sticky.
mixing~ 3 min - 3
Turn the dough onto a lightly floured surface and knead for eight to ten minutes until smooth and elastic.
Add a dusting of flour only if the dough is sticking severely to your hands.
kneading~ 10 min - 4
Place the kneaded dough in a lightly oiled bowl, cover with a damp towel, and let rise in a warm spot until doubled in size.
A turned-off oven with the light on makes an excellent proofing environment.
proofing~ 40 min - 5
Punch down the risen dough, shape it into a tight log, and place it seam-side down into a greased loaf pan.
Pinch the seams tightly to prevent the loaf from spreading during the final rise.
shaping~ 2 min - 6
Cover the pan and let the dough rise again until it just crests the rim of the pan.
This second rise should take about thirty minutes depending on your kitchen temperature.
proofing~ 30 min - 7
Bake in a preheated oven until the crust is golden brown and the loaf sounds hollow when tapped on the bottom.
Internal temperature should reach 190°F for a perfectly baked crumb.
baking~ 30 min
Cooking from frozen
Thaw at room temperature or toast slices directly from frozen to restore the crust.
Storage times are a guide — always use your judgement and store food safely.