
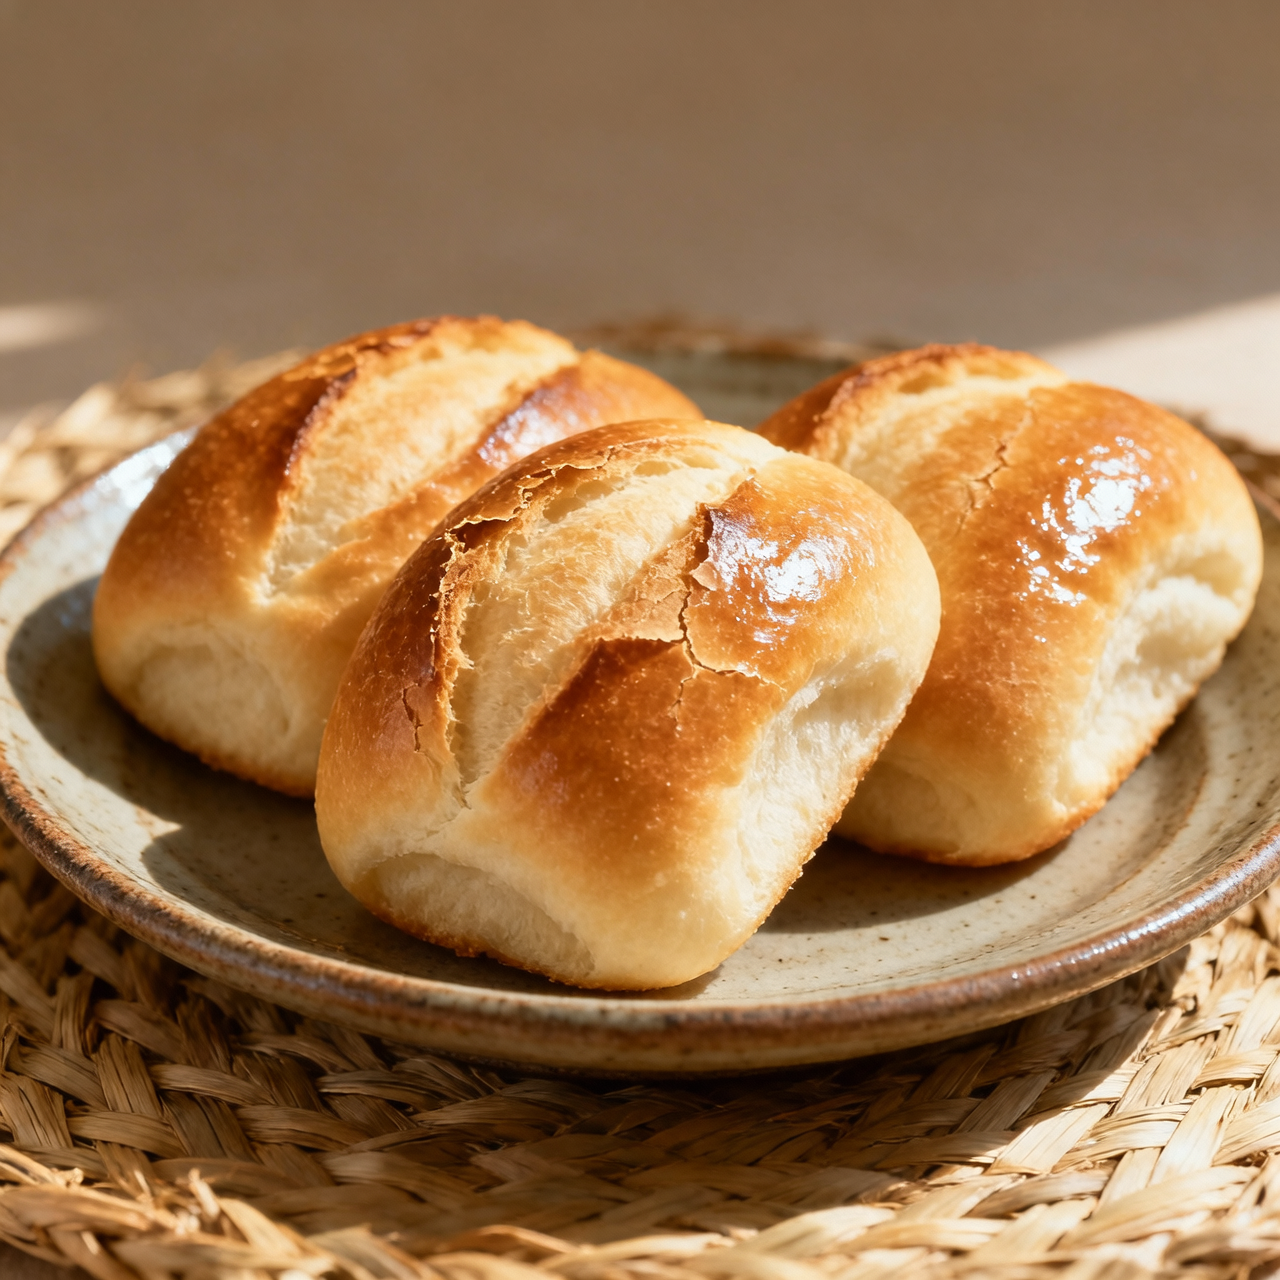
Pandesal
Pandesal arrived in my kitchen as a quiet rebellion against the plastic-wrapped rolls that dominate supermarket shelves. Born during the American colonial period in the Philippines, its name nods to the Spanish pan de sal, yet it belongs entirely to the Filipino breakfast table. I first learned to shape these soft, breaded rolls from a neighbor who measured flour by feel and patience by the slow rise of dough in a humid kitchen. Today, that tactile rhythm feels like a necessary anchor. Store-bought versions cost around three to four dollars for a pack of twelve, but they trade authenticity for shelf stability, relying on dough conditioners and artificial softeners that leave you with a cottony, flavorless crumb and a crust that never truly crisps. Baking from scratch takes a little more time, but it rewards you with a tender interior that pulls apart easily and a fine breadcrumb coating that toasts to a delicate golden shell. The most common pitfalls are rushing the fermentation and overworking the dough, both of which tighten the gluten network and rob the rolls of their signature cloud-like texture. I always keep a close watch on temperature; yeast thrives in warmth, not heat. A slow overnight proof in the refrigerator develops deeper flavor and gives you a manageable workflow, while a quick, high-heat bake at the end sets the exterior without drying the inside. These rolls are meant to be shared, dipped in strong coffee, or stuffed with savory leftovers, and making them yourself turns a simple morning routine into a small, deliberate celebration. When you batch-bake and freeze them properly, you are not just saving time, you are preserving a piece of culinary memory that tastes exactly as it should.
Nutrition
| Per serving | Calories | Protein | Carbs | Fat | Sat fat | Fibre | Sugar | Sodium |
|---|---|---|---|---|---|---|---|---|
| beginner | 265kcal | 7g | 45g | 6g | 3g | 2g | 12g | 280mg |
| intermediate | 680kcal | 18g | 102g | 20g | 11g | 4g | 16g | 450mg |
| expert | 148kcal | 4g | 26g | 3g | 2g | 1g | 4g | 285mg |
Per serving · Ava-estimated — a guide, not a clinical figure.
- 500 gbread flour— Sifted for best texture
- 100 ggranulated sugar
- 8 gsalt
- 7 ginstant yeast— One standard sachet
- 250 mlwhole milk— Warmed to 35°C
- 50 gunsalted butter— Softened to room temperature
- 1 unitlarge egg— Room temperature
- 150 gfine breadcrumb— For coating the dough rolls
A dozen plastic-packaged bakery rolls cost around three dollars but rely on chemical dough conditioners and stale flour to survive weeks on a shelf. This beginner-friendly method strips away the intimidation of traditional bread-making while keeping every ingredient whole and from-scratch. Unlike those mass-produced options, these homemade pandesal deliver genuine, cloud-like softness with just six recognizable pantry staples. The shop-bought versions often dry out or taste waxy by day two, while this recipe yields a tender crumb and a lightly toasted, breadcrumb-dusted crust that actually improves after a quick freeze-and-thaw. At this level, we skip the complex kneading windowpane test and instead rely on a forgiving, short rest that lets gluten develop naturally in the bowl. The dough is shaped with a simple log-and-cut technique rather than weighing individual pieces, saving you cleanup and guesswork. Watch your milk temperature closely; it should feel like a warm bath, not hot, or the yeast will stall. Keep an eye on the second proof until the rolls look puffy but not collapsed, and trust your oven timer over visual cues for that perfect golden finish.
Equipment
- Large mixing bowl— glass or stainless steel works best
- Baking sheet— line with parchment for easy cleanup
- Rolling pin— any sturdy cylinder will do
- Sharp knife or bench scraper— for clean log cuts
Method
- 1
Warm the milk until it feels comfortably warm on your wrist, then stir in the sugar and yeast.
If it does not foam after five minutes, your yeast is expired and needs replacing.
proofing~ 5 minTricky bit - 2
Combine the flour and salt in a large bowl, then pour in the yeast mixture and melted butter.
Mix until a shaggy, slightly sticky mass forms without overworking it.
hydrating~ 2 min - 3
Cover the bowl with a damp cloth and let it rest undisturbed on the counter.
The dough will become noticeably smoother and less tacky on its own.
autolyse~ 15 min - 4
Turn the dough onto a lightly floured surface and gently fold it onto itself ten times.
Avoid aggressive kneading; gentle tension is enough for tender rolls.
folding~ 2 min - 5
Roll the dough into a thick log, slice it into twelve even pieces, and lightly coat each in breadcrumbs.
Press the cut sides into the crumbs so they stick before the final rest.
portioning~ 3 minTricky bit - 6
Space the rolls on the prepared baking sheet and let them puff until nearly doubled in size.
They should feel airy and spring back slowly when poked.
proofing~ 30 min - 7
Bake the rolls until the tops are lightly golden and sound hollow when tapped.
Rotate the pan halfway through to ensure even browning.
baking~ 18 min
Cooking from frozen
Thaw at room temperature for an hour, then reheat in a 325°F oven for ten minutes to revive the soft interior.
Storage times are a guide — always use your judgement and store food safely.