
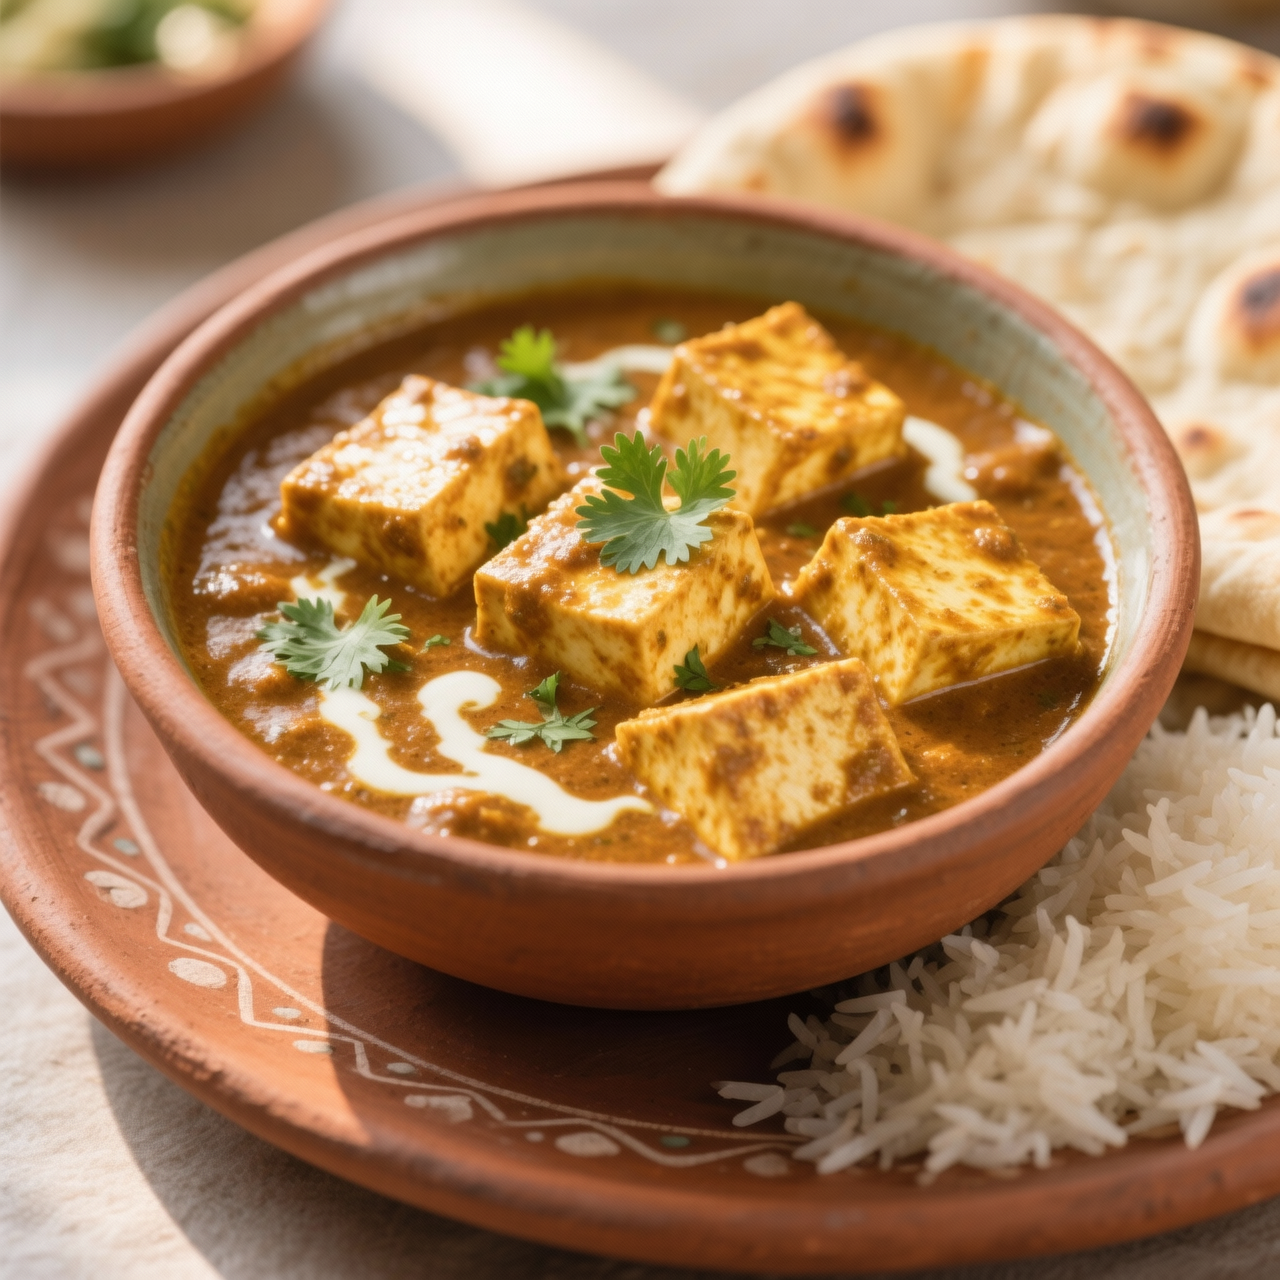
Paneer
I first learned to make paneer not from a cookbook, but from my grandmother’s quiet insistence that milk should never be wasted, even when it turned too quickly for tea. Paneer is India’s unaged, non-melting fresh cheese, born from a simple alchemy of simmering whole milk and gently coaxing it to separate with lemon juice or white vinegar. It matters because the shop-bought blocks stacked in supermarket chillers are a profound disappointment. They routinely cost upwards of four pounds for a mere two hundred grams, yet arrive dense, chalky, and often stabilized with citric acid and gums that strip away any delicate, milky sweetness. Worse, they refuse to absorb the spices of a curry, sitting stubbornly in the pan like rubber stoppers. Making it yourself is remarkably straightforward, yet the pitfalls are real. Rushing the curdling stage with a violent rolling boil or aggressive stirring shatters the delicate clumps into a gritty, unrecoverable mess. Impatience during the pressing stage leaves you with a wet, fragile block that disintegrates when cubed. You must treat the milk with respect: bring it to a steady simmer, introduce the acid in slow, measured pours, and fold the pot gently. Once the whey runs clear and soft curds gather, drain and press with just enough weight to consolidate the shape without squeezing out every last drop of moisture. The result is a quiet triumph. You will spend pennies on milk and a single citrus fruit, gaining a cheese that yields cleanly to the knife, soaks up saffron and toasted spices, and tastes unmistakably fresh. It is a foundational technique that permanently elevates how you approach Indian home cooking.
Nutrition
| Per serving | Calories | Protein | Carbs | Fat | Sat fat | Fibre | Sugar | Sodium |
|---|---|---|---|---|---|---|---|---|
| beginner | 280kcal | 14g | 3g | 22g | 13g | 0g | 2g | 45mg |
| intermediate | 275kcal | 19g | 3g | 21g | 13g | 0g | 3g | 15mg |
| expert | 265kcal | 20g | 4g | 21g | 14g | 0g | 2g | 40mg |
Per serving · Ava-estimated — a guide, not a clinical figure.
- 1000 mlWhole milk— Full-fat yields the best texture and highest yield
- 30 mlLemon juice— Freshly squeezed preferred for a clean flavor profile
- 5 gSalt(optional)— Fine sea salt or kosher salt
- 500 mlIce water(optional)— Used to shock the curds and stop the cooking process
Shop-bought paneer often costs three times more per block, arrives rubbery, and carries a chalky preservative aftertaste that ruins delicate curries. This beginner-friendly version strips the process down to its absolute essentials so you can reliably make soft, milky curds at home without a thermometer or fancy equipment. We skip the traditional multiple curd additions and precise temperature checks in favor of a straightforward milk-and-acid method that reliably separates the curds from the whey on your first try. The key is patience during the curdling stage and gentle handling once the solids form; avoid vigorous stirring or high heat, which turns the cheese tough and crumbly. You will watch the milk transform from opaque white to a clear, yellowish-green whey, signaling the curds have fully released. After draining, a light press sets the cheese into a sliceable block perfect for frying or grating. By making it yourself, you gain complete control over texture, avoid stabilizers and anti-caking agents, and save significantly while enjoying a fresher, richer side that elevates any Indian meal. Keep your heat low, handle with a spatula, and you will master this foundational dairy staple in under an hour.
Equipment
- Heavy-bottomed saucepan— Prevents scorching during the long simmer
- Fine-mesh strainer— Line with a clean cotton tea towel
- Slotted spoon(optional)— Helps guide curds into the cloth
- Heavy plate or skillet— Used as a pressing weight
Method
- 1
Pour the milk into the saucepan and heat over medium until it gently simmers and small bubbles form around the edges.
Stir frequently with a wooden spoon to prevent a skin from forming.
scalding~ 10 min - 2
Reduce the heat to the lowest setting and slowly drizzle in the lemon juice while gently stirring.
Add the acid gradually to control curd size.
curdling~ 2 minTricky bit - 3
Continue stirring until the liquid separates into white clumps and a clear, pale yellow whey.
The transformation should happen within two minutes.
coagulation~ 2 min - 4
Turn off the heat and carefully ladle the curds into a cloth-lined strainer.
Leave the hot whey in the pot until it cools completely.
draining~ 3 min - 5
Rinse the gathered curds under cool running water for thirty seconds to remove residual acidity.
Cool water stops the cooking and improves texture.
rinsing~ 1 min - 6
Tie the cloth into a tight pouch and hang it over the sink to drip for ten minutes.
Do not squeeze the cloth, or the cheese will become dense.
draining~ 10 min - 7
Unwrap the solids, place them on a flat plate, cover with a second plate, and set a heavy can on top.
Thirty minutes yields a firm, sliceable block.
pressing~ 30 min
Cooking from frozen
Thaw slowly in the refrigerator while fully submerged in fresh water to restore moisture before draining and cubing.
Storage times are a guide — always use your judgement and store food safely.