
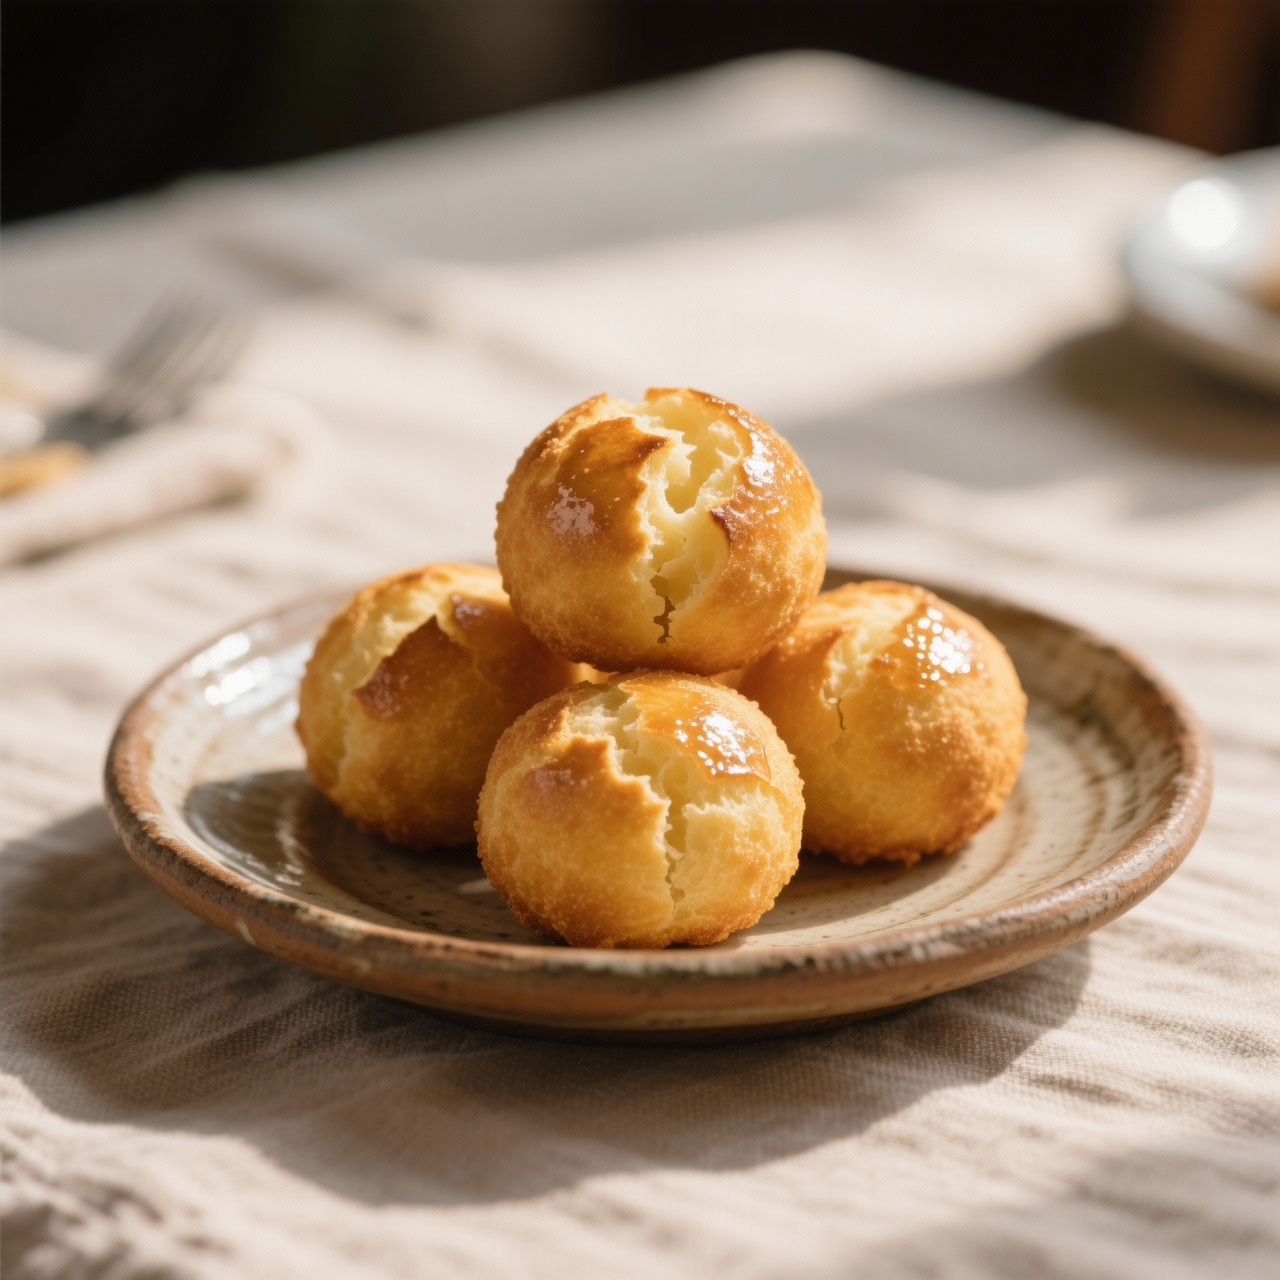
Pao de Queijo
When I first encountered pão de queijo in a bustling São Paulo café, I was immediately struck by how something so deceptively simple could hold an entire culture’s warmth in its chewy, golden crust. Its origins trace back to the colonial kitchens of Minas Gerais, where enslaved cooks ingeniously repurposed the starch left over from washing manioc roots, blending it with whatever dairy was available to create a humble bread that defied wheat scarcity. To me, this dish matters because it is a quiet testament to resilience and adaptation, a snack that transcends class and region to become Brazil’s most beloved culinary handshake. Yet, despite its rustic roots, getting it right at home requires patience and precision. The most frequent mistake I see is rushing the hydration step; scalding the tapioca flour is not optional, as it gelatinizes the starch and creates that signature elastic chew. Another pitfall is choosing a cheese that is too dry or overly aged, which prevents the dough from properly binding and leaves you with a crumbly, disappointing bite. I have also learned the hard way that temperature shock is the enemy, since cold eggs straight from the fridge will tighten the dough and ruin its smooth consistency. And perhaps most importantly, resist the urge to knead it like wheat bread; this is a sticky, forgiving mixture that only needs gentle coaxing. When you finally pull those warm, puffed spheres from the oven, you are not just making a snack. You are honoring generations of quiet innovation, one perfectly crisp exterior and impossibly soft center at a time.
Nutrition
| Per serving | Calories | Protein | Carbs | Fat | Sat fat | Fibre | Sugar | Sodium |
|---|---|---|---|---|---|---|---|---|
| beginner | 570kcal | 13g | 59g | 31g | 8g | 1g | 2g | 750mg |
| intermediate | 570kcal | 13g | 59g | 31g | 8g | 1g | 2g | 750mg |
| expert | 570kcal | 13g | 59g | 31g | 8g | 1g | 2g | 750mg |
Per serving · Ava-estimated — a guide, not a clinical figure.
- 250 gtapioca flour— finely sifted
- 180 mlmilk— whole, room temperature
- 80 mloil— neutral vegetable
- 5 gsalt— fine sea salt
- 2 wholeegg— room temperature
- 150 gcheese— freshly grated Parmesan or Minas
This version is designed for absolute confidence on your first attempt. We bypass the traditional stovetop scalding technique by relying on a trusted microwave hydration method that guarantees a lump-free dough every time. You will not need to guess at temperatures or monitor a simmering pot; instead, you simply combine wet and dry components in one bowl until a smooth, pliable mass forms. The key here is resisting the urge to add extra flour if the dough feels slightly tacky. Pão de Queijo dough is naturally sticky, and adding dry starch will only compromise the chew. Watch for a glossy, uniform texture before folding in the cheese. I recommend portioning with a damp ice cream scoop to ensure even baking, and always place the rolls seam-side down to prevent splitting. If your oven runs cool, extend the bake by five minutes until the crust audibly cracks when tapped. The goal is not perfection, but a reliable, comforting result that captures the essence of the snack without demanding advanced pastry skills.
Equipment
- microwave-safe bowl— glass or ceramic preferred
- rubber spatula— heat-resistant
- baking sheet— lined with parchment
Method
- 1
Preheat your oven to 200°C and line a baking sheet with parchment paper.
Ensure the rack is centered for even airflow.
preheating~ 10 min - 2
Combine the milk, oil, and salt in a microwave-safe bowl and heat until steaming.
Do not let it boil over.
microwaving~ 2 minTricky bit - 3
Immediately pour the hot liquid over the tapioca flour and stir vigorously until fully absorbed.
A smooth, thick paste will form.
scalding~ 2 min - 4
Add the eggs one at a time, whisking until the mixture becomes glossy and cohesive.
The dough will feel tacky but should hold together.
emulsifying~ 3 min - 5
Fold the grated cheese into the dough until evenly distributed without overmixing.
Stop as soon as no white streaks remain.
folding~ 1 min - 6
Scoop uniform portions onto the prepared baking sheet and bake until deeply golden.
Rotate the pan halfway through for even browning.
baking~ 25 min