
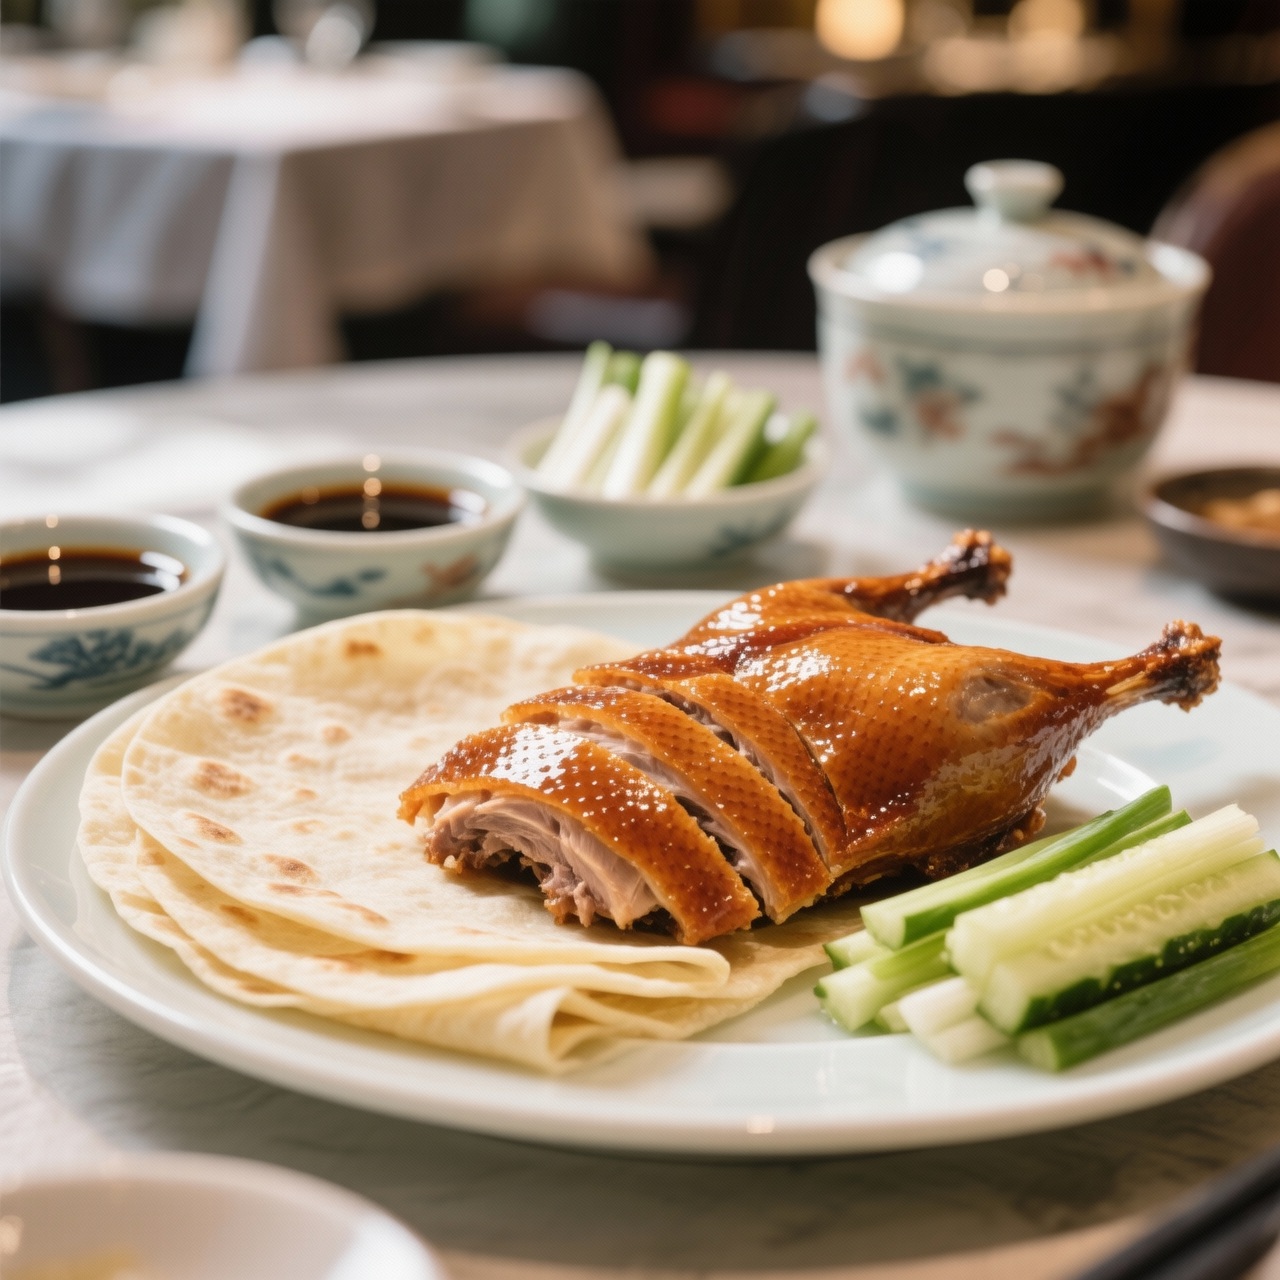
Peking Duck
When I first attempted to recreate Peking duck in my own kitchen, I quickly realized it was less a simple roast and more an exercise in patience, precision, and respect for centuries of Northern Chinese culinary tradition. Originating in the imperial kitchens of the Yuan dynasty and later perfected during the Ming and Qing eras in Beijing, this dish is a masterclass in texture and balance. The lacquered, mahogany skin should shatter like glass at the first bite, while the meat beneath remains impossibly tender and subtly perfumed. What makes it so profoundly meaningful to me is how it embodies the Chinese philosophy of harmony—crisp against soft, rich against fresh, all wrapped in a delicate pancake with sweet bean sauce, scallions, and cucumber. Yet, so many home cooks stumble over the very steps that define it. The most common pitfall I see is rushing the air-drying process. Without properly inflating the bird and letting it rest uncovered for hours or even days, the skin simply steams instead of crisps, leaving you with a soggy, heavy roast that misses the entire point. Others neglect the maltose glaze or blast the oven too hot too soon, burning the sugars before the fat has fully rendered. I’ve learned to treat the preparation as a quiet ritual: careful separation of skin and flesh, steady low heat, and an unwavering attention to humidity control. When you finally pull it from the oven, the reward isn’t just a spectacular centerpiece, but a deeper understanding of how time and technique transform humble ingredients into something truly historic.
Nutrition
| Per serving | Calories | Protein | Carbs | Fat | Sat fat | Fibre | Sugar | Sodium |
|---|---|---|---|---|---|---|---|---|
| beginner | 540kcal | 31g | 43g | 23g | 7g | 3g | 12g | 920mg |
| intermediate | 540kcal | 31g | 43g | 23g | 7g | 3g | 12g | 920mg |
| expert | 540kcal | 31g | 43g | 23g | 7g | 3g | 12g | 920mg |
Per serving · Ava-estimated — a guide, not a clinical figure.
- 2000 gwhole duck— air-chilled, approximately 2 kg, giblets removed
- 60 mlmaltose syrup— or honey substitute
- 30 mlunseasoned rice vinegar— 5% acidity
- 45 mllight soy sauce— naturally brewed
- 80 gsweet bean paste— traditional tian mian jiang base
- 12 pieceMandarin pancake wrapper— store-bought or freshly rolled
- 4 stalkscallion— white and light green parts only
- 1 pieceEnglish cucumber— seeded and julienned
- 15 gfresh ginger— unpeeled, lightly smashed
- 2 piecestar anise pod— whole
- 1 piececinnamon stick— Ceylon or Cassia
- 5 gSichuan peppercorn— toasted and lightly crushed
- 15 mlneutral vegetable oil— for brushing
- 10 gfine sea salt— for cavity seasoning
This version is engineered for confidence on your first attempt. Instead of managing a multi-stage drying process or balancing a custom glaze, you will rely on a simplified air-drying method in your refrigerator and a pre-mixed glaze base that guarantees consistent browning. The traditional sweet bean sauce is swapped for a high-quality jarred alternative that requires only gentle warming. I have removed the need for a specialized roasting rack by suggesting a standard oven setup with a wire rack over a baking sheet. Pay close attention to the initial scoring of the skin; this single step allows fat to render properly without you having to monitor the oven constantly. Keep your knife shallow to avoid piercing the meat, which would release juices and steam the skin from the inside. The goal here is not absolute authenticity, but rather a reliable, impressive result that teaches you the foundational relationship between dry heat, fat rendering, and crust formation. You will learn how to properly carve the breast, assemble the wraps, and balance the rich duck with fresh aromatics. Trust the timer for the resting phase, as skipping it will make slicing difficult. This streamlined approach removes the intimidation factor while preserving the essential flavor profile and textural contrast that makes the dish so beloved.
Equipment
- oven-safe wire rack— fits inside standard baking sheet
- rimmed baking sheet— for catching rendered fat
- silicone basting brush— even glaze distribution
- carving knife— serrated edge works best
Method
- 1
Pat the duck completely dry with paper towels and season the cavity lightly with salt.
Moisture is the enemy of crisp skin.
drying~ 5 min - 2
Place the duck on a wire rack set inside a baking sheet and leave it uncovered in the refrigerator overnight.
Cold air pulls surface moisture away efficiently.
air-drying~ 480 min - 3
Brush the duck evenly with a mixture of maltose, rice vinegar, and soy sauce.
A thin layer prevents pooling and ensures uniform caramelization.
glazing~ 4 minTricky bit - 4
Roast the duck at 350°F until the internal temperature reaches 165°F and the skin is deep mahogany.
Rotate the pan halfway through for even browning.
roasting~ 60 min - 5
Let the duck rest for fifteen minutes before carving into thin slices.
Resting allows juices to redistribute and fat to firm up slightly.
resting~ 15 min