
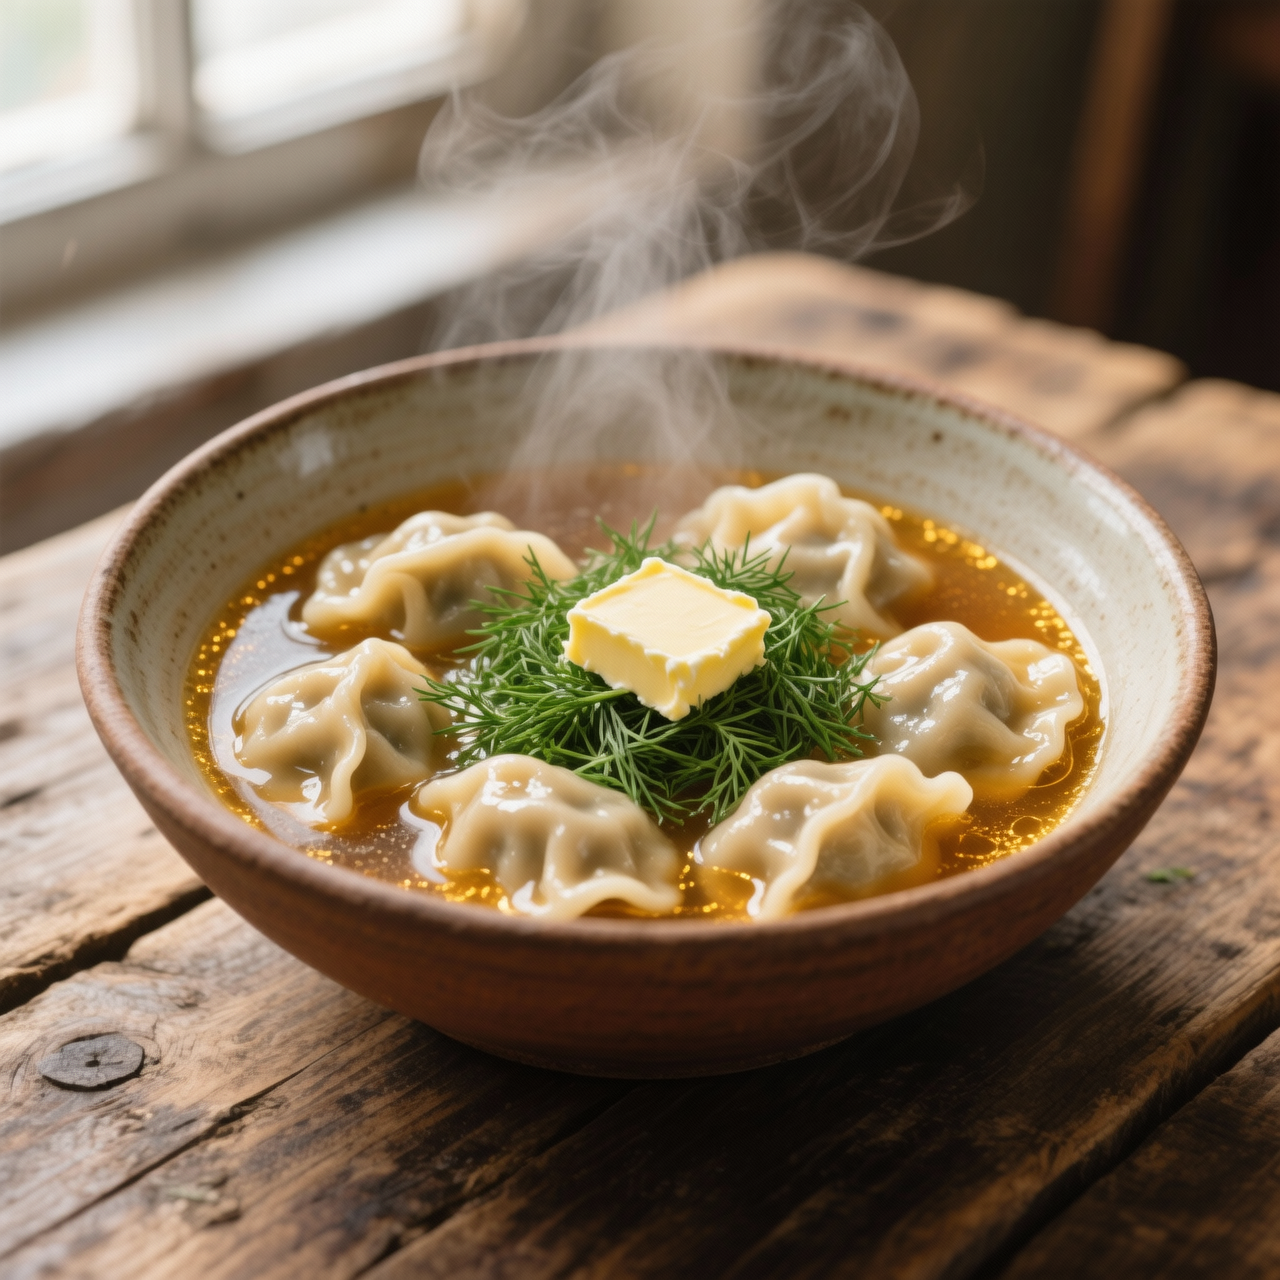
Pelmeni
When I first learned to shape pelmeni, I was struck by how much they resemble a quiet conversation between distant culinary cousins. Though deeply rooted in Siberian and Slavic traditions, born from the practical need to preserve meat through harsh winters and long journeys across the taiga, they share an undeniable kinship with Italian tortellini. To me, pelmeni are more than mere dumplings. They are edible archives of resilience, carrying generations of family technique in every carefully folded crescent. What makes them truly matter is their unpretentious honesty: a thin, elastic dough cradles a rich, unadulterated filling of minced meat, usually pork and beef, bound with onion and black pepper. Yet, for all their simplicity, they are notoriously unforgiving. I have watched countless batches ruined by overworking the dough into a tough, rubbery sheet, or by sealing them too hastily so they burst open the moment they meet boiling water. The most common mistake, however, is rushing the resting period. Letting the dough relax is absolutely nonnegotiable, as it grants that crucial stretch and snap when you press the edges together. Another frequent pitfall lies in overcrowding the pot or favoring a violent rolling boil over a gentle simmer, which shatters the delicate seams and leaves you with a cloudy, fragmented broth. Mastering pelmeni means embracing patience, respecting the moisture balance in the filling, and treating each fold as a quiet act of preservation. When done right, they emerge plump, tender, and deeply comforting—a quiet triumph of craft over haste.
Nutrition
| Per serving | Calories | Protein | Carbs | Fat | Sat fat | Fibre | Sugar | Sodium |
|---|---|---|---|---|---|---|---|---|
| beginner | 670kcal | 30g | 61g | 34g | 14g | 3g | 2g | 1550mg |
| intermediate | 670kcal | 30g | 61g | 34g | 14g | 3g | 2g | 1550mg |
| expert | 670kcal | 30g | 61g | 34g | 14g | 3g | 2g | 1550mg |
Per serving · Ava-estimated — a guide, not a clinical figure.
- 300 gall-purpose flour— sifted before measuring
- 120 mlcold water— ice water works best
- 1 largeegg yolk— room temperature
- 250 gground beef— 80/20 fat ratio preferred
- 250 gground pork— freshly minced if possible
- 1 largeyellow onion— finely grated
- 15 gkosher salt— divided for dough and filling
- 5 gblack pepper— coarse grind
- 30 gunsalted butter— for finishing
This version prioritizes accessibility and confidence, stripping away the intimidation factor that often surrounds traditional dumpling making. Instead of wrestling with hydration ratios or worrying about dough elasticity, you will rely on straightforward mixing and a forgiving resting period. The focus here shifts to the sealing process, which is the true heartbeat of pelmeni success. Watch closely as you pinch the edges; a secure seal prevents the savory juices from escaping into your cooking water. If you notice any cracks forming during the boil, simply lower the heat immediately and add a splash of cold water to stabilize the temperature. The shortcut approach means you spend less time on precision rolling and more time mastering the hand-folding rhythm. I recommend setting up an assembly line with your circles, filling, and damp towel nearby. Do not rush the boiling phase, as a gentle simmer protects the delicate wrappers from tearing. This pathway guarantees a reliable first attempt, giving you the foundational muscle memory needed before exploring more advanced techniques. Trust your hands, listen for the water steady bubble, and enjoy the immediate payoff of your very own homemade batch.
Equipment
- stand mixer— paddle attachment recommended
- large pot— minimum six quart capacity
- rolling pin— standard wooden style
Method
- 1
Combine the flour and water in a stand mixer until the dough comes together.
Use the paddle attachment to avoid overworking.
mixing~ 3 min - 2
Rest the dough at room temperature while you prepare the filling.
Cover tightly to prevent drying.
resting~ 15 min - 3
Blend the ground meats, onion, salt, and pepper until evenly distributed.
A quick pulse keeps the texture intact.
blending~ 4 min - 4
Roll out the dough and cut out circles with a drinking glass.
Flour the glass rim to prevent sticking.
cutting~ 5 min - 5
Seal the dumplings by pinching the edges into tight half-moons.
Press firmly to eliminate air pockets.
pinching~ 15 minTricky bit - 6
Simmer the pelmeni in gently bubbling water until tender.
Avoid rolling boils to prevent bursting.
simmering~ 10 min - 7
Finish the dish by tossing them with melted butter.
Serve immediately while hot.
emulsifying~ 2 min