
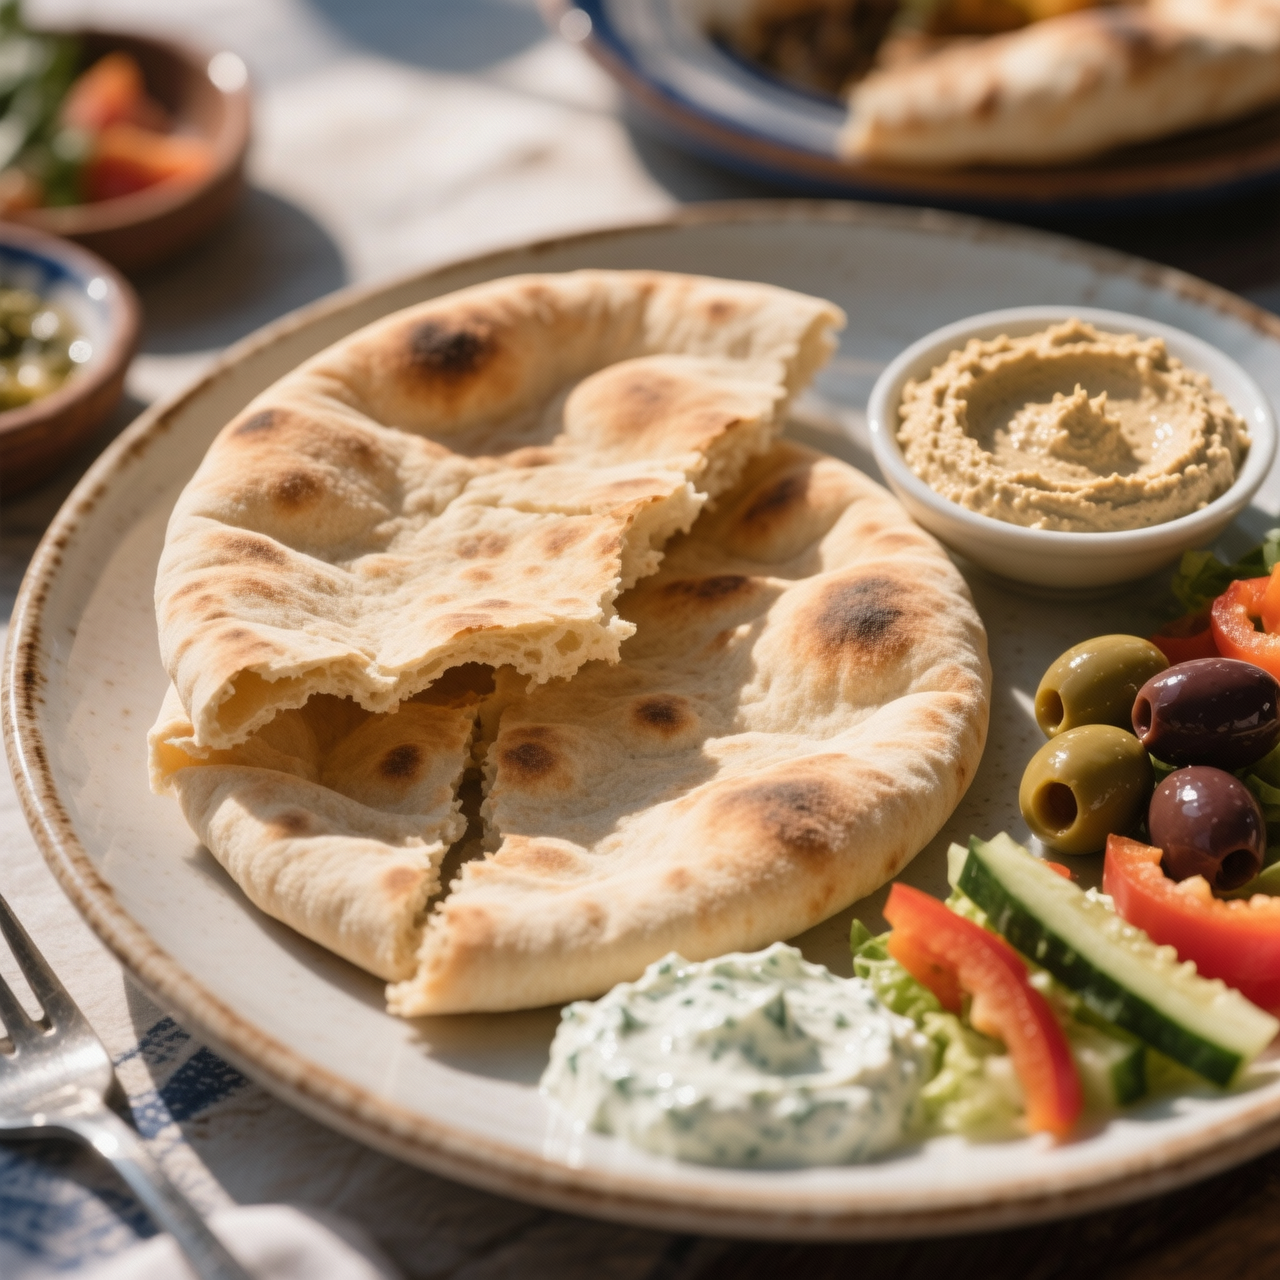
Pita bread
I still remember the first time I properly understood what pita bread was supposed to be. Before that, my kitchen was stocked with those slick plastic packs of supermarket pitas, usually sitting on the shelf for weeks, costing around three pounds for six pieces. They’re cheap in the short term, but they’re fundamentally flawed: dry, crumbly, loaded with dough conditioners to mimic elasticity, and completely stripped of the warm, yeasty breath that makes bread feel alive. Making them from scratch isn’t just about saving money; it’s about reclaiming a staple that should be a soft, pillowy pocket ready to soak up olive oil, hummus, or charred vegetables. The origins trace back to ancient hearths across Greece and the Levant, where bakers relied on nothing but flour, water, salt, and yeast to coax that signature pocket open under intense heat. The magic is startlingly simple, yet it trips people up constantly. Most fail because they rush the proof, use a heavy rolling pin that compacts the dough, or don’t preheat their pan enough to create the sudden steam burst that forms the pocket. I’ve learned to treat the dough like a living thing: gentle folds, a long relaxed rest, and a blazing hot surface. I always bake in large batches because they freeze beautifully. Once you feel that warm, pliable result, you’ll never go back to the packaged impostors.
Nutrition
| Per serving | Calories | Protein | Carbs | Fat | Sat fat | Fibre | Sugar | Sodium |
|---|---|---|---|---|---|---|---|---|
| beginner | 340kcal | 9g | 56g | 6g | 1g | 3g | 1g | 220mg |
| intermediate | 265kcal | 8g | 46g | 3g | 0g | 3g | 2g | 290mg |
| expert | 485kcal | 13g | 86g | 8g | 1g | 4g | 1g | 620mg |
Per serving · Ava-estimated — a guide, not a clinical figure.
- 500 gAll-purpose flour— Bread flour can be substituted for a chewier texture
- 325 mlWarm water— Ideally between 105°F and 110°F
- 7 gActive dry yeast— One standard packet
- 30 mlExtra virgin olive oil— Adds flavor and softness to the dough
- 10 gFine sea salt
- 5 gGranulated sugar— Helps activate the yeast
Store-bought pita packs cost around four dollars and rely on preservatives, dough conditioners, and excessive sodium to maintain shelf life, resulting in cardboard-like texture and a bland, chemical aftertaste. This beginner version ditches the packaged shortcuts entirely while keeping the technique approachable. Instead of managing precise oven temperatures or professional steam injection, we rely on a quick, forgiving proof and a hot skillet to coax out the signature pocket. The dough requires just four pantry staples and a brief twenty-minute rest, making it ideal for weeknight cooking without sacrificing authenticity. Watch the dough’s hydration carefully; it should feel tacky but not stick aggressively to your hands, and adjust with a teaspoon of water or flour as needed. When rolling, aim for even thickness rather than perfect circles, as uneven spots will resist puffing. Keep your skillet screaming hot before each bread hits the surface, and flip the moment you see the first bubbles form. A clean kitchen towel immediately after cooking keeps them soft and pliable. This method guarantees reliable pockets and fresh, wheat-forward flavor that outperforms any supermarket alternative.
Equipment
- Large mixing bowl— Stainless steel or glass works best
- Rolling pin— French tapered style gives better control
- Heavy cast-iron skillet— Retains heat evenly for consistent puffing
- Clean cotton kitchen towel— Must be lint-free to avoid sticking
Method
- 1
Whisk the bread flour, instant yeast, salt, and sugar together in a large bowl.
Distribute the salt evenly so it does not inhibit yeast activity.
whisking~ 1 min - 2
Add warm water and olive oil, then mix until a cohesive, slightly sticky mass forms.
Water should feel comfortably warm to the touch, around 38°C.
hydration~ 1 min - 3
Knead the dough on a lightly floured counter for four minutes until smooth and elastic.
Use a push-fold-turn rhythm to develop the gluten network.
kneading~ 4 minTricky bit - 4
Cover the bowl tightly with a damp cloth and let the dough rise in a draft-free area for one hour.
A warm oven with only the interior light on provides a perfect environment.
proofing~ 60 min - 5
Punch down the dough gently and divide it into eight equal pieces.
Use a bench scraper for clean cuts and minimal sticking.
scaling~ 2 min - 6
Roll each piece into a thin circle approximately six millimeters thick.
Rotate the dough frequently to maintain uniform thickness and shape.
rolling~ 5 minTricky bit - 7
Heat a dry cast-iron skillet over medium-high heat until thoroughly hot.
Test by hovering your hand above the surface; it should radiate strong heat.
preheating~ 3 min - 8
Cook the bread for one minute per side until it balloons and shows golden spots.
Press gently with a spatula if it resists puffing to encourage steam expansion.
pan-frying~ 2 minTricky bit - 9
Stack the cooked pitas immediately and wrap them snugly in a clean cotton towel.
The trapped residual steam softens the crust and ensures easy pocket formation.
resting~ 5 min
Cooking from frozen
Thaw at room temperature, then warm in a dry skillet for thirty seconds to restore pliability.
Storage times are a guide — always use your judgement and store food safely.