
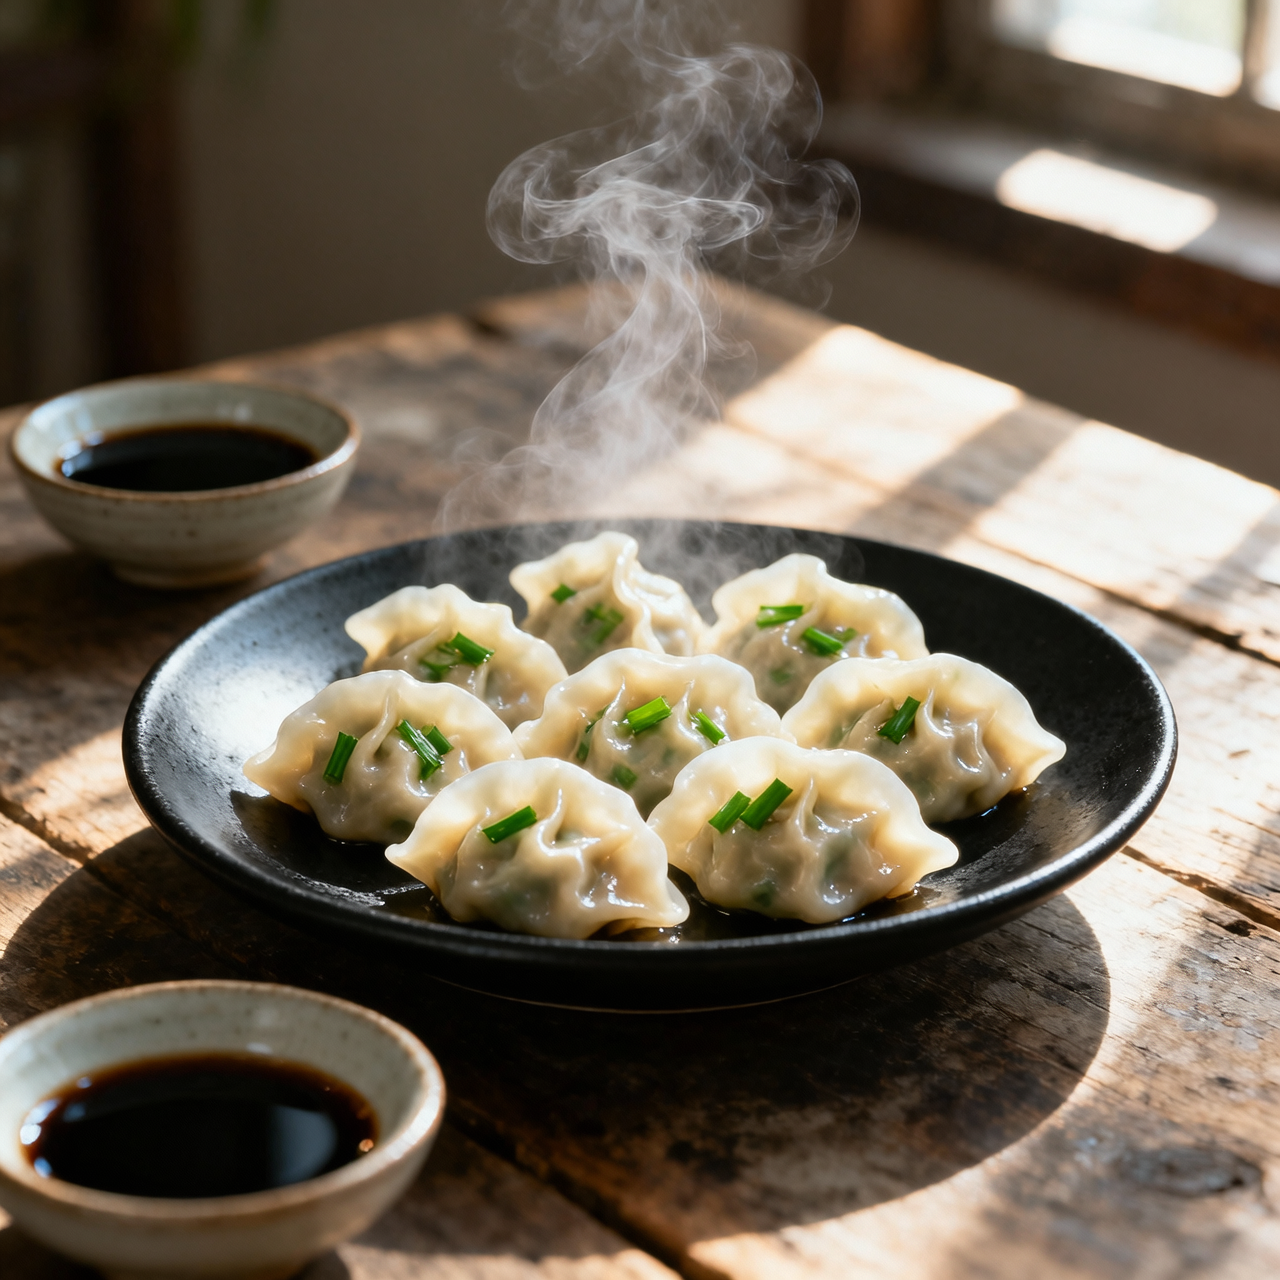
Pork and Chive Jiaozi
When I first learned to fold pork and chive jiaozi in a cramped northern kitchen, the dough felt less like flour and water and more like a language waiting to be spoken. These dumplings are not just food here; they are a seasonal anchor, especially when spring chives push through the thawed earth with their sharp, grassy perfume. I have spent years perfecting the rhythm of this filling, learning that the balance hinges on restraint. Too much fat and the wrapper tears; too little and the meat turns dry. The most common mistake I see home cooks make is overworking the pork or skipping the crucial resting period for the dough. When you rush the kneading, the gluten never relaxes, and your pleats snap shut instead of sealing. I also watch people drown the filling in soy sauce, which masks the delicate sweetness of the chives and makes the dough soggy. Authentic northern technique relies on a light hand with seasoning, a generous splash of sesame oil to coat the vegetables, and a slow, steady stir to coax out the natural juices without breaking down the protein structure. Making jiaozi this way is an exercise in patience and presence. You stand at the table, rolling wrappers by hand, listening to the quiet rhythm of your family around you. Every fold is a promise to honor the ingredients exactly as they are. When the steam finally rises and you bite into that tender, slightly chewy skin giving way to the bright, savory center, you understand why generations have kept this ritual alive. It is not about perfection; it is about showing up, getting your hands flour-dusted, and sharing something deeply rooted.
Nutrition
| Per serving | Calories | Protein | Carbs | Fat | Sat fat | Fibre | Sugar | Sodium |
|---|---|---|---|---|---|---|---|---|
| beginner | 460kcal | 19g | 59g | 15g | 5g | 3g | 1g | 560mg |
| intermediate | 460kcal | 19g | 59g | 15g | 5g | 3g | 1g | 560mg |
| expert | 460kcal | 19g | 59g | 15g | 5g | 3g | 1g | 560mg |
Per serving · Ava-estimated — a guide, not a clinical figure.
- 300 gall-purpose flour— high protein content yields resilient dough
- 160 mlwarm water— around 40°C for optimal gluten development
- 250 gpork shoulder— approximately 70% lean to 30% fat
- 150 gchinese chives— fresh, stems trimmed and washed thoroughly
- 15 mllight soy sauce— low sodium preferred for balanced seasoning
- 10 mlshaoxing wine— authentic aged variety
- 10 mltoasted sesame oil— cold-pressed
- 10 gfresh ginger— peeled
- 3 gfine sea salt
- 1 gground white pepper
This pathway prioritizes accessibility and immediate success without sacrificing the essential character of the dish. You will utilize a pre-mixed seasoning paste and store-bought dough shortcuts where permitted, allowing you to focus entirely on mastering the folding geometry and cooking mechanics. The primary objective here is building tactile confidence; you will learn to gauge filling volume, recognize proper sealing pressure, and execute a reliable pan-fry without anxiety. Watch closely for wrapper dryness, as exposed dough will crack during folding. Keep your hands lightly dusted and work in small batches to maintain dough pliability. Do not overstuff the centers, as this guarantees rupture when steam expands during cooking. The filling will be combined quickly using a jarred base, so rely on gentle folding rather than aggressive stirring to preserve the chive integrity. Your pan should be moderately heated before oil addition to establish an immediate non-stick barrier. If the wrappers stick to your work surface, adjust your dusting flour immediately rather than forcing them. This version removes the friction of dough hydration and spice balancing, leaving you free to develop the muscle memory required for perfect pleats and consistent browning.
Equipment
- mixing bowl— standard 4-quart capacity
- rolling pin— standard cylinder type works well
- heavy-bottomed skillet— 10-inch diameter minimum
- silicone spatula— heat-resistant for safe flipping
Method
- 1
Combine the flour and warm water in a bowl until a cohesive dough forms.
Mix until no dry pockets remain.
mixing~ 2 min - 2
Rest the covered dough for twenty minutes to relax the gluten network.
Keep covered with a damp towel.
resting~ 20 min - 3
Fold the jarred seasoning paste into the diced pork and chopped aromatics until evenly distributed.
Use a gentle folding motion to avoid bruising the chives.
folding~ 3 min - 4
Divide the rested dough into uniform portions and roll each into a thin, circular wrapper.
Keep edges thinner than the center.
rolling~ 5 minTricky bit - 5
Place a measured spoonful of filling into each wrapper and pinch the edges into tight pleats.
Aim for eight to ten pleats per side.
pleating~ 8 minTricky bit - 6
Pan-fry the assembled dumplings in hot oil before adding water and covering until the liquid evaporates.
Listen for a sharp sizzle to confirm proper crust formation.
pan-frying~ 10 min